
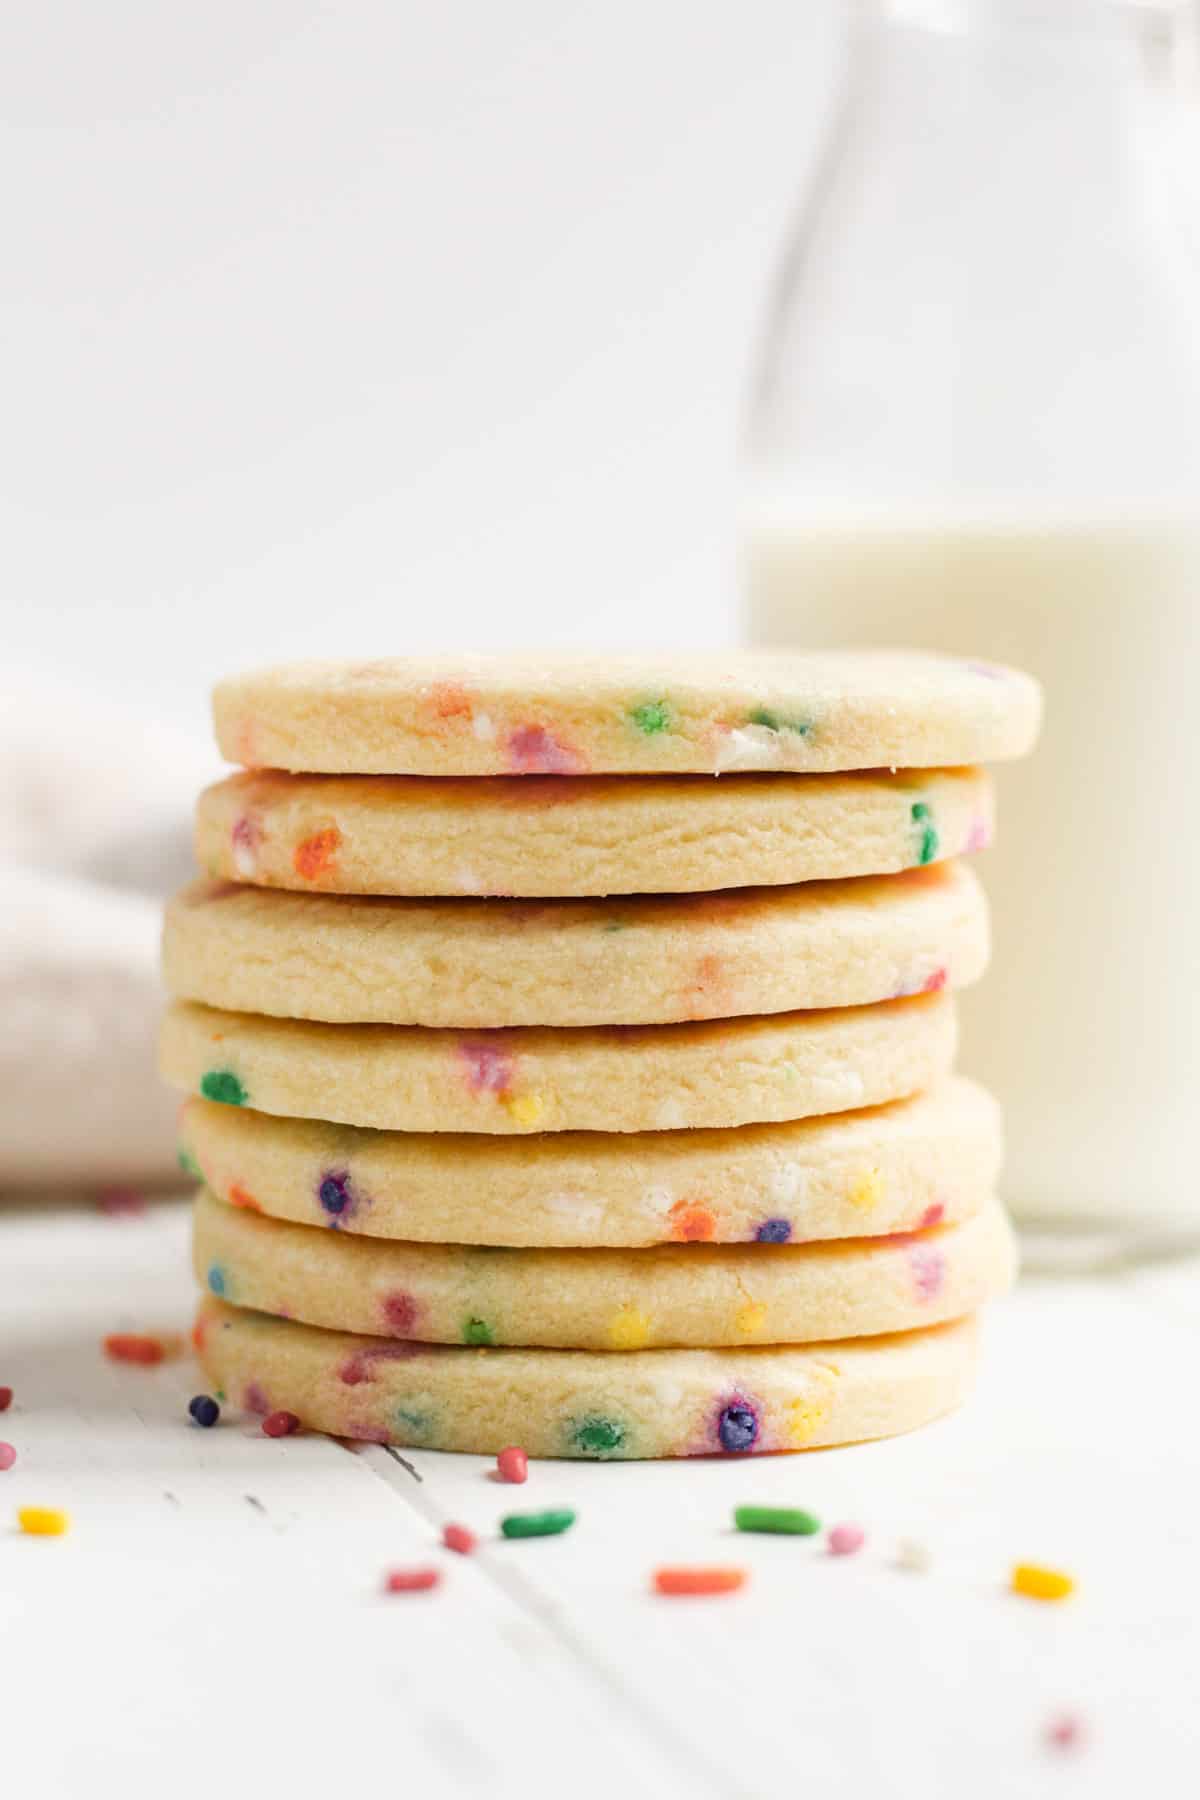
Soft, buttery Funfetti Cutout Cookies are fun and festive for any occasion. Use your favorite cookie cutters to cut the dough into different shapes. These cookies have a short chill time and bake into perfectly shaped cookies without spreading.
Save This Recipe! 💌
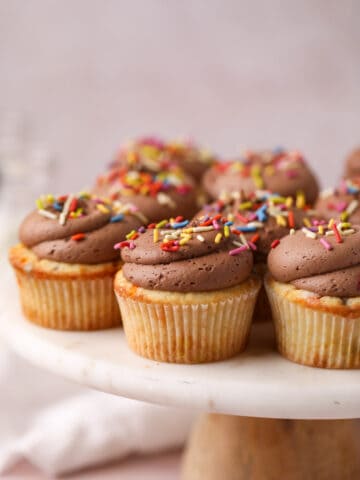
We love anything funfetti at The Sweet Occasion. Both kids and adults are fans. Some favorites include mini cupcakes and no churn ice cream. Easy funfetti cutout cookies are our latest addition!
As a trained pastry chef, I always love recommending versatile recipes that can be made ahead of time. And this is precisely that! You’ll love all the ways you can serve these cookies and even make them in advance for celebrations or gifting.
If you’re planning on making these cookies for a party, add funfetti snack cake to your menu for a sprinkle celebration.
Why You'll Love This Recipe
- Hold their shape. These funfetti cookies hold their shape, so use your favorite cutters and decorate with royal icing for perfectly shaped decorated cookies!
- Nostalgic. Traditional sugar cutout cookies, chocolate sugar cookies, and strawberry shortbread are all delicious. But there is something nostalgic about classic funfetti!
- Versatile. These cookies are delicious served plain, covered in sprinkles, or topped with buttercream or icing. The choice is yours!
Ingredients You'll Need
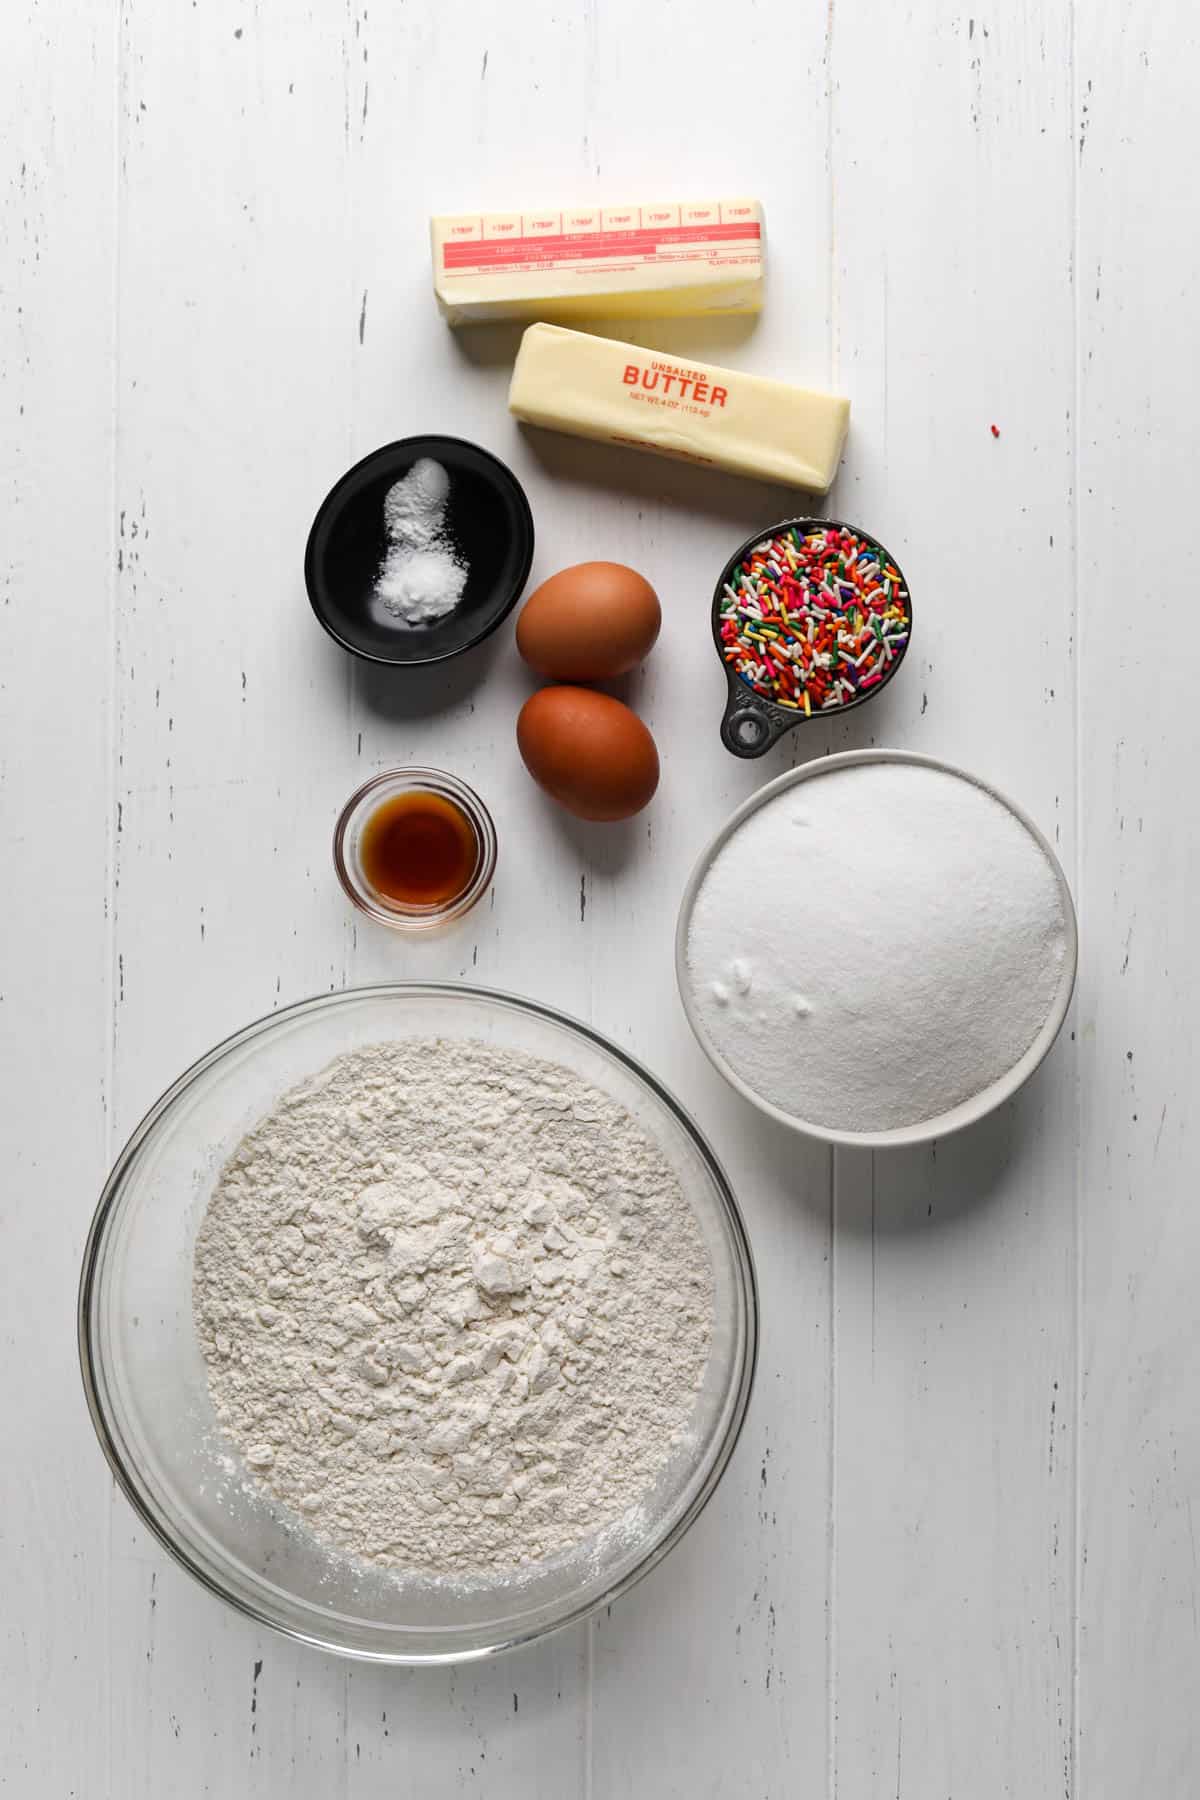
- All-purpose flour. Creates the perfect cookie texture (not dense or too chewy!).
- Baking powder. A bit of baking powder helps lift the cookies slightly to make them less dense.
- Salt. Enhances the sweetness of the cookies.
- Butter. Use unsalted butter so you can control the amount of salt that’s added to the dough. Bring your butter to room temperature to properly cream with the sugar. This will help create the ideal soft and chewy cookie consistency.
- Granulated sugar. Adds sweetness to the cookies. The sugar also retains moisture so that the centers of the cookies are soft and chewy.
- Eggs. Acts as the binding agent for all the ingredients.
- Vanilla. Always select a good quality pure vanilla extract for the best flavor.
- Rainbow sprinkles. Adds a fun color element to the cookies! Change up the colors for each holiday (orange and black for Halloween or pink, white, and red for Valentine’s Day).
Note: I wouldn’t recommend using nonpareils (the tiny rainbow sugar balls). Their color will bleed into the cookies, and they add an undesirable crunchy element. Stick with sprinkles (aka jimmies)!
Equipment & Tools
- Baking sheet. I like using 2 baking sheets (baking one pan at a time) to speed up the process. If using a dark-coated pan, reduce your oven temperature to 325°F/163°C, so the bottom of your cookies do not burn.
- Parchment paper. Adds a protective layer to prevent the cookies from sticking to the sheet pan. Also helpful for rolling out the dough.
- Digital kitchen scale or measuring cups. Using a scale will give you the most accurate measurements.
- Measuring spoons.
- Handheld or stand mixer fitted with the paddle attachment. Used to mix your dough. Follow the directions in the recipe card for the proper mixing method and times.
- Medium bowl. Used to mix the dry ingredients.
- Large bowl. If using a stand mixer, use the accompanying bowl. Otherwise, use a large mixing bowl with your handheld mixer.
- Whisk.
- Rubber spatula.
- Rolling pin. I love using a rolling pin with adjustable rings to roll the funfetti dough to a consistent thickness.
- Cookie cutters. Any shape you like!
- Wire cooling rack.
Step-By-Step Instructions
Before you begin: Bring all of your ingredients to room temperature. Preheat the oven to 350°F/177°C. Line two baking sheets with parchment paper, set aside, and read the recipe from start to finish.
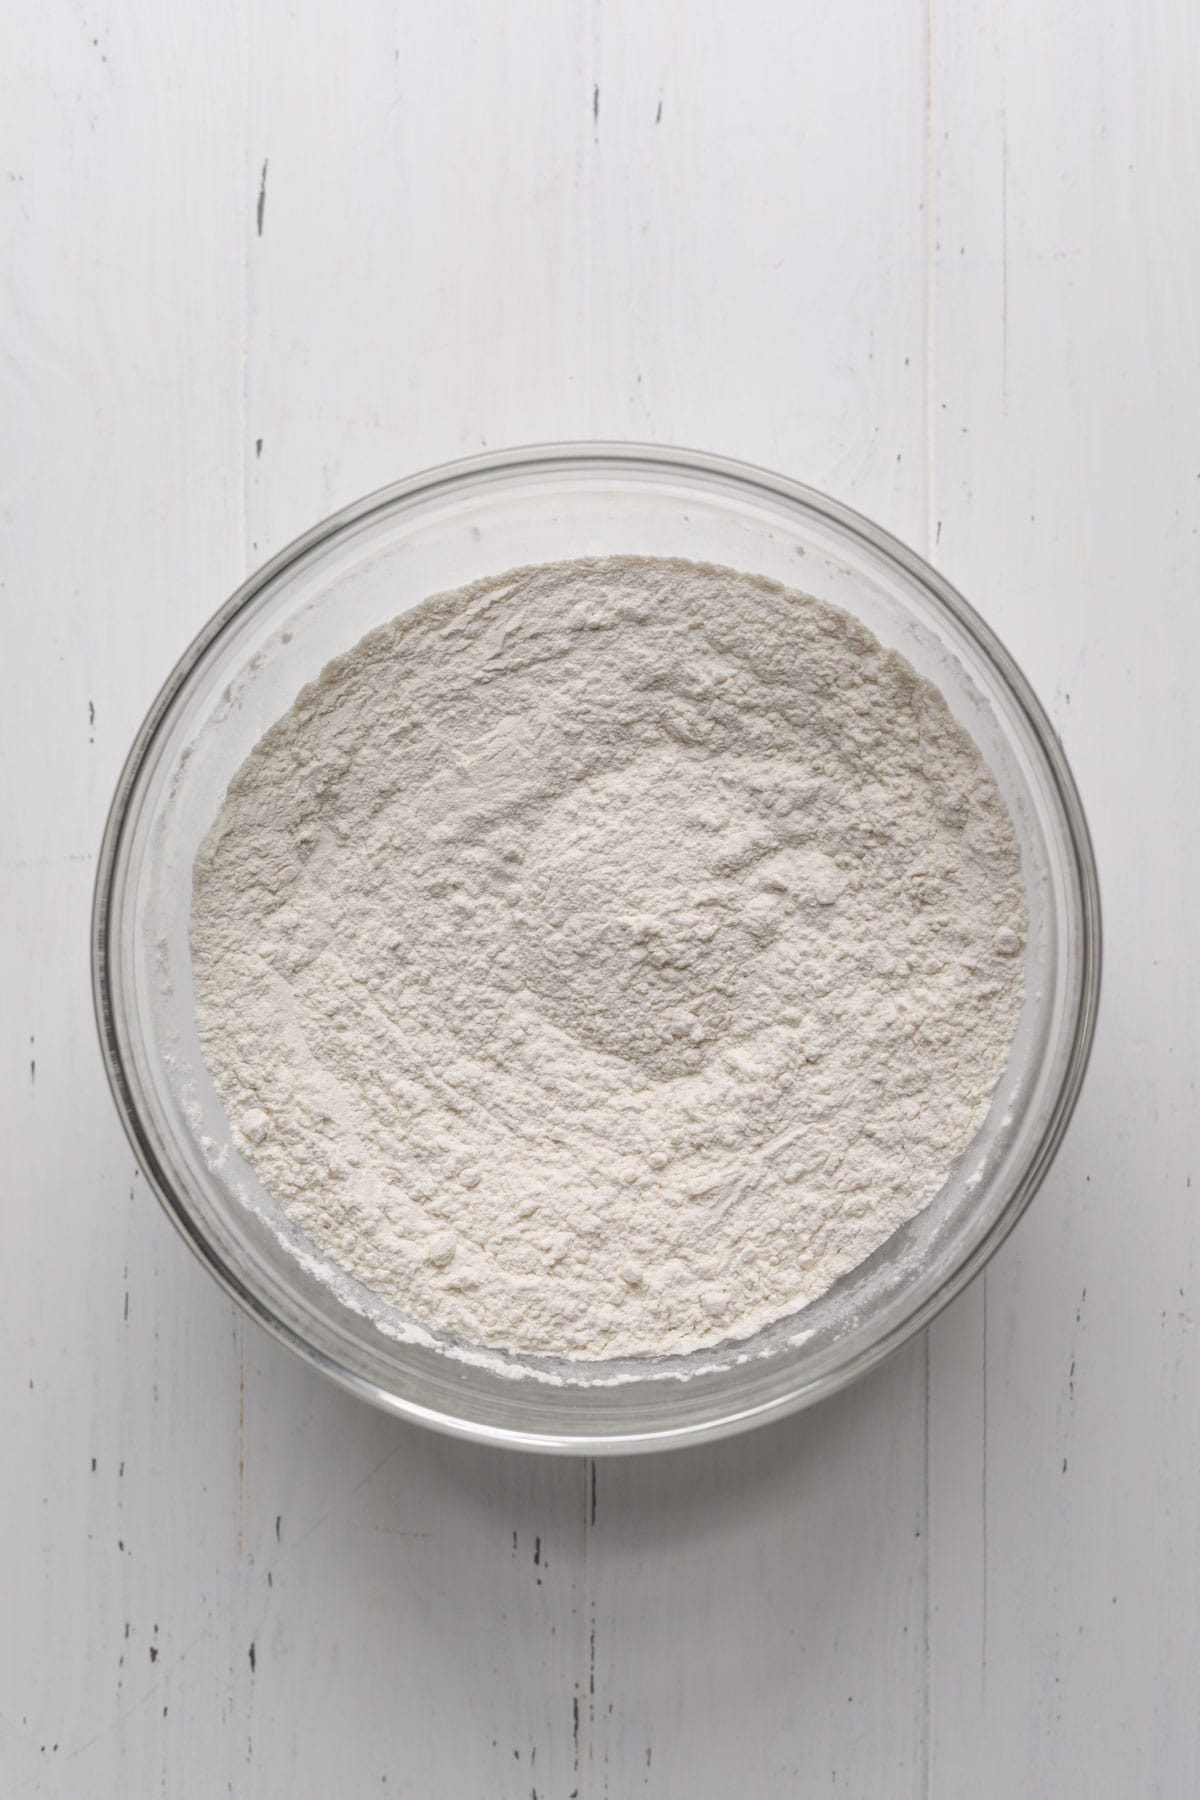
Whisk dry ingredients. Whisk the flour, baking powder, and salt.
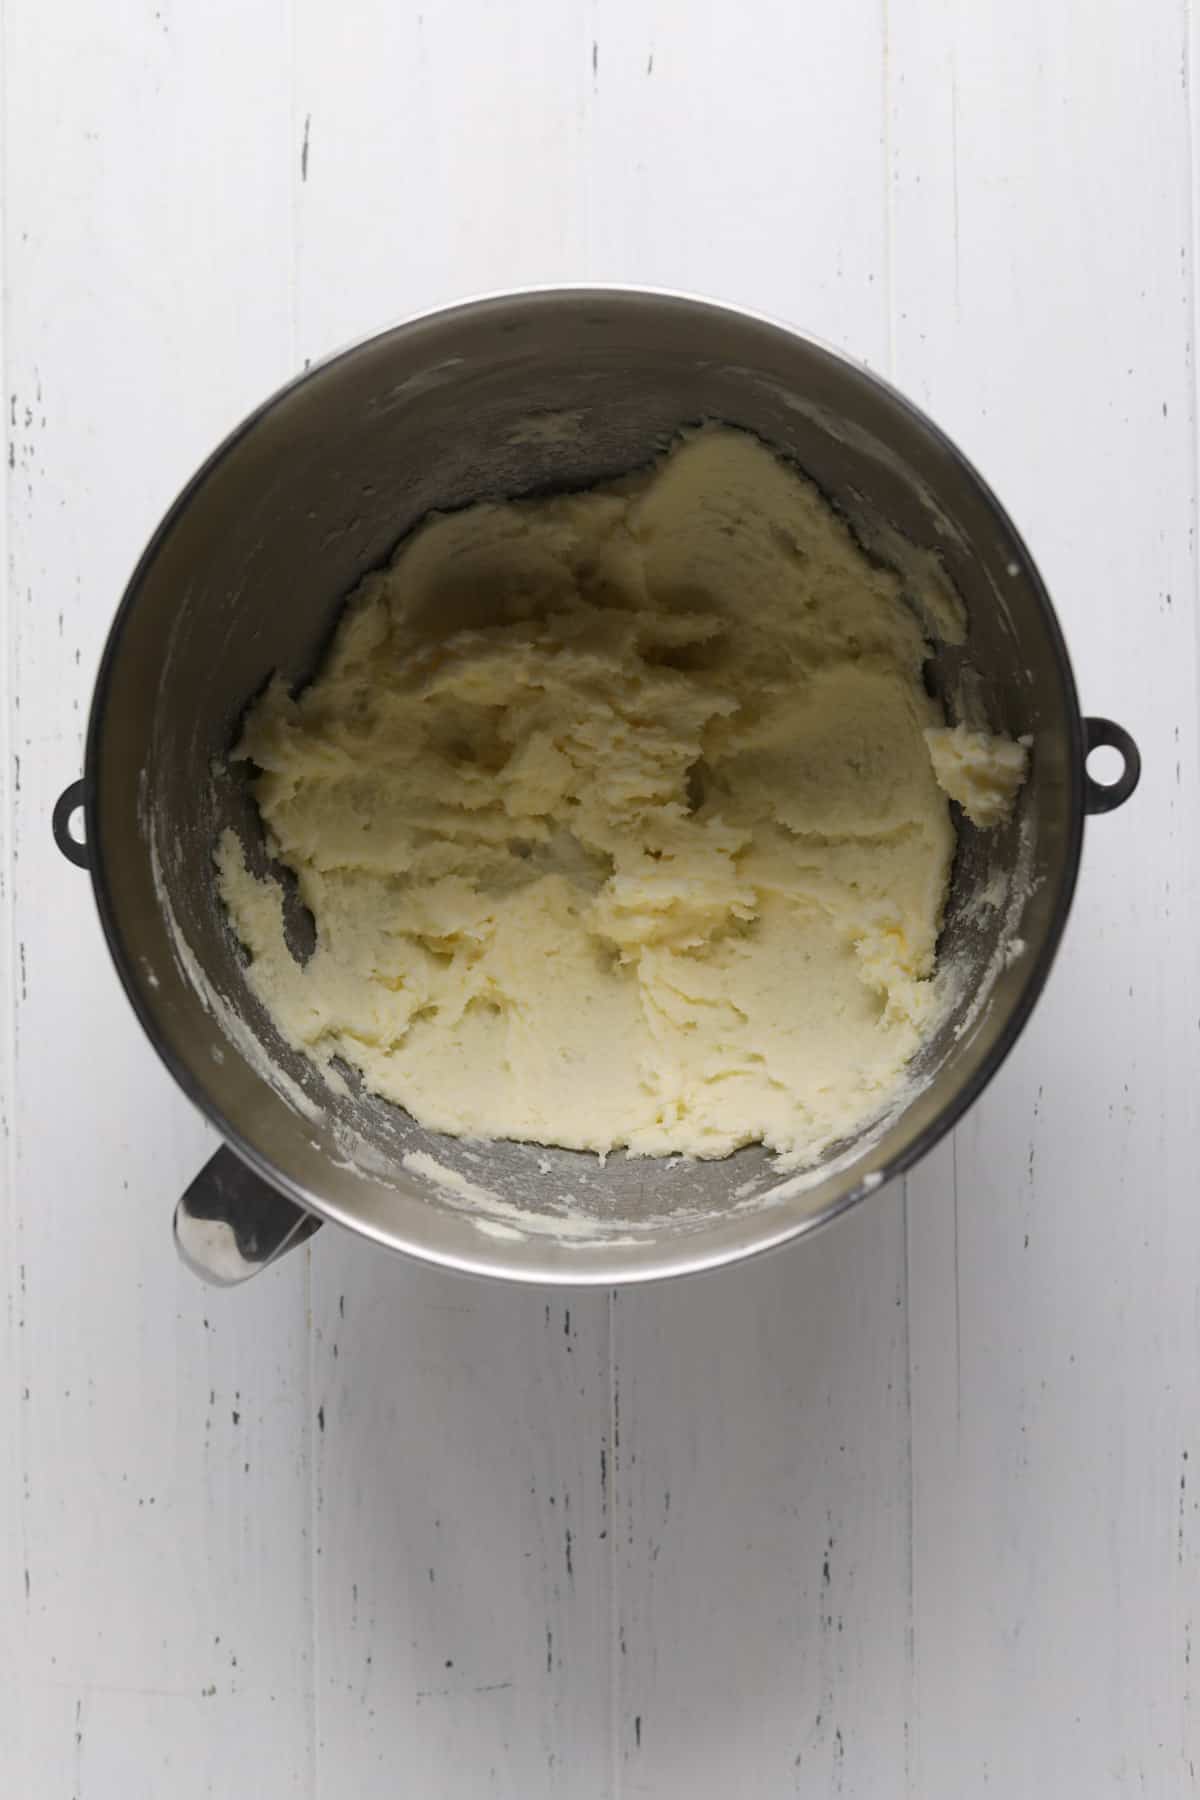
Cream butter and sugar. Beat for 2 minutes until light and fluffy.
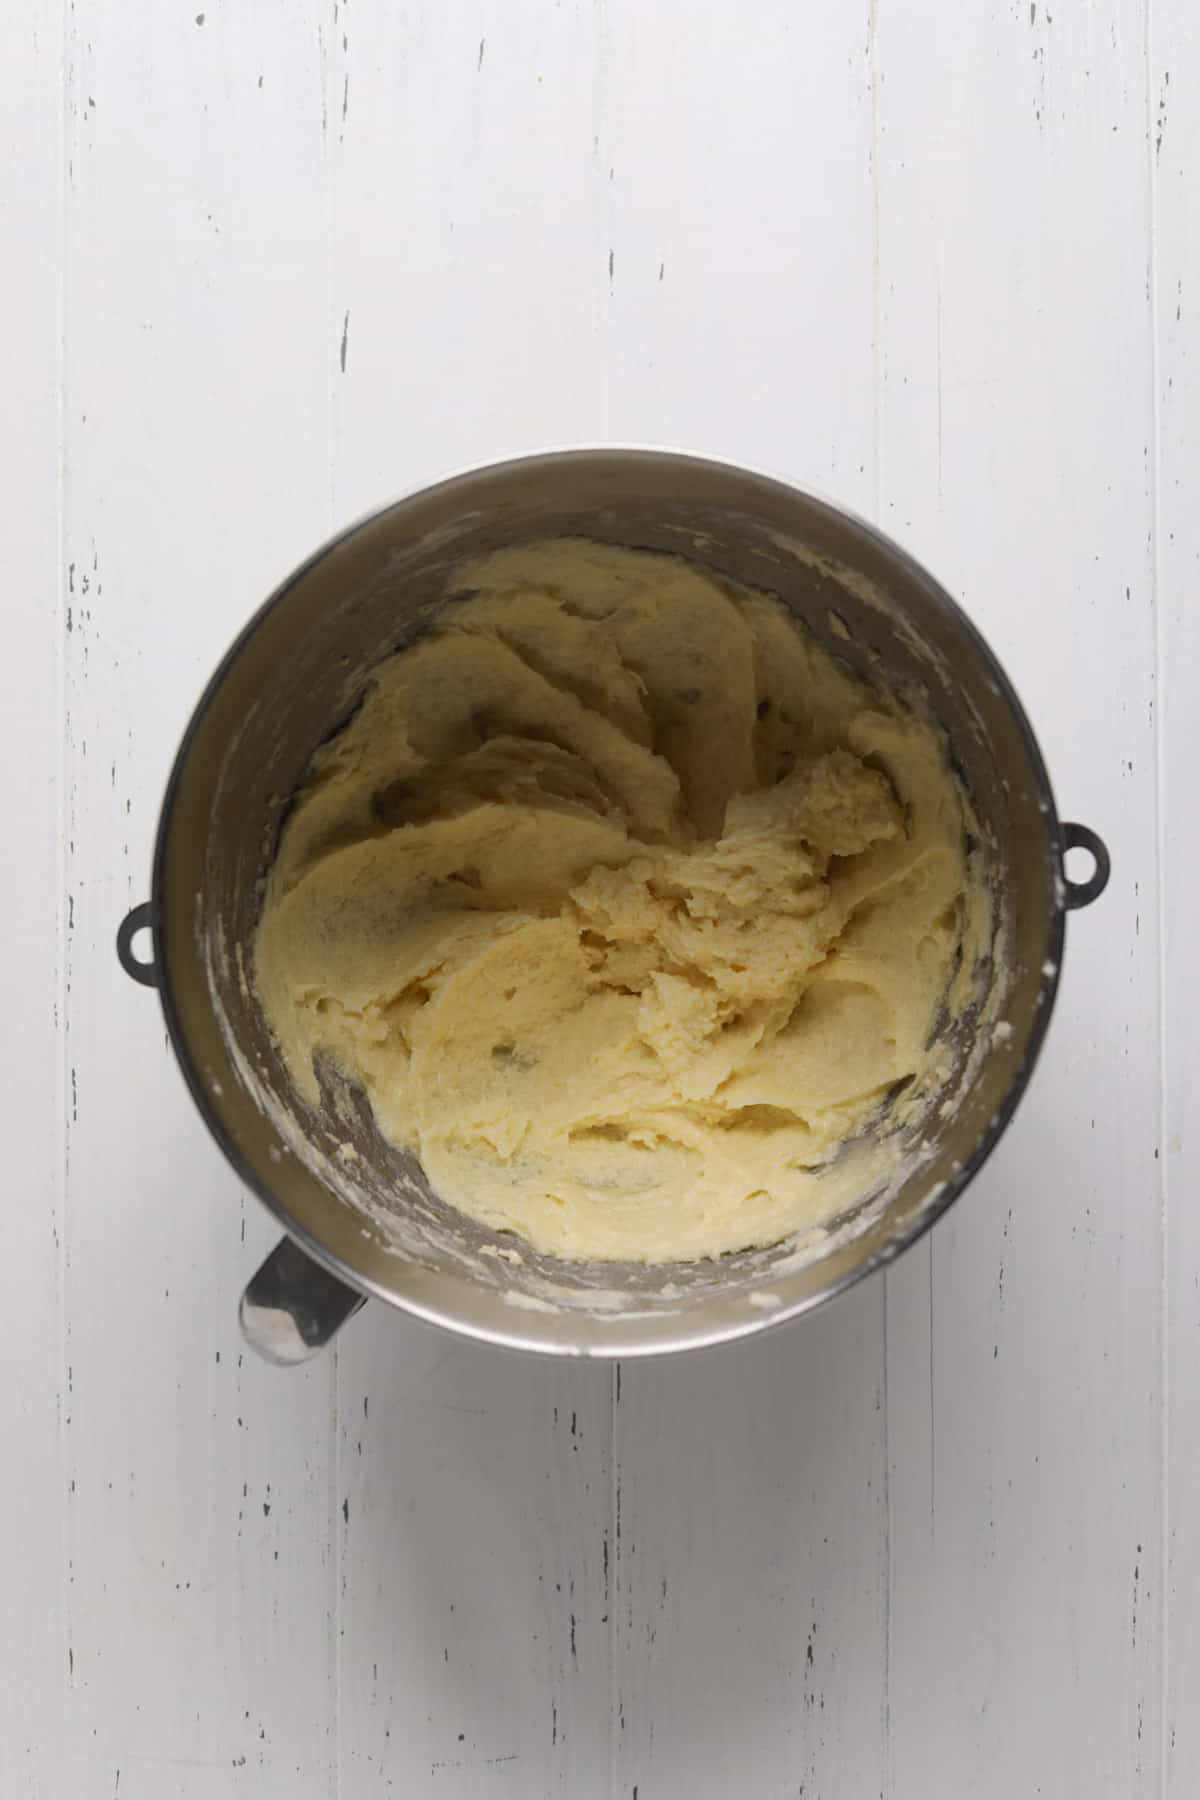
Add eggs and vanilla. Mix the eggs one at a time until combined, and add the vanilla.
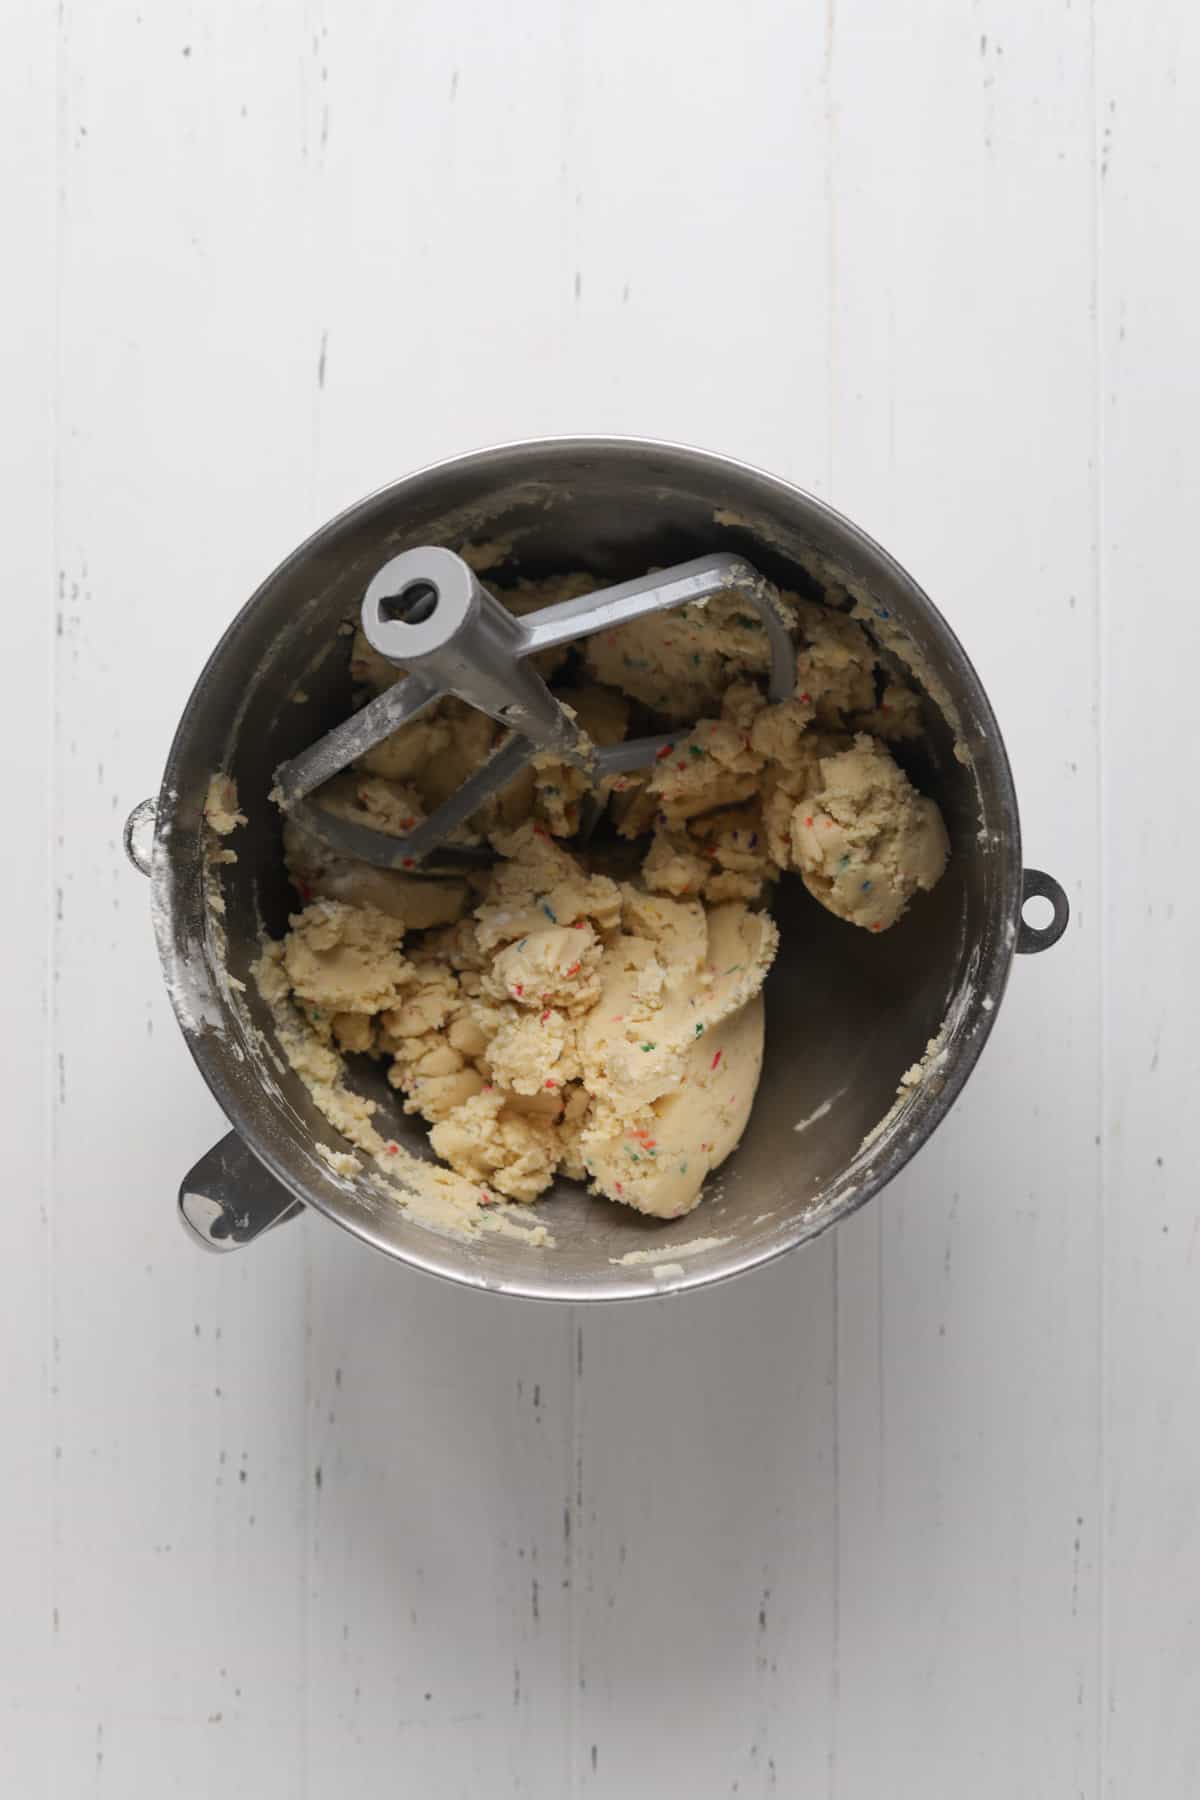
Add dry ingredients. Slowly add the flour mixture and then the sprinkles. Mix until the dough comes together.
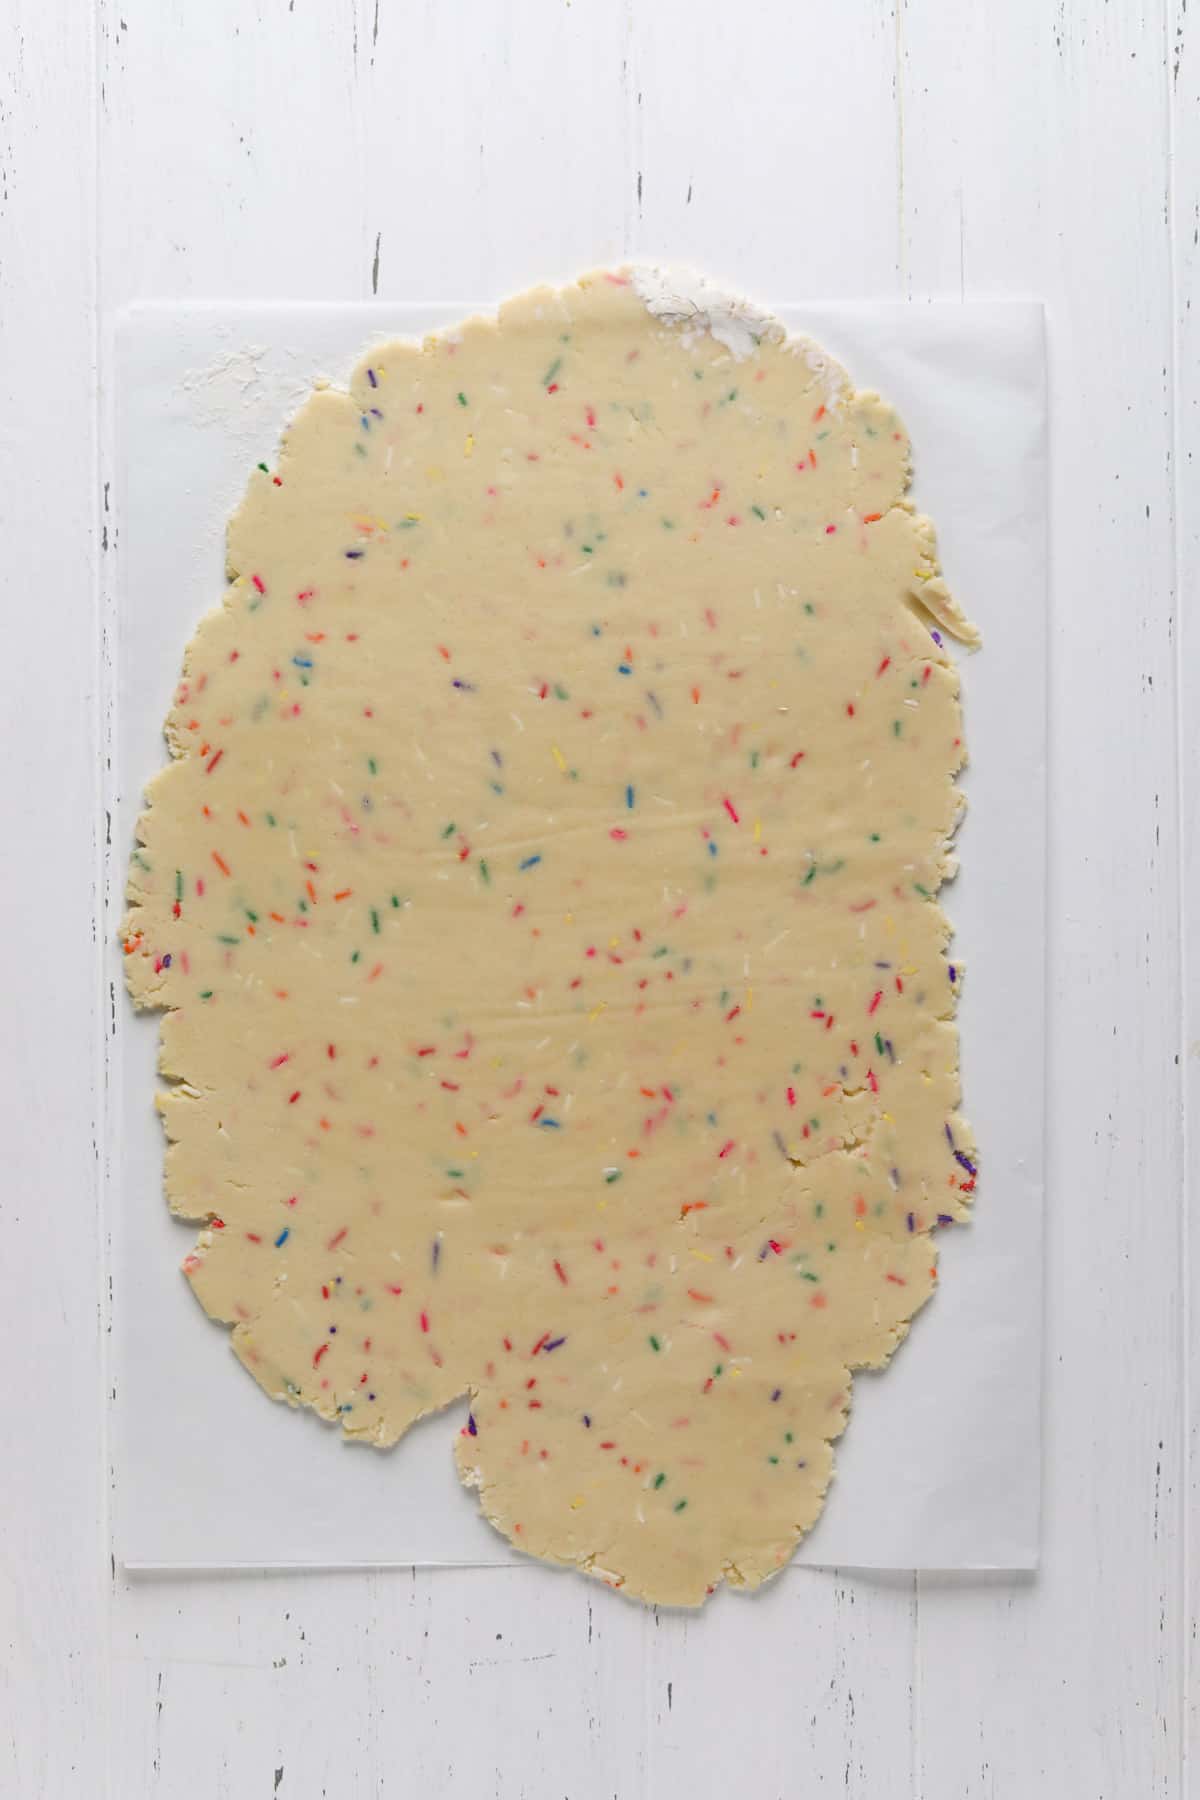
Divide the dough. Cut the dough in half. Roll each half between parchment paper and refrigerate.
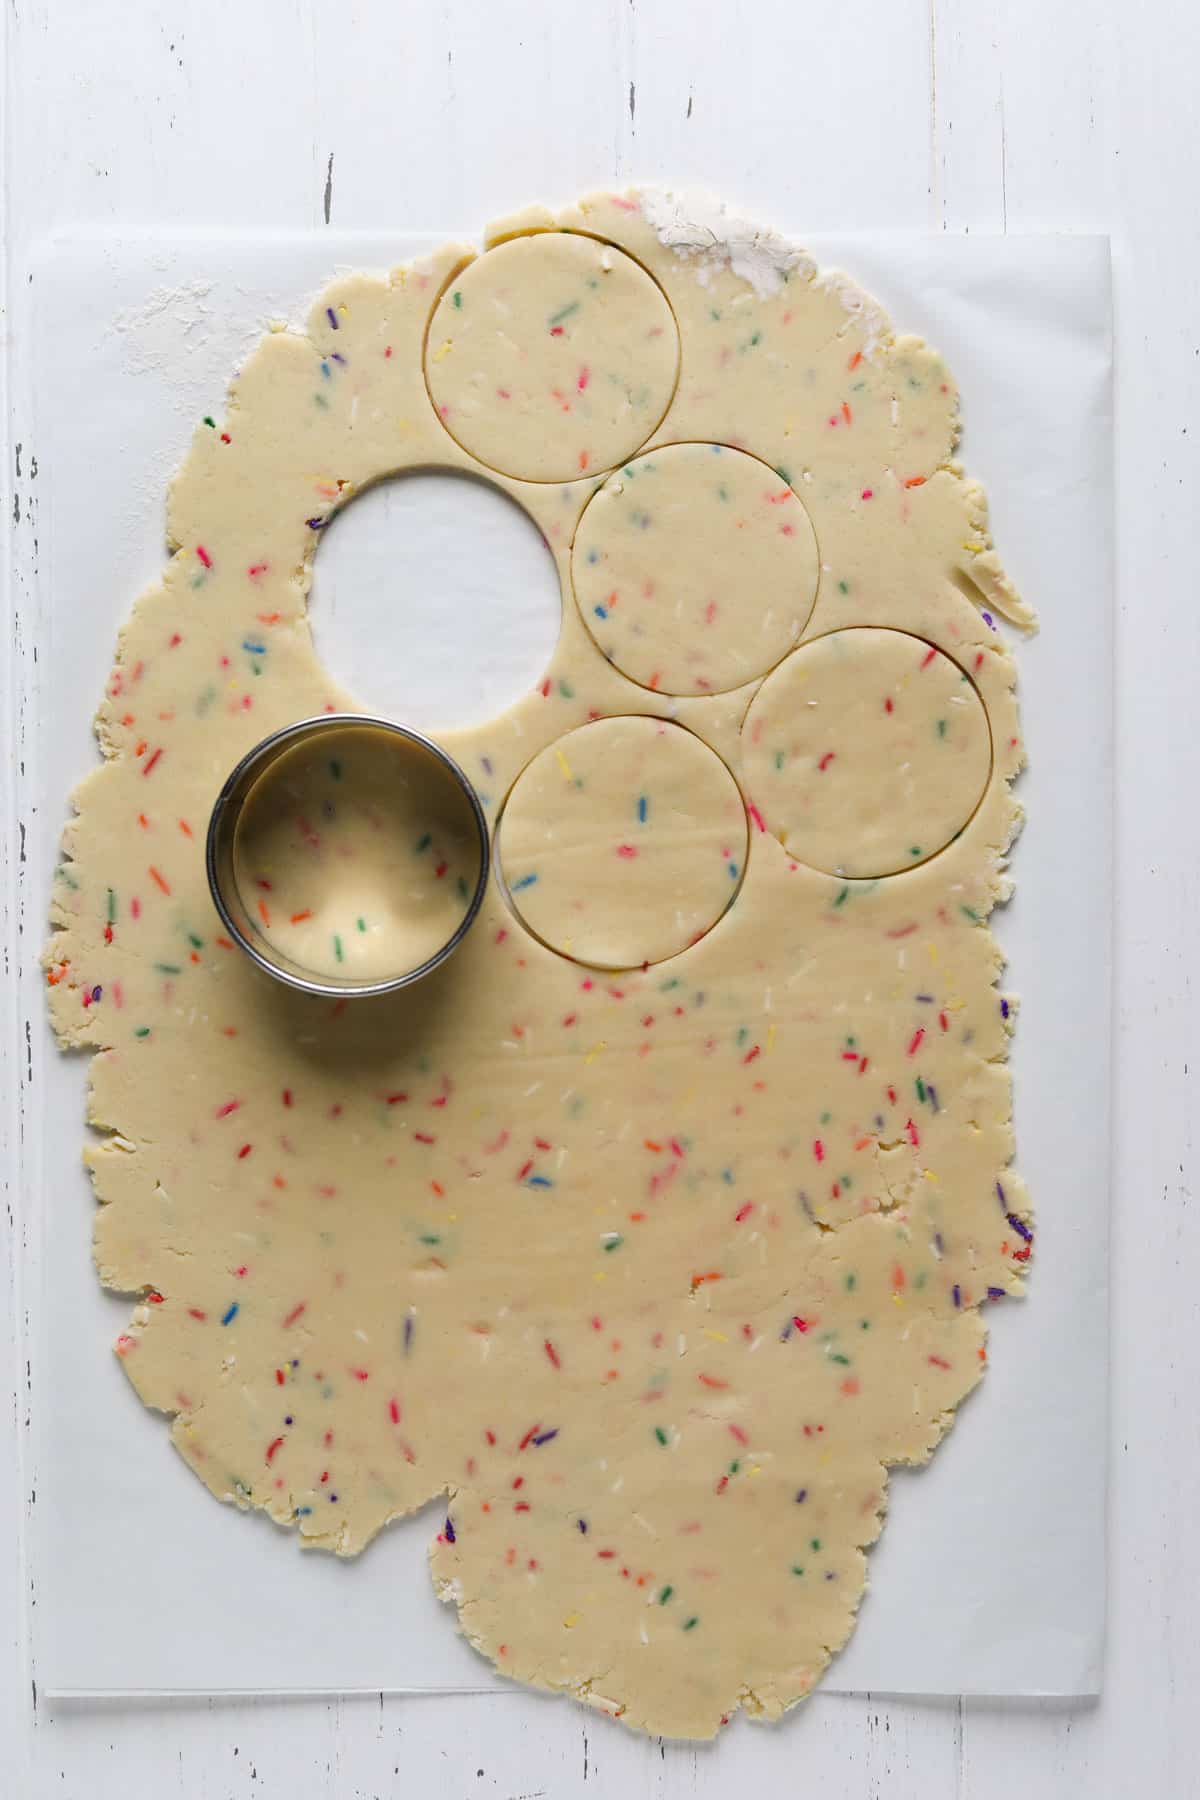
Shape the dough and bake. Use your favorite cookie cutters to cut the dough into shapes. Arrange on the sheet pans and bake one pan at a time.
What's the Best Thickness for Funfetti Cutout Sugar Cookies?
I recommend a ¼-inch thickness for these funfetti roll-out cookies. It’s not too thick or thin, but if you prefer thick cookies, you can roll them out to ⅜-inch (add 1-2 minutes to the baking time).
If you love sprinkle cookies but want to skip the process of rolling and cutting, you can make these funfetti cookies. They’re soft, chewy, and you don’t need to chill the dough.
The Trick for the Perfect Cookie Shape
Chilling the cookie dough in the refrigerator helps prevent the cookies from spreading in the oven. But the additional step I recommend is rolling the dough before refrigerating it. Doing this makes it easy to cut the dough and bake immediately (no need to roll cold solid dough into a thin layer!).
Funfetti Sugar Cookie Tips
- Weigh your ingredients. Measuring ingredients by weight produces the most consistent cookies. Incorrectly measuring the flour will result in crumbly dough (too much flour) or cookies that spread (not enough flour).
- Use room temperature ingredients. Bring your eggs and butter to room temperature to ensure your ingredients combine evenly.
- Even sized cookies. It’s fun to bake a variety of shapes. If they are different sizes, bake the similar-sized cookies together for even baking.
Decorating Cutout Cookies
Decorating cutout cookies is fun and a great way to involve kids. Here are some ideas for decorating your cookies.
- Royal icing. One of the most common ways to decorate cookies is with royal icing. Use gel food coloring to get the best colors without affecting the consistency of your icing.
- Buttercream. Try Swiss meringue buttercream for a silky finish to these cookies. I love cutting the cookies into rounds and using a star tip to create a swirl on top.
- Sprinkles. You can skip the frosting. Brush the unbaked cookie dough shapes with milk and add rainbow sprinkles. They’ll stick to the milk for an easy decoration.
Recipe Variations
- Almond extract. Love the flavor of almond extract? It pairs well with these cookies. Replace half of the vanilla with pure almond extract.
- Ice cream mix-in. Leftover cookies? No problem, break them into small pieces and mix them into vanilla ice cream for a fun mix-in.
- Chocolate dipped. Dip your cooled cookies into dark or white chocolate like these shortbread cookies. You can even drizzle it over the cookies.
Storage & Freezing Tips
One of the benefits of funfetti cutout cookies is that they will stay fresh for a long time!
- At room temperature. Keep the cookies stored in an airtight container at room temperature for up to 2 weeks.
- In the freezer. Store the cookies in a freezer-safe container and freeze them for up to 3 months. Make sure the cookies are completely cooled before freezing.
Note: Because of their long shelf life, funfetti rollout cookies are great for mailing to family and friends. They’re also perfect for prepping ahead for the holidays. Use holiday-themed sprinkles for a festive treat!
Frequently Asked Questions
Yes, you can reroll the dough. I recommend minimizing the number of times that you do it. Otherwise, the dough will become overworked and dense.
Sugar cookies have a thicker batter that spreads easily in the oven, while the dough for cutout cookies is rolled and cut into shapes with minimal spreading.
Warm dough or an oven with a lower temperature than suggested can cause the cutout funfetti cookies to spread. I highly recommend using parchment paper because greased sheet pans also lead to the cookies spreading.
Love Sprinkles? Try These Other Recipes
Please leave a starred rating and comment below if you make these Funfetti Cutout Cookies. I love reading your feedback! And if you’d like to make this recipe later, don’t forget to pin it on Pinterest! Happy Baking!
Print
Funfetti Cutout Cookies
- Total Time: 1 hour 10 minutes
- Yield: 3 dozen cookies 1x
Description
Soft, buttery Funfetti Cutout Cookies are fun and festive for any occasion. Use your favorite cookie cutters to cut the dough into different shapes. These cookies have a short chill time and bake into perfectly shaped cookies without spending.
Ingredients
- 560 g (4 cups) all-purpose flour
- ½ teaspoon salt
- ¼ teaspoon baking powder
- 226 g (1 cup) unsalted butter, at room temperature
- 330 g (1 ½ cups) granulated sugar
- 2 large eggs, at room temperature
- 2 teaspoons pure vanilla extract
- 65 g (⅓ cup) sprinkles
Instructions
- Preheat oven to 350°F/177°C. Line two baking sheets with parchment paper or silicone baking mats. Set aside.
- In a medium bowl, whisk together flour, baking powder, and salt. Set aside.
- In a large bowl, using a hand-held mixer or stand mixer fitted with the paddle attachment, beat the butter and the sugar on medium speed until light and fluffy, about 2 minutes.
- Mix in eggs, one at a time, until combined and scrape down the sides and bottom of the bowl between each addition. Add the vanilla and mix until combined.
- On low speed, slowly add the flour mixture to the butter mixture and mix until incorporated. Add the sprinkles and increase the mixer to medium speed. Mix until the dough begins to pull from the sides of the bowl.
- Divide the dough into two portions. Roll one of the portions to a ¼-inch (0.6 cm) thickness between two pieces of parchment paper. Refrigerate with parchment paper for 30 minutes.
- Meanwhile, roll the second portion of dough between an additional two pieces of parchment paper and refrigerate.
- Remove the first portion of dough from the refrigerator and remove the parchment paper. Cut the dough into desired shapes using cookie cutters and transfer to prepared baking sheet pans.
- Bake for 8-10 minutes. Allow cookies to cool for 5 minutes on the hot sheet pan, and then transfer to a wire cooling rack to cool completely. Repeat with the second portion of the dough and any leftover scraps.
Notes
Storage: Keep the cookies stored in an airtight container at room temperature for up to 2 weeks.
Freezer: Store the cookies in a freezer-safe container and freeze them for up to 3 months. Make sure the cookies are completely cooled before freezing.
Rerolling: Minimize the number of times you reroll the dough otherwise, it will become overworked and dense.
Almond extract: Replace half of the vanilla with pure almond extract if you love the flavor.
- Prep Time: 30 minutes
- Cook Time: 10 minutes
- Category: Cookies & Bars
- Method: Baking
Ash says
Hi there, I don't have an electric mixer, will these turn out ok if mixed by hand? I'm a massive beginner in anything baking.
Maria Pagiotas says
Hi Ash! You can make these by hand, the texture might turn out a little different but they will still be pretty and delicious! To cream the butter and sugar you'll want to combine them with a wooden spoon. Mash the butter and sugar together. Then switch to using the back of a fork and beat the mixture together until light and fluffy (this could take a few minutes). This step will involve the most elbow grease in the process. Happy baking, let me know if you have any other questions 🙂
Beatriz Fernández says
Love this recipe!!!
How long ahead I can prepare the dough and keep it refrigerated?
Can the dough be frozen?
Or is better to bake the cookies and then freeze them?
Maria Pagiotas says
Hi Beatriz! So happy you love this recipe 🙂 You can prep the dough up to 3 days in advance and keep it refrigerated. You could also freeze the dough for up to 3 months in a resealable plastic bag or container and thaw overnight in the refrigerator before rolling the dough out. In terms or preparing them ahead of time, you can bake them and freeze them or freeze the dough. I've done both and either works well! So I would do whatever is better for you! Happy Baking!
Natalie says
Can you use gluten free flour?
Maria Pagiotas says
Hi Natalie! I've never tested this recipe with gluten free flour but I would think you could use a cup-for-cup gluten free flour especially since these cookies don't need to puff up or spread.
Whitney says
I followed this recipe exactly as you say and the taste is halfway okay but the cookies literally all have fallen apart and will not stay together. When I put them in the oven they literally spread. I was making these to make royal icing cookies ? Your ingredients are off.
Maria says
Hi Whitney, I'm sorry to hear these cookies were not up to your expectation. Cookies falling apart sounds like too much flour. I always recommend measuring flour with a scale for consistency. If you do not have a scale and are using cups it's very important to measure flour carefully or too much flour will be used. You can do this by scooping the flour with a spoon into the measuring cup and leveling with a knife. Adding too much flour will also affect the flavor of any cookies. Hope this helps for future reference 🙂
Melissa says
I have my ingredients to make these cookies, but need to know if they can be frozen either before decorating with my royal icing or after. I do not want to ruin a whole batch of cookies by doing it I. the wrong order. TY in advance for your help!
Maria says
Hi Melissa! You can freeze the cookies with or without the royal icing. If you are using colored royal icing or sprinkles there is a chance that it could bleed when you thaw them so to play it safe I would suggest freezing them before icing them. If you are freezing them with the royal icing ensure that the icing is completely dry. Place in an airtight container with parchment paper or wax paper between layers. Happy Baking 🙂
Mallory says
I've been a hobby cookier for years and I used this recipe to make Valentines for my niece to give to her class. I used Valentine's-colored jimmies and cut the cookies into heart shapes, which I decorated to look as if the icing was dripping to coordinate with the paper backing cards that said "You melt my heart!" This decoration left the majority of the cookie exposed so that you could see the jimmies. SO CUTE. As for the texture and flavor, these were more shortbread-like than my signature recipe. I did a taste test with my extended family (my harshest cookie critics), and everyone loved them!! I used Williams Sonoma cookie sheets and Chua baking mats, and these did not spread at all. I'll be using this recipe a lot!
Maria says
Hi Mallory! Your cookies sound like they are super adorable! I'm sure your niece's classmates all loved them! Thank you so much for sharing and I'm so happy your family loved the flavor. Happy Baking 🙂
Bethany says
Is it 2 cups or 2 sticks of butter? Cause on my scale 226 g of butter equals 2 sticks (which is 1 cup) of butter
Maria Pagiotas says
Hi Bethany! Thank you for catching this. It should be 226 (1 cup) of butter. I have adjusted this in the recipe! Happy Baking!