
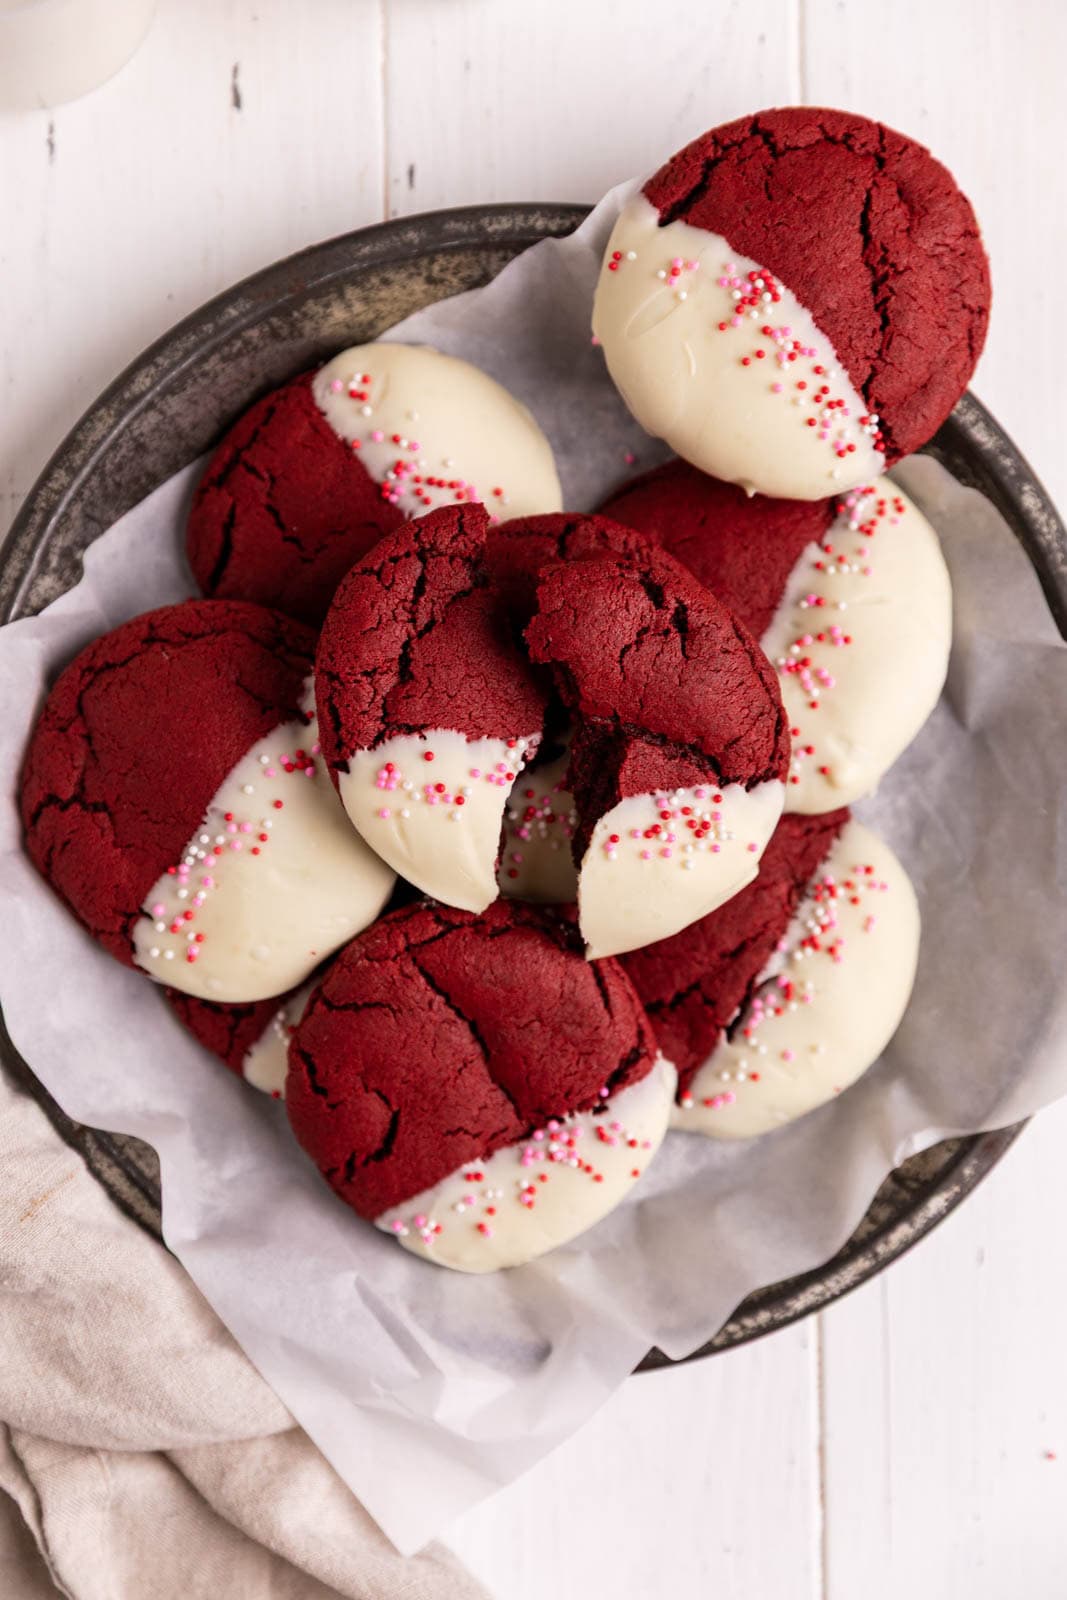
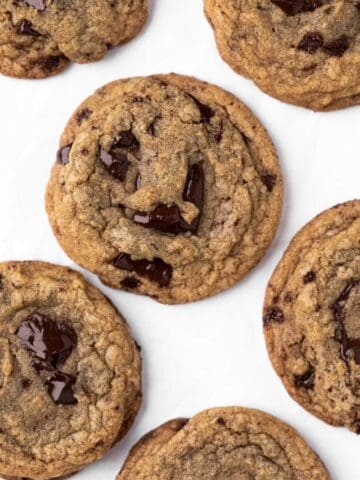
These Red Velvet Cookies have brownie-like centers, crispy edges, and a hint of cocoa for that classic red velvet flavor. The dough comes together in one bowl without a mixer, and a combination of more brown sugar than granulated sugar plus an extra egg yolk gives these cookies their thick, chewy texture. They’re ready in just 45 minutes, making them perfect for busy weeknights.
Save This Recipe! 💌
On weeknights, you’ll usually catch me baking one of my easy cookie recipes to restock our cookie jar. I’ve always loved red velvet cake, but I wanted a version that felt more practical for everyday baking, something that delivers the same familiar flavor in a much simpler, cookie form. These red velvet cookies hit that sweet spot.
The subtle cocoa flavor reminds me of my chocolate sugar cookies, while the soft, fudgy centers are similar to my one-bowl brownies. They satisfy a chocolate craving without being too rich, and feel special without turning into a whole baking project.
When I’m in the mood to dress these cookies up, I love finishing them with a simple white chocolate dip, especially for the holidays or Valentine’s Day, but they’re just as delicious on their own.
Key Ingredient Notes
- Cocoa powder: I use Dutch-processed cocoa powder for these cookies. It gives a slightly deeper, smoother chocolate flavor without being overpowering. Natural cocoa powder will work in a pinch, but the flavor won’t be quite as rich.
- Brown sugar: You can use either light or dark, but I prefer light brown sugar. Dark brown sugar adds more molasses flavor, which can compete with the red velvet flavor rather than complement it.
- Vanilla: We’re using 1 full tablespoon of vanilla extract, so it’s worth reaching for a good-quality one. It rounds out the cocoa and enhances the overall flavor more than you might expect.
- Red food coloring: This is what gives the cookies that classic red velvet look. Gel works best here, giving a deeper, more vibrant red. If you have liquid coloring on hand, you’ll need to use at least 1 tablespoon to get the same look.
- White chocolate: For drizzling or dipping, I use a good-quality white chocolate baking bar rather than chips. Roughly chop it before melting.
Please see the recipe card for the complete list of ingredients and measurements.
Step-by-Step: Red Velvet Cookies
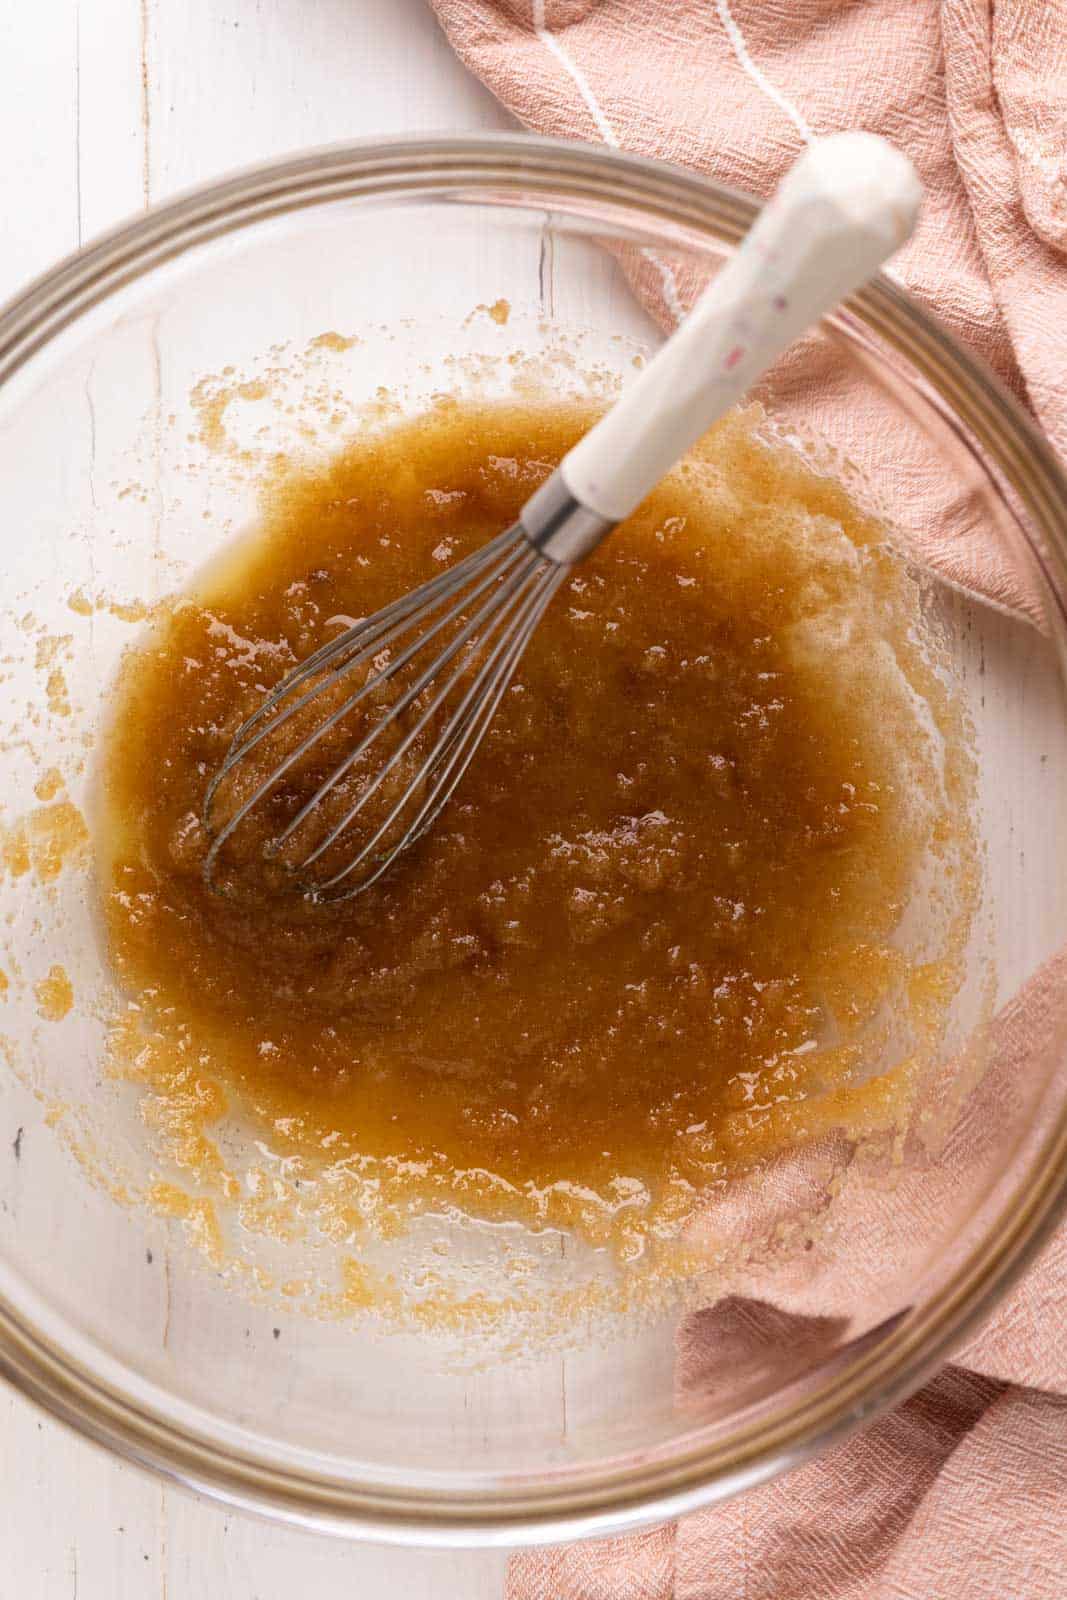
STEP 1: In a large bowl, whisk together the melted butter, brown sugar, and granulated sugar until everything is combined.
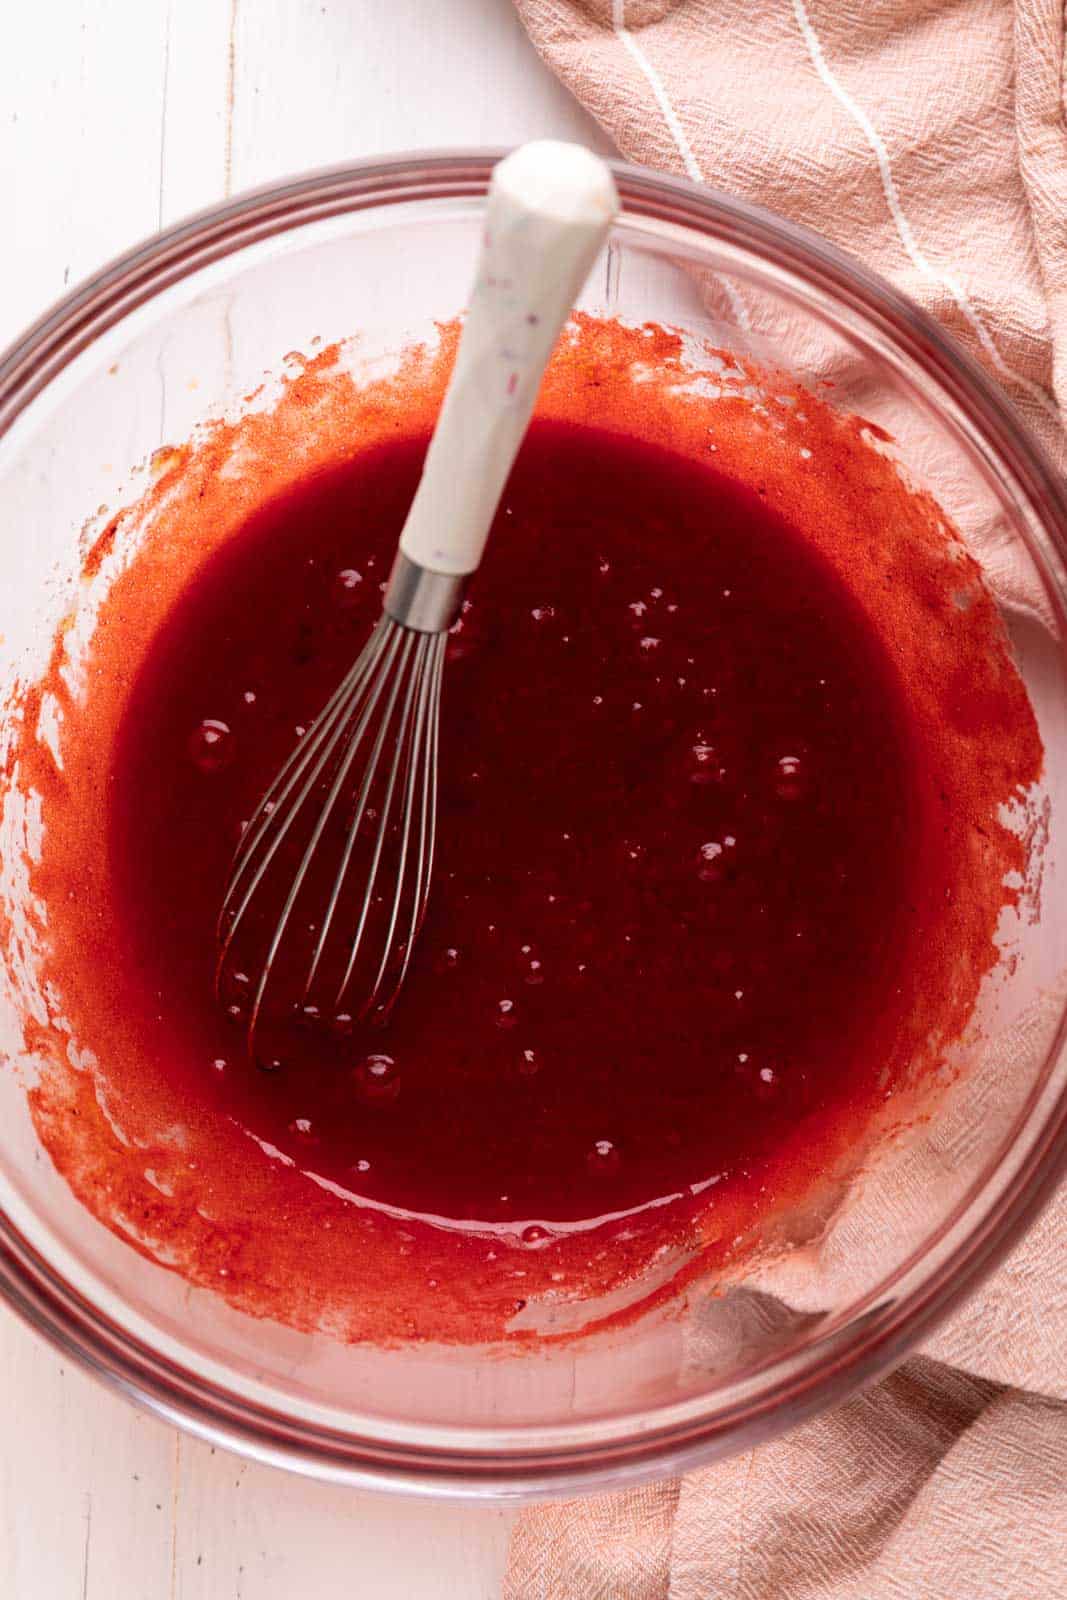
STEP 2: Mix in the egg, yolk, vanilla, and red food coloring until the dough is smooth and evenly colored.
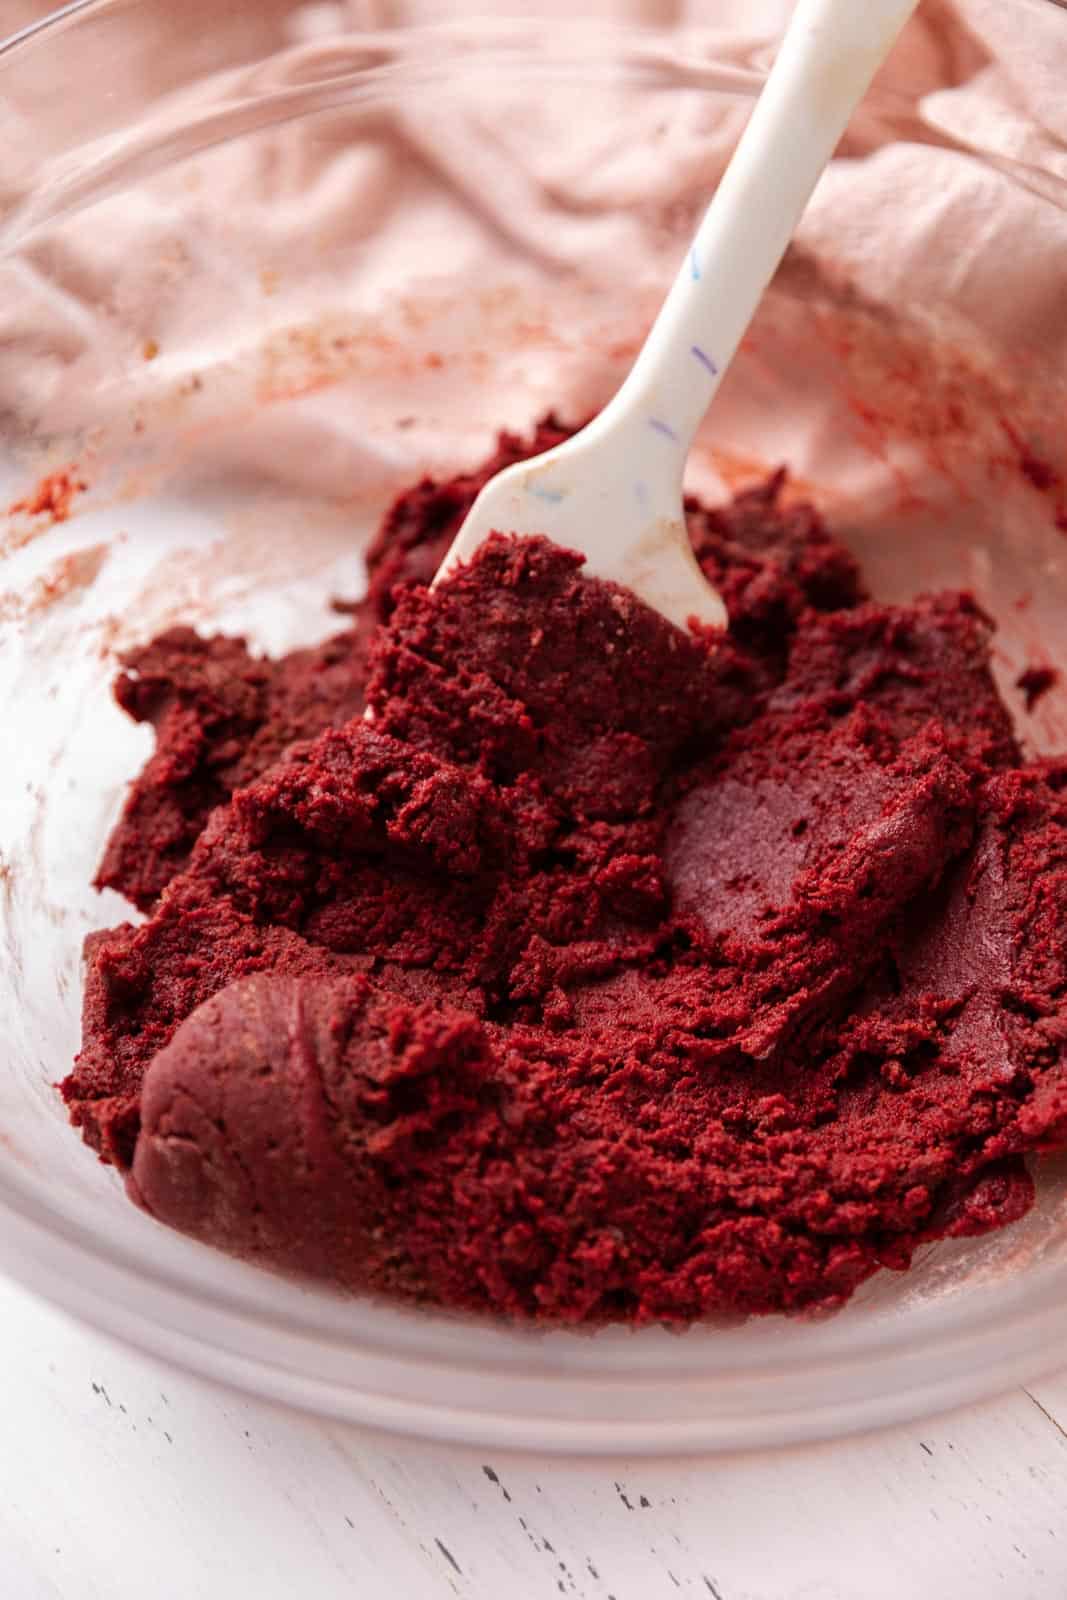
STEP 3: Sift the flour, cocoa powder, baking soda, and salt right over the bowl. Gently mix until no dry streaks remain. The dough will be thick.
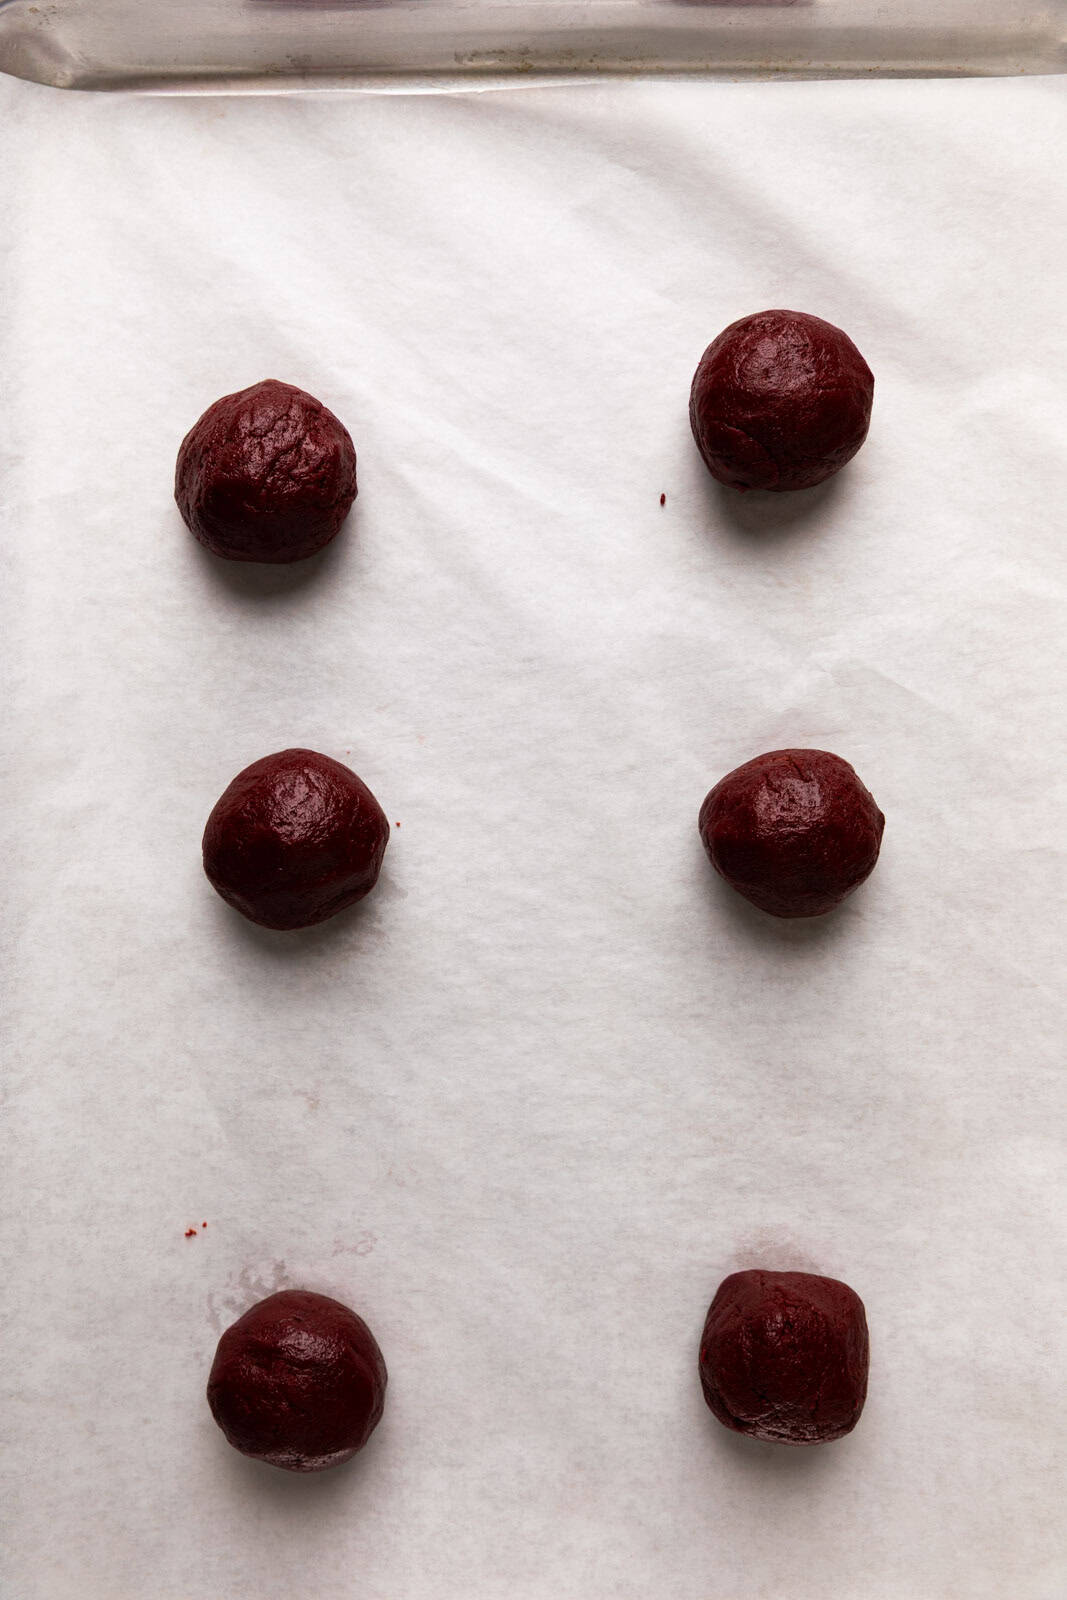
STEP 4: Scoop the dough with a 1 ½-ounce cookie scoop, roll into balls, and place them on the parchment-lined baking sheets, leaving about 2 inches between each cookie.
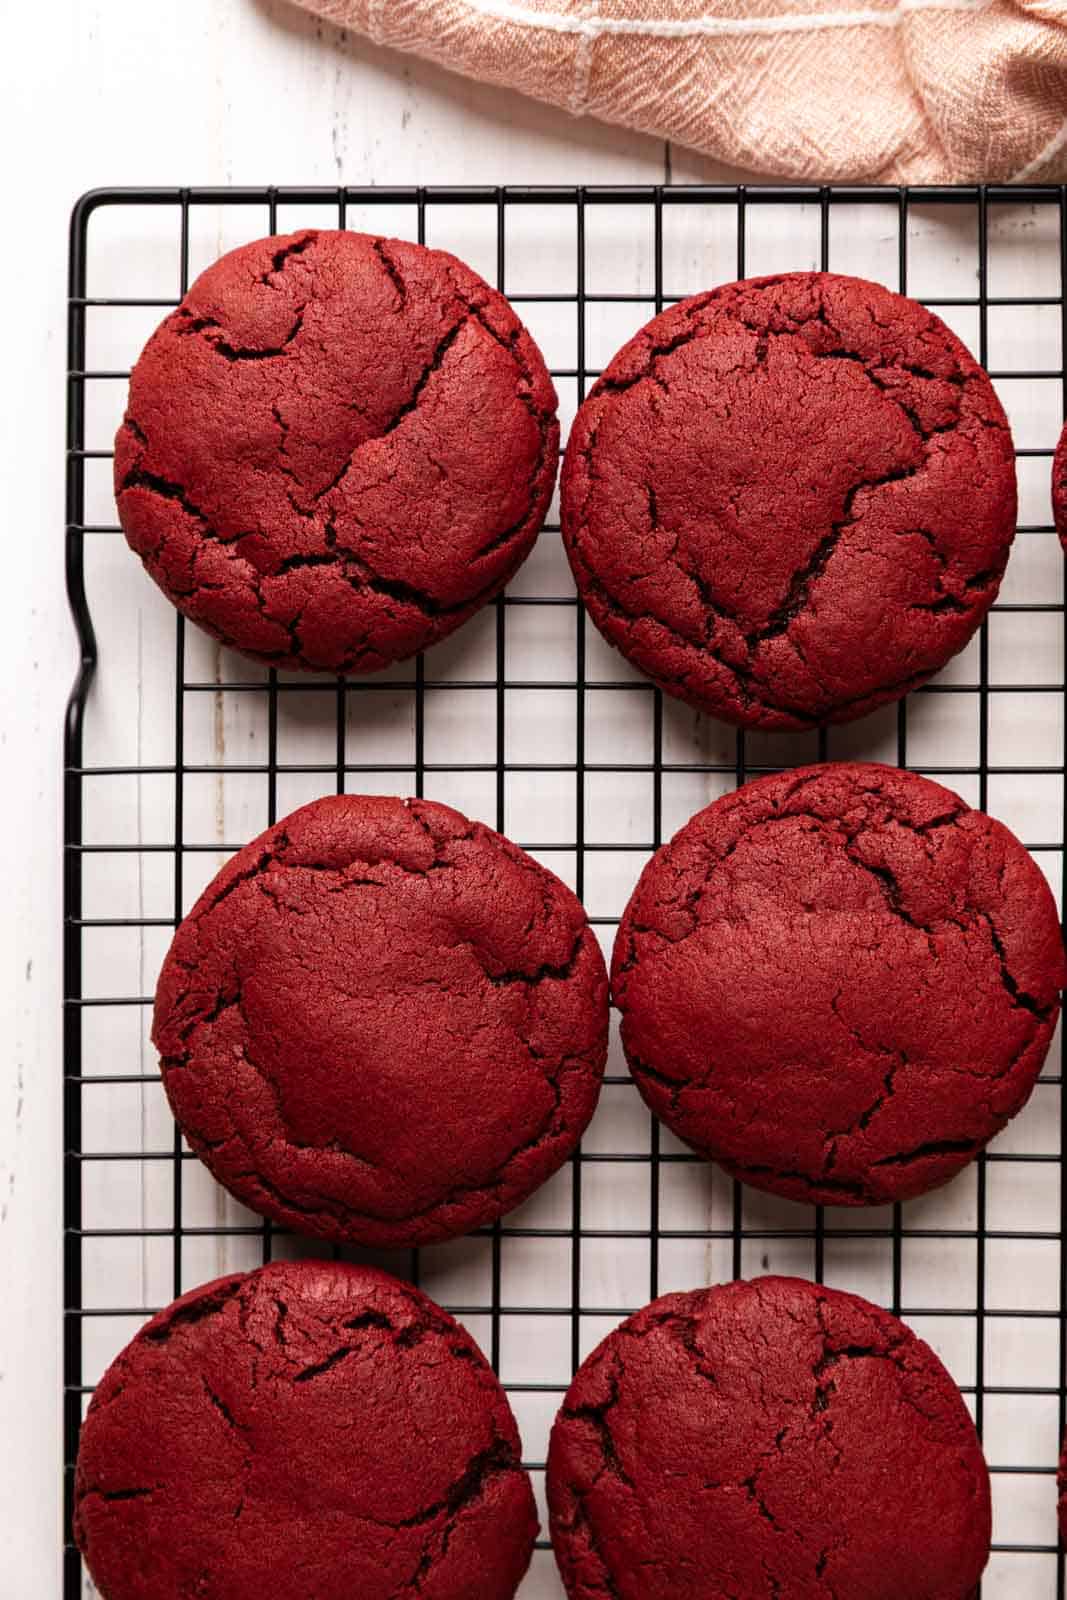
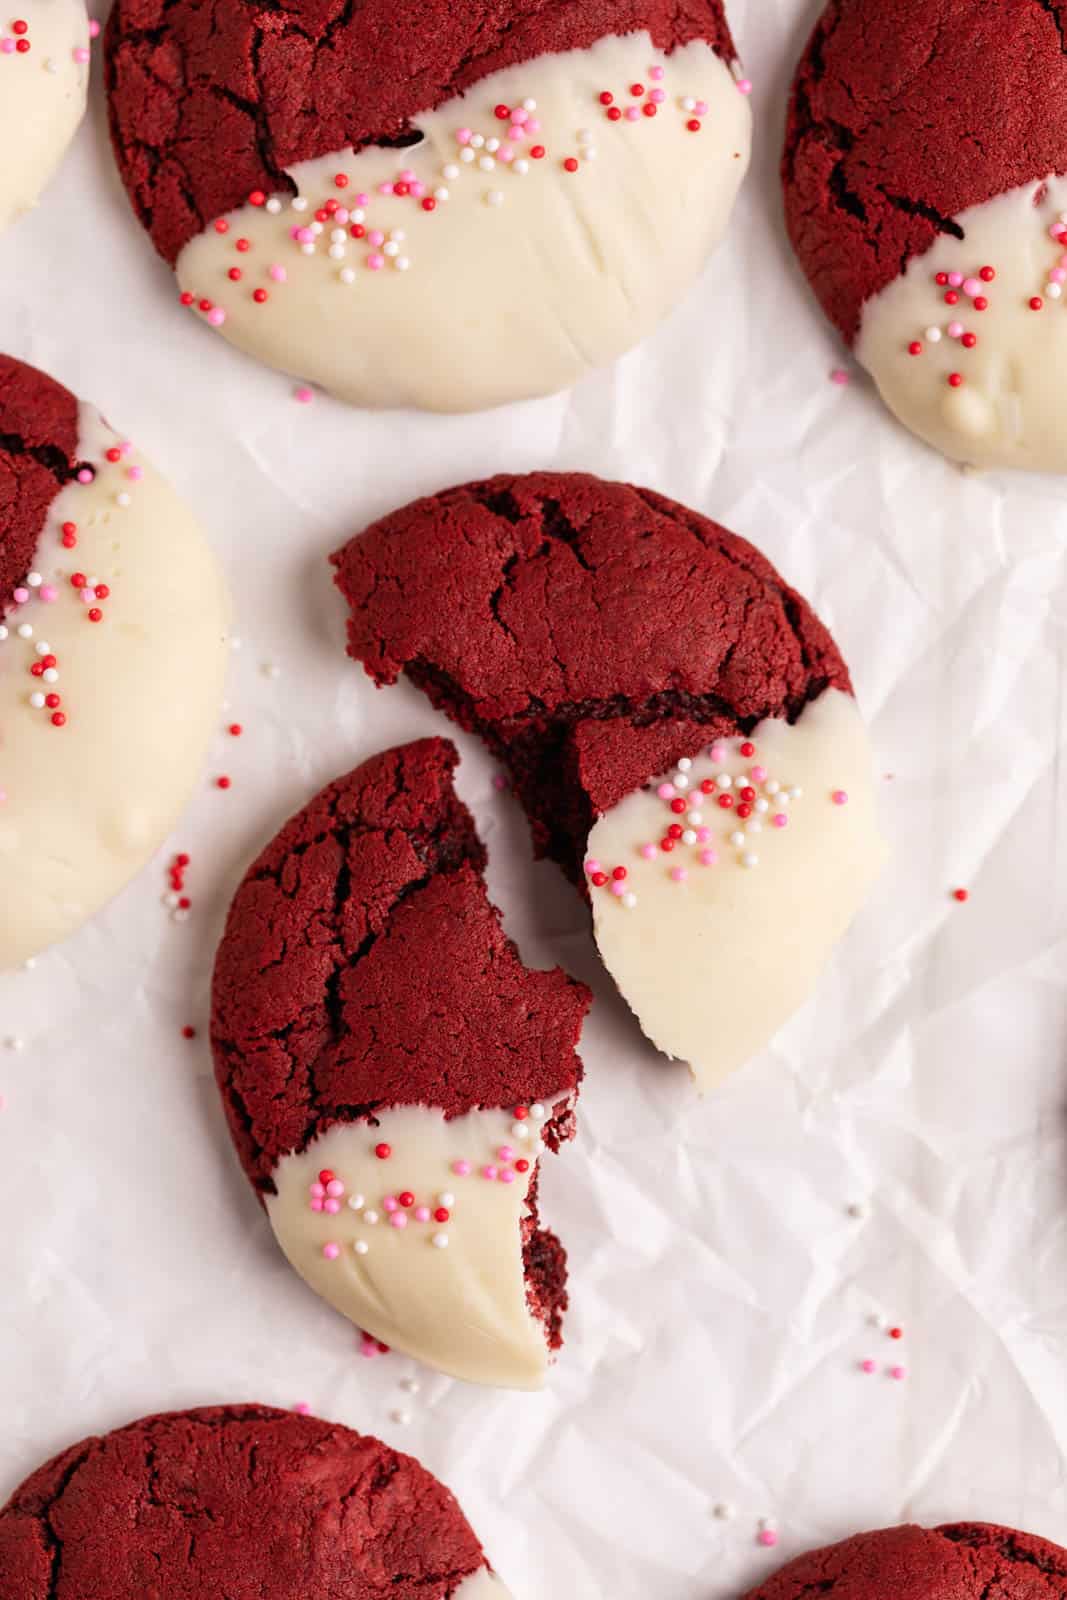
STEP 5: Bake one sheet at a time for 9-11 minutes. You’re looking for cookies with set edges and slightly puffed centers that still look soft.
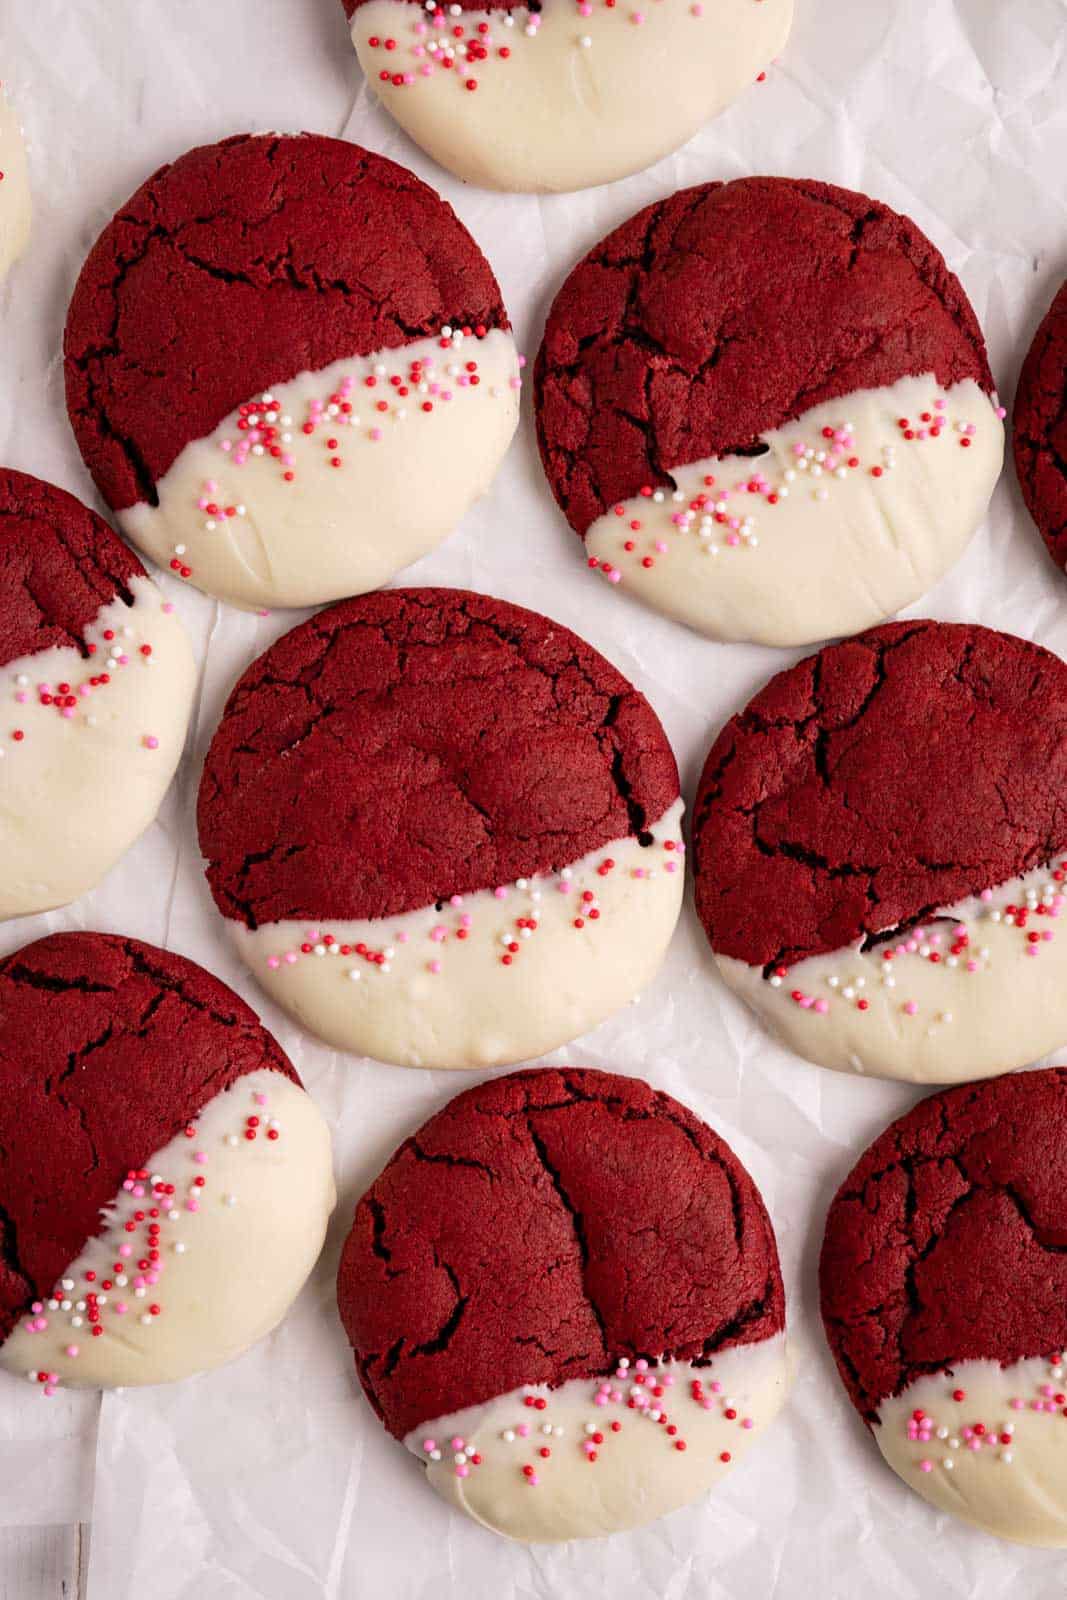
STEP 6: Add the chopped white chocolate to a microwave-safe bowl and heat in 15-second bursts, stirring between each one, until smooth. Dip or drizzle the cooled cookies, then let them set before enjoying.
Tips for Success
- Don’t skip the sifting: Sifting the dry ingredients ensures everything mixes evenly and prevents pockets of cocoa powder in the dough. It’s a small step that makes a big difference in texture.
- Roll the dough into smooth balls: Even if you’re using a cookie scoop, take a quick second to roll the dough between your hands. This helps the cookies bake up with smooth, round tops and edges.
- Use light-colored baking sheets: Light aluminum baking sheets help the cookies bake evenly and prevent the bottoms from browning too quickly. Dark pans can cause the cookies to overbake before the centers are set.
- Pull them out of the oven while the centers still look soft. The cookies will continue to set as they cool, so it’s better to slightly underbake than overbake. Soft, puffy centers are what give you that brownie-like texture.
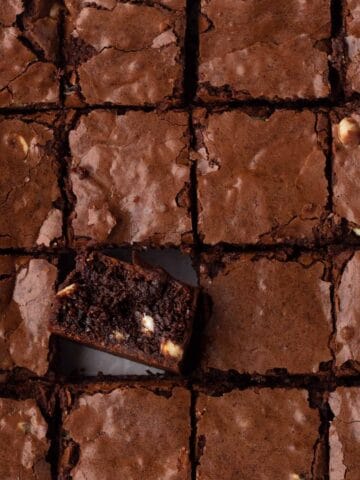
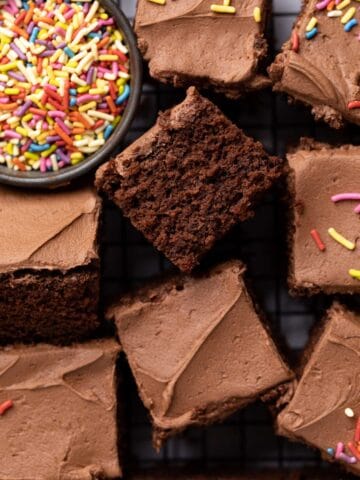
More Recipes to Try

❤️ Made This Recipe & Love It? ❤️
I hope you enjoy this recipe and that it becomes a family favorite! I would love for you to leave me a review and star rating below to let me know how you liked it! And please tag me on social @thesweetoccasion!

Soft & Chewy Red Velvet Cookies with White Chocolate Drizzle (No Chill!)
- Total Time: 45 minutes
- Yield: 12 cookies 1x
Description
These Red Velvet Cookies have brownie-like centers, crispy edges, and a hint of cocoa for that classic red velvet flavor. The dough comes together in one bowl without a mixer, and a combination of more brown sugar than granulated sugar plus an extra egg yolk gives these cookies their thick, chewy texture. They’re ready in just 45 minutes, making them perfect for busy weeknights.
Ingredients
- 113 g (½ cup) unsalted butter, melted and cooled slightly
- 150 g (¾ cup) light brown sugar
- 50 g (¼ cup) granulated sugar
- 1 large egg + 1 yolk, at room temperature
- 1 tablespoon pure vanilla extract
- 1 teaspoon red gel food coloring
- 220 g (1 ⅔ cups) all-purpose flour
- 20 g (¼ cup) unsweetened cocoa powder
- ¾ teaspoon baking soda
- ½ teaspoon salt
- 113-226 g (1-2 4-ounce) bars of white chocolate, roughly chopped
Instructions
- Preheat the oven to 350°F/177°C. Line two baking sheet pans with parchment paper.
- In a large bowl, whisk the butter, brown sugar, and granulated sugar until combined.
- Add the egg, yolk, vanilla, and red food coloring and mix until smooth.
- Sift the flour, cocoa powder, baking soda, and salt over the wet ingredients and mix just until combined. The cookie dough will be thick.
- Using a 1 ½ ounce cookie scoop, portion out the dough. Roll each cookie into a ball and arrange on the cookie sheets, spacing 3 inches apart.
- Bake one sheet at a time for 9-11 minutes, until the centers are puffed and the edges are set. Remove from the oven and allow the cookies to cool for 5 minutes on the hot sheet pan before transferring to a cooling rack.
- For the white chocolate: In a microwave-safe bowl, microwave the white chocolate for 15 seconds. Stir, then microwave in 15-second increments until melted and smooth.
- Dip or drizzle the slightly cooled cookies into the white chocolate allow to set at room temperature.
Notes
Thick cookies: If you prefer flatter cookies, ban your sheet pan on a heat-safe surface a couple of times as soon as you remove the cookies from the oven.
White chocolate: If drizzling over the cookies, you only need 4 ounces; if dipping the cookies, use 8 ounces. If using white chocolate chips, then you will need about ⅔ cup for 4 ounces.
Yield: Using a 1 ½-ounce cookie scoop yields 12 cookies. If you make smaller cookies, check after 7-8 minutes of baking. Add 1-2 minutes for larger cookies.
- Prep Time: 10 minutes
- Cook Time: 9 minutes
- Category: Cookies
- Method: Baking


Filiberto Mitchell says
I saw one of these in Barbados and I bought one.
Dean Watsica says
this product is awesome.
Maria Pagiotas says
Hi Dean! I'm happy you like these cookies! There a fun alternative to red velvet cake 🙂
Paris Doyle says
I saw one of these in Saint Pierre and Miquelon and I bought one.
Maria Pagiotas says
We love red velvet cookies! They're so tasty and easy to make!