This post may contain affiliate links, please read my full disclosure policy.
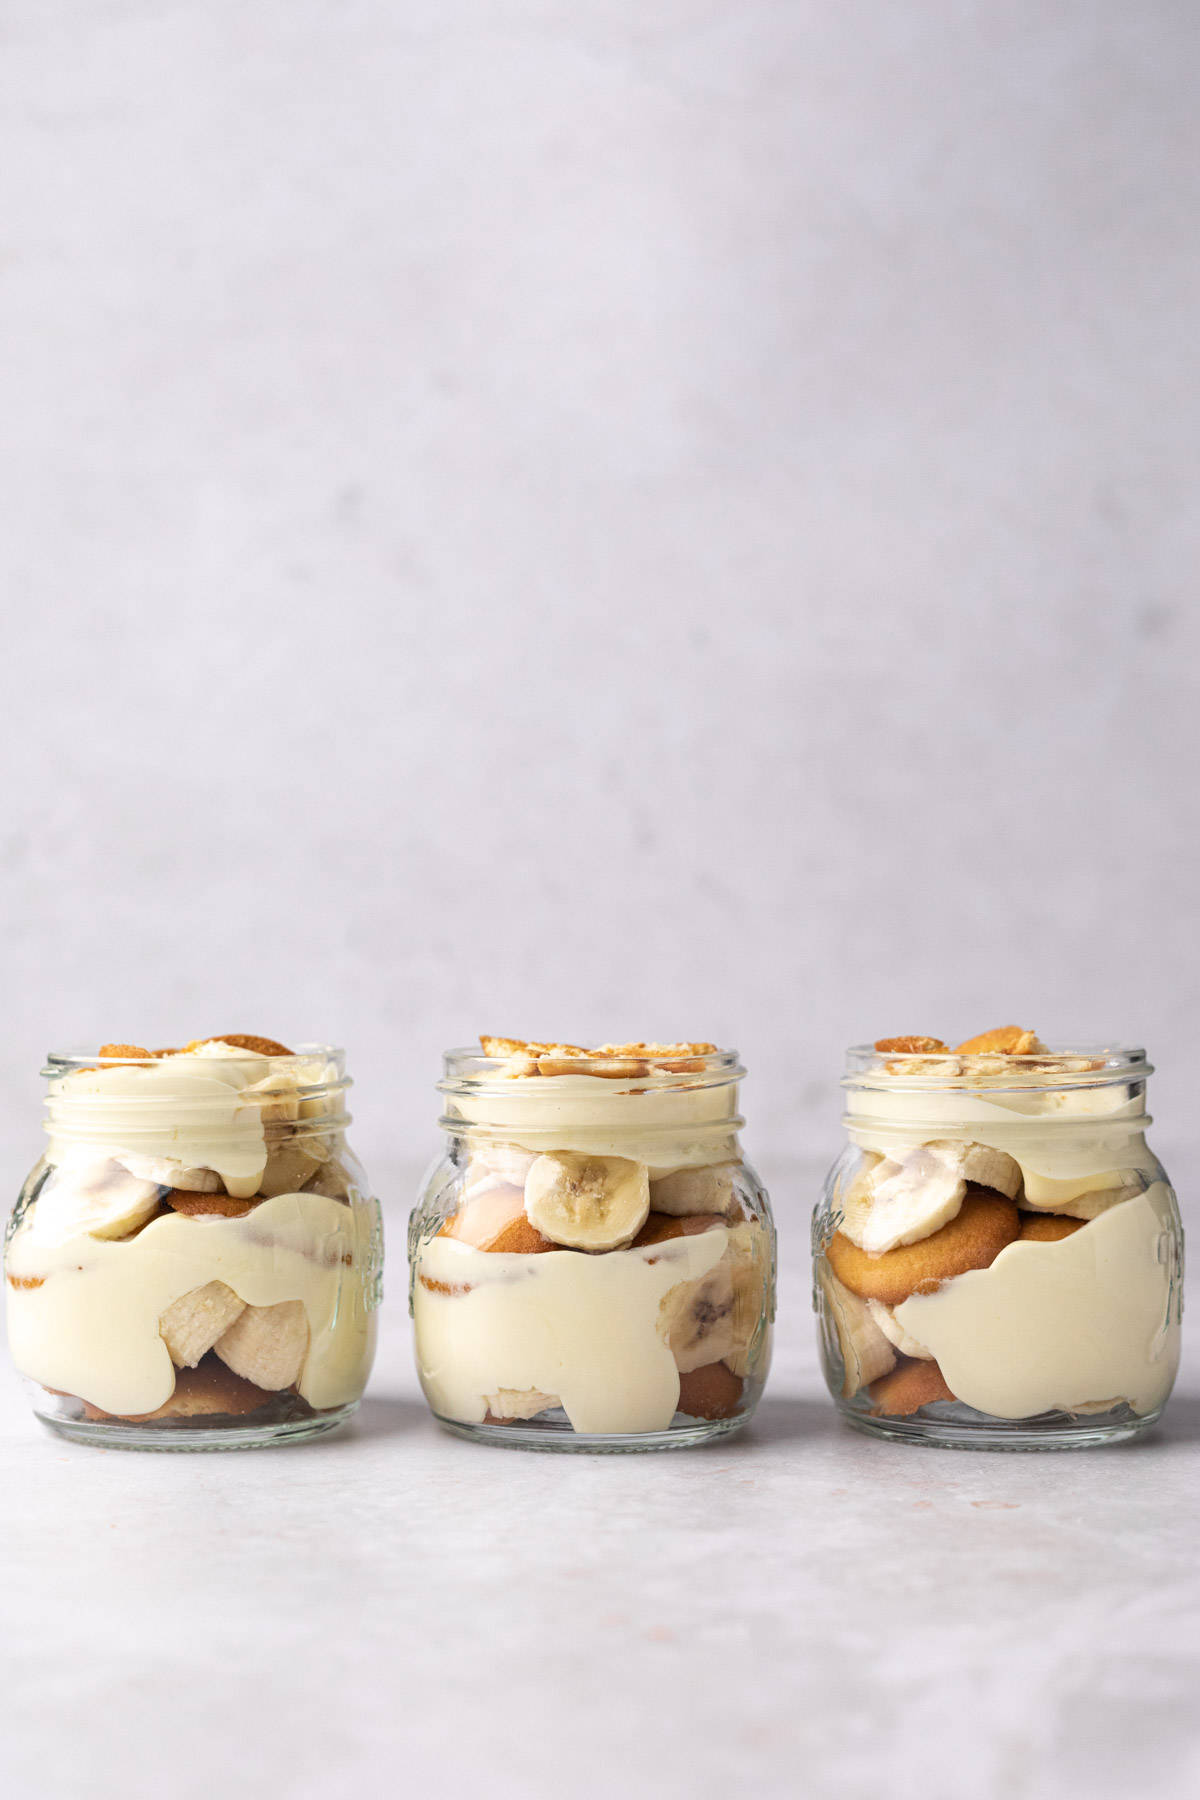
Super easy Banana Pudding in a Mason Jar comes together in just 20 minutes. Layers of vanilla whipped filling, sliced fresh bananas, and vanilla wafers create these beautiful and fun single-serve dessert jars.

If you love fresh and creamy desserts that look and taste like they’re from a bakery but are quick and easy to make, you’ll love this Banana Pudding in a Mason Jar. It’s packed with flavor and perfect to serve at your favorite gatherings.
We love banana recipes, especially banana bread and baked donuts for breakfast, but these single-serve jars will surely satisfy your craving for dessert.
As a trained pastry chef, I love making impressive desserts. But impressive doesn’t always mean complicated. And there is nothing complicated about these pudding jars.
Why You'll Love This Recipe
- Easy to make. This recipe comes together in just 20 minutes and has only six simple ingredients.
- No-bake dessert. Banana pudding in a mason jar is a no-cook dessert. Nothing complicated here, just mix and layer the ingredients in mason jars similar to these strawberry parfaits.
- Perfect for entertaining. These individual served jars make serving dessert for any occasion easy. You can even prep ahead for a stress-free ending to any meal.
Ingredients You'll Need
These 6 simple ingredients come together to form your easy banana pudding in a jar.
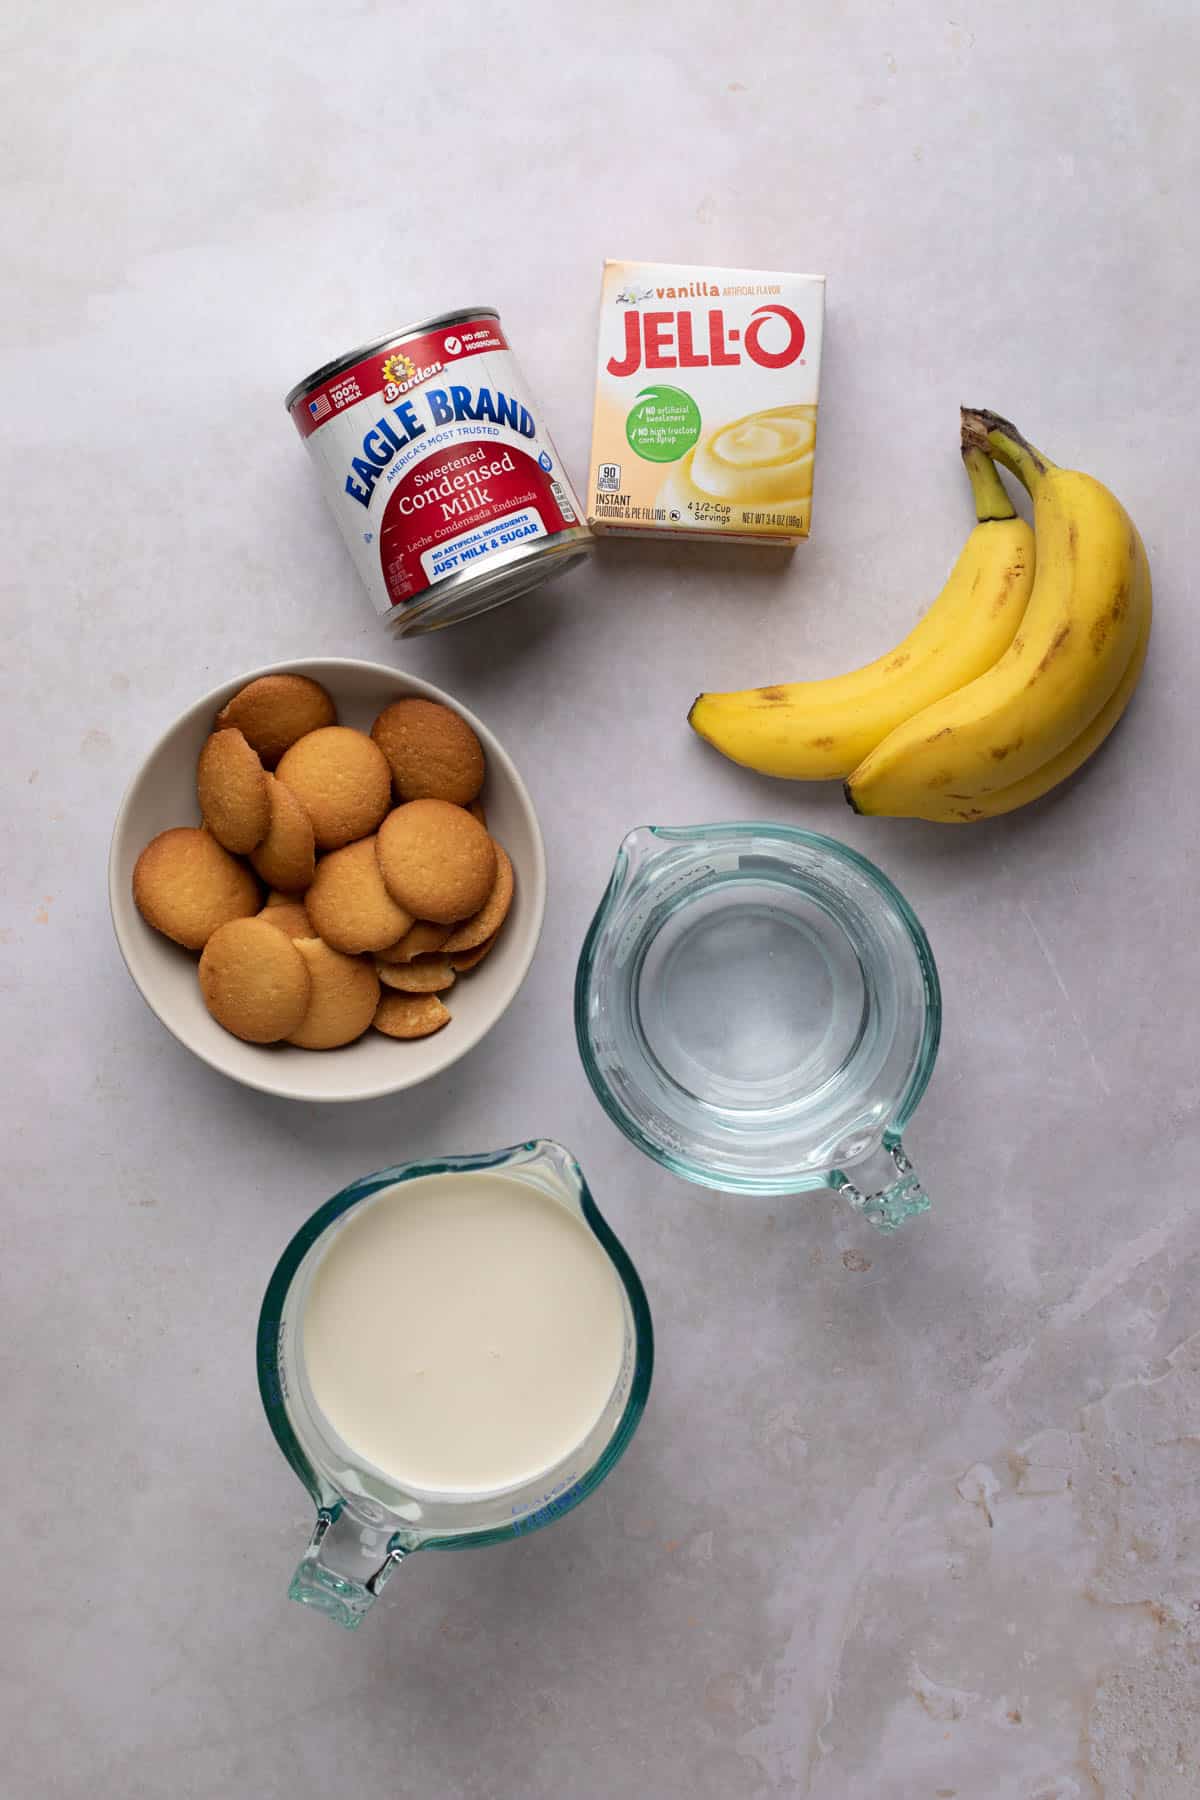
- Sweetened condensed milk. Combines with the pudding mix to sweeten the dessert. We use condensed milk because its creamy texture creates the perfect smooth filling.
- Water. Use cold water to combine with the pudding mix. If you prefer a richer flavor, substitute with cold milk.
- Vanilla pudding mix. Select store-bought instant pudding mix (I prefer the Jello brand). Feel free to use vanilla or French vanilla.
- Heavy cream. The key ingredient to creating a light and airy filling. Use cold heavy cream and do not substitute it with a lower-fat cream otherwise, it will not transform into whipped cream.
- Vanilla wafers. Nilla wafers or any generic vanilla wafer brand will work.
- Bananas. Select bananas that are almost ripe and firm (with a bit of green still on the peel). Slice them just before using them to prevent them from turning brown.
Helpful Equipment & Tools
- Digital kitchen scale or liquid measuring cups.
- Handheld mixer. You’ll need a mixer to mix the pudding and whip up the cream. You could also use a stand mixer with a whisk attachment.
- Large bowls. You’ll need two bowls, one for the pudding and one for the whipped cream.
- Rubber spatula.
- Knife.
- Disposable pastry bag. It makes it easy to pipe the filling into the jars. You could also use a resealable plastic bag and cut a small opening at one of the corners or use a spoon.
- Mason jars.
Step-By-Step Instructions
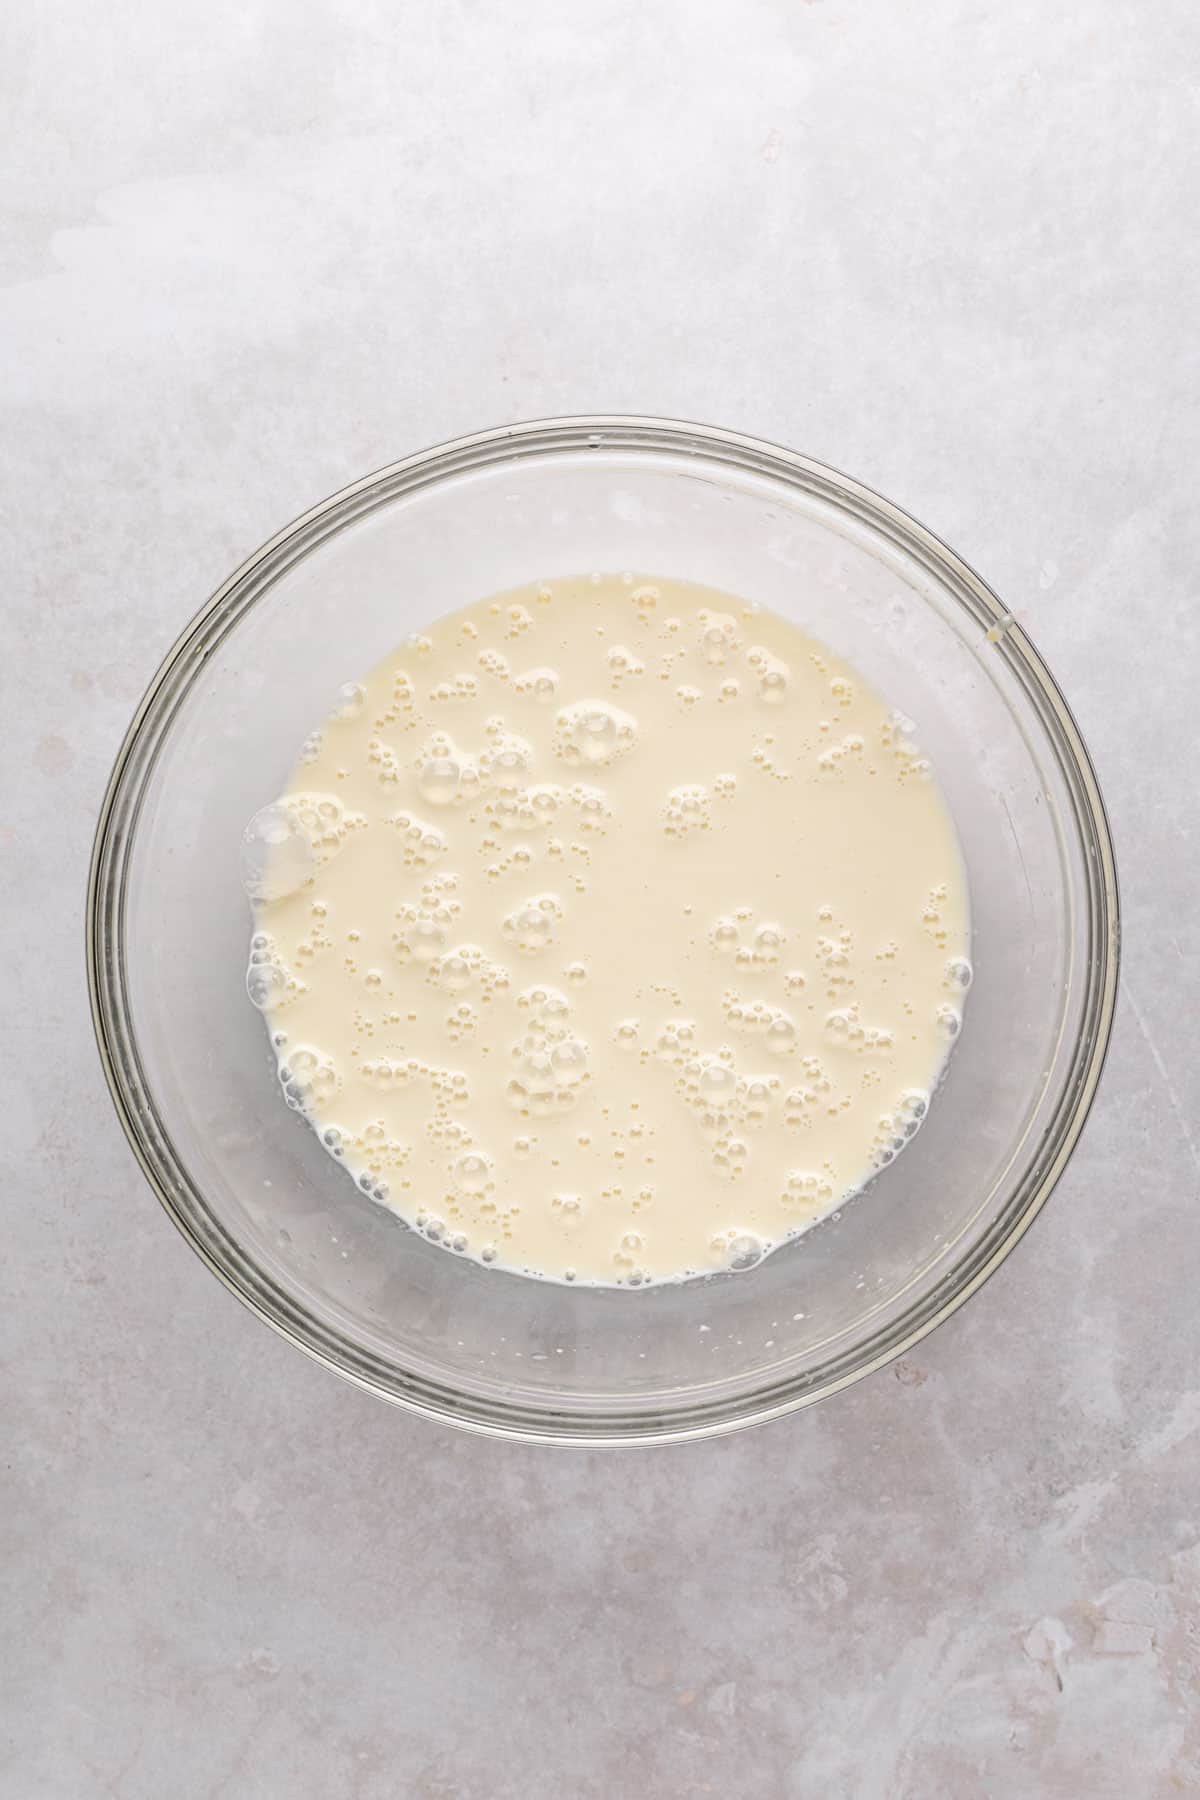
Beat condensed milk. Use a mixer to combine the condensed milk and cold water.

Add pudding mix. Continue to mix for about 2 minutes to ensure everything is evenly combined.
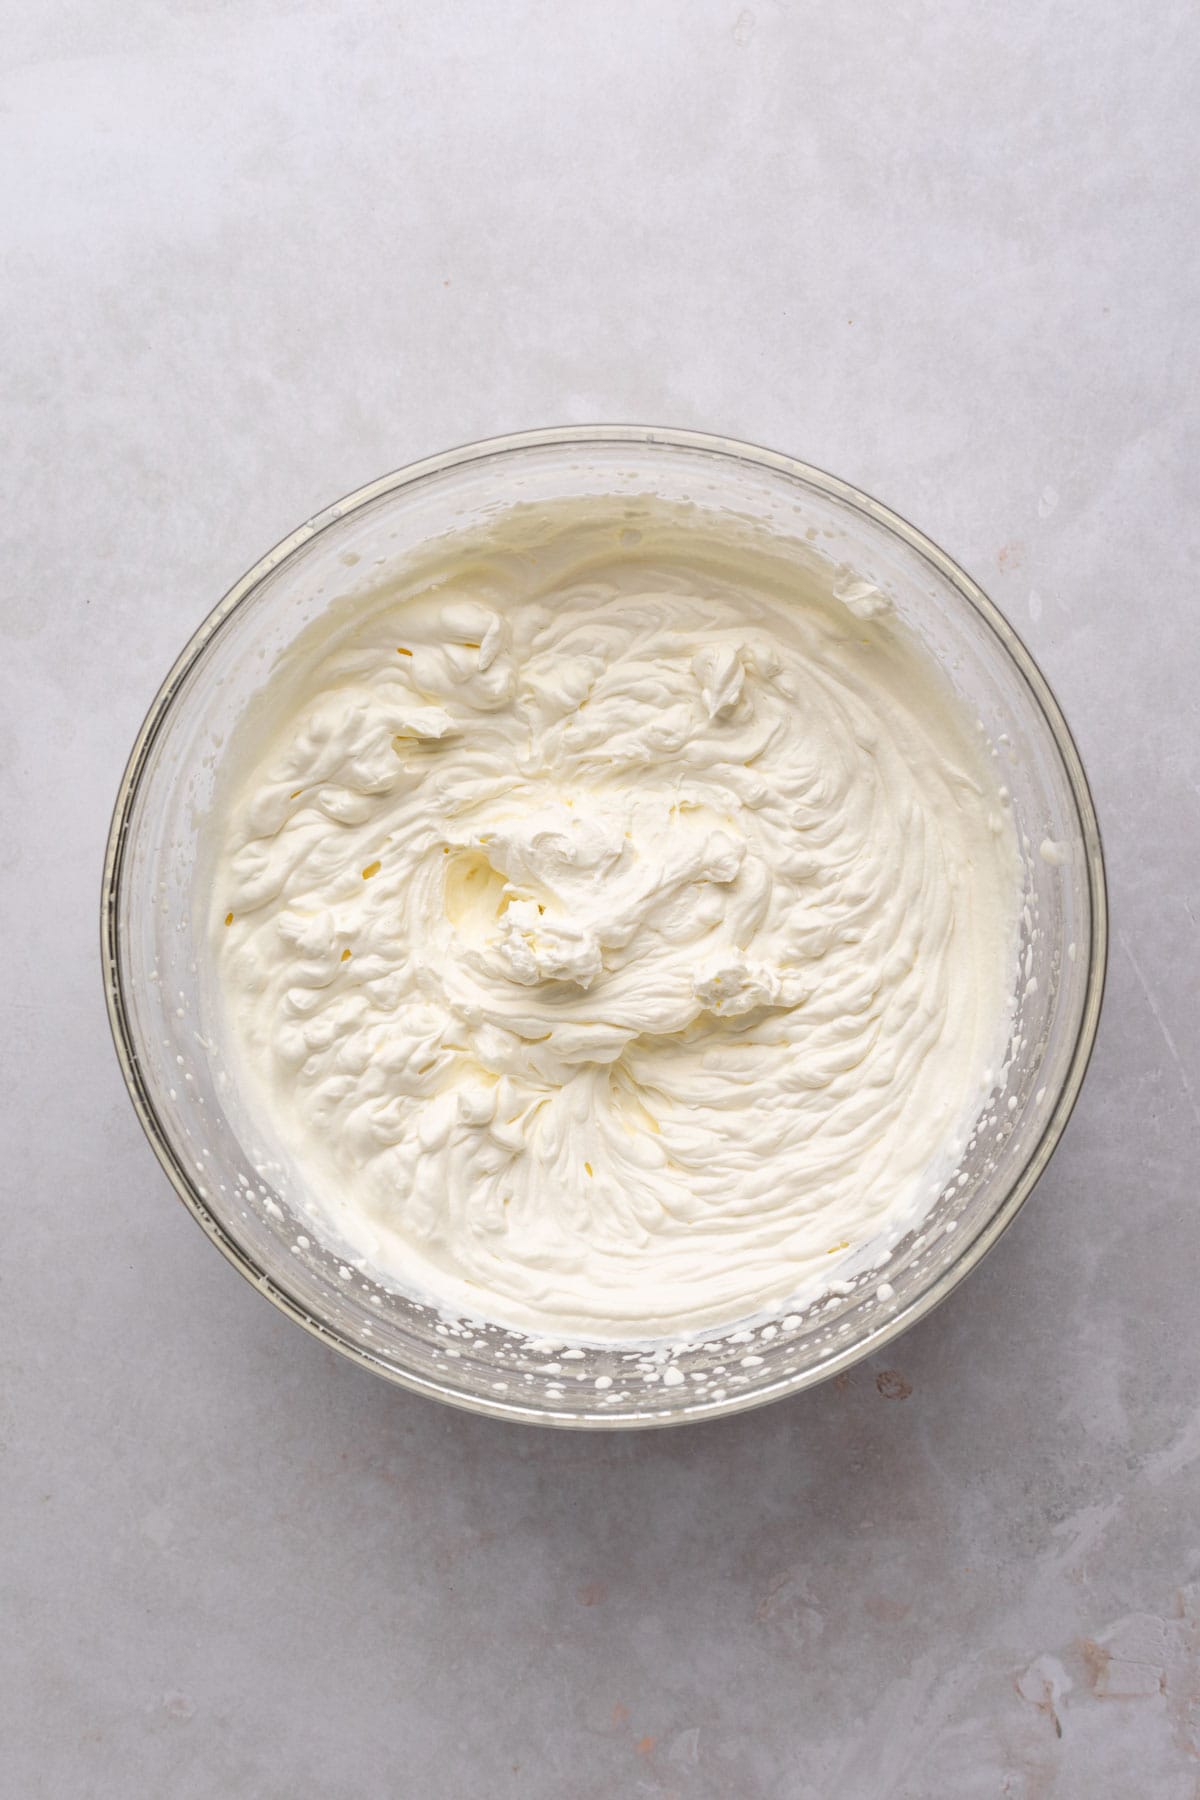
Whip cream. With a mixer, beat the cream until stiff peaks form.
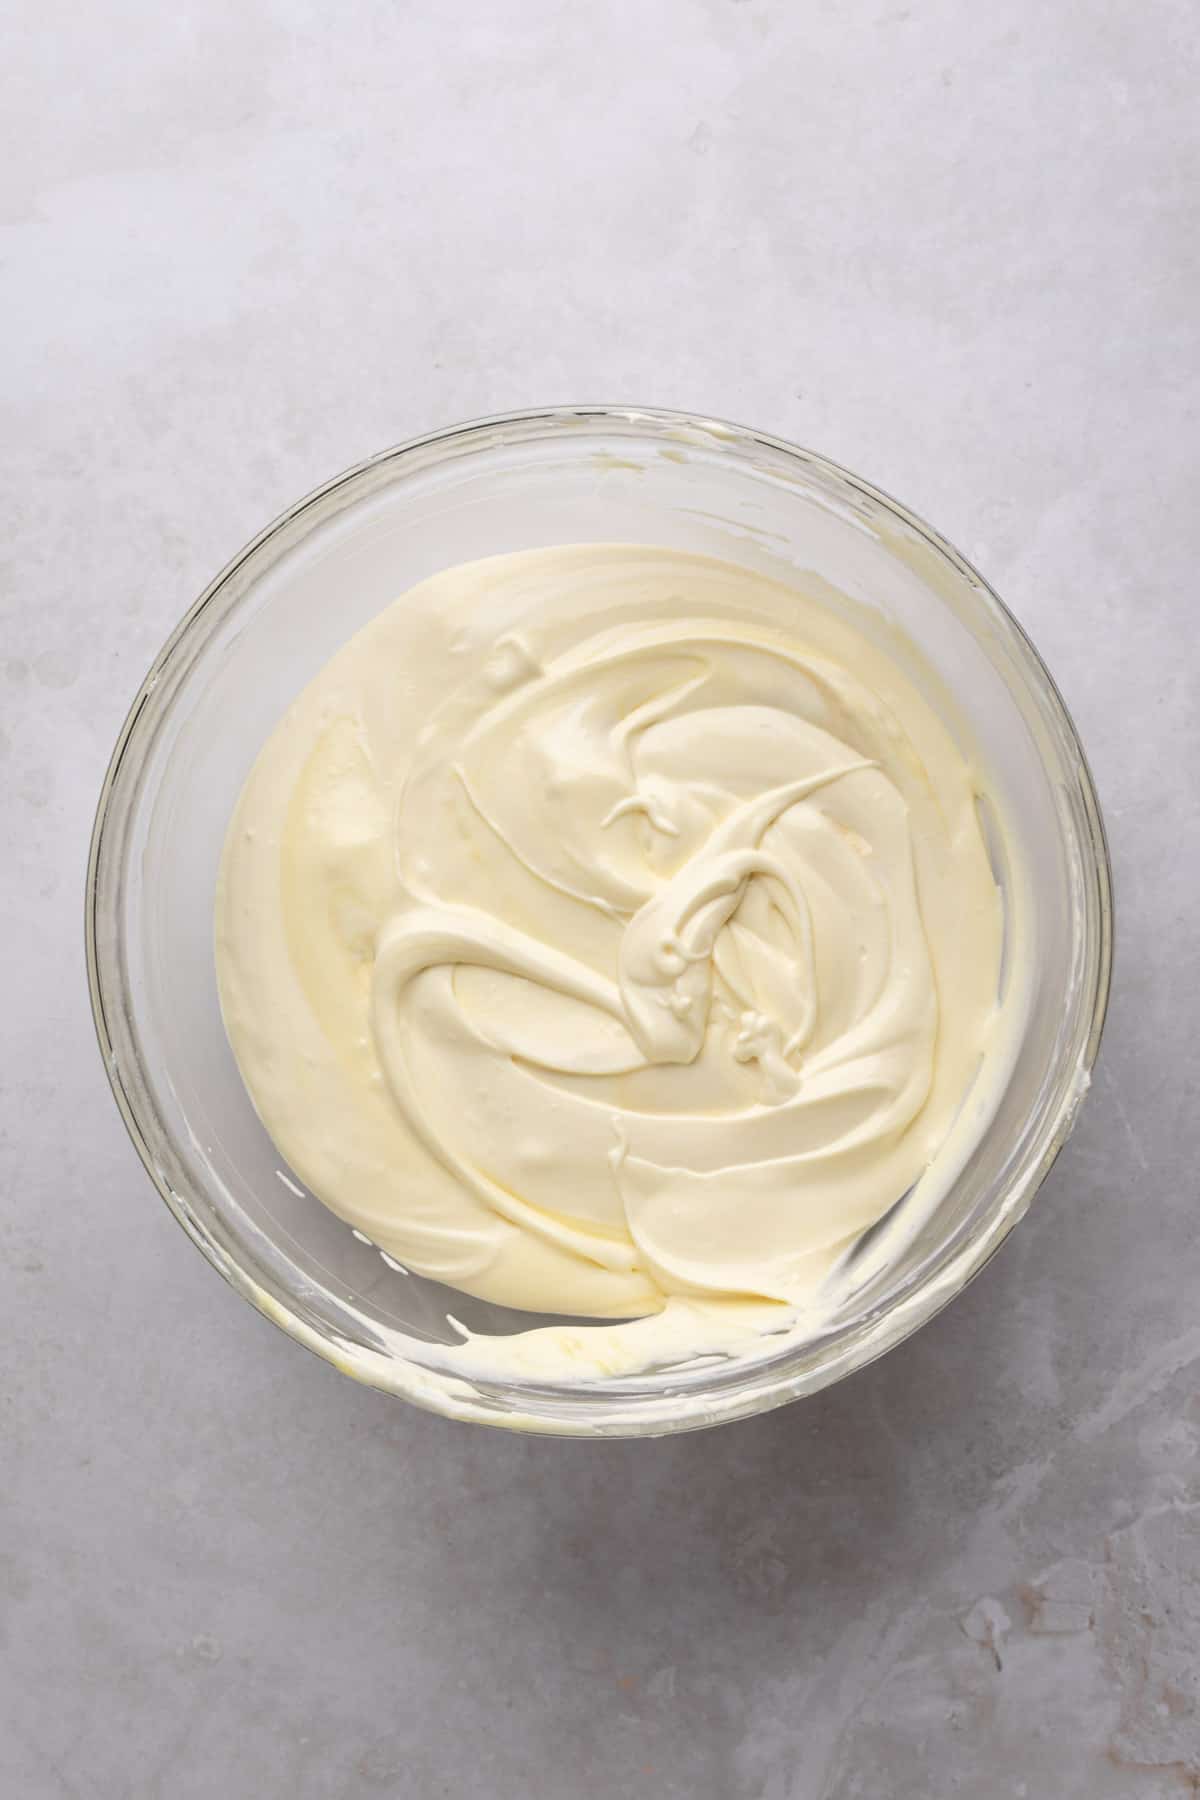
Combine pudding and cream. Gently fold the whipped cream into set pudding until you no longer see streaks of cream.
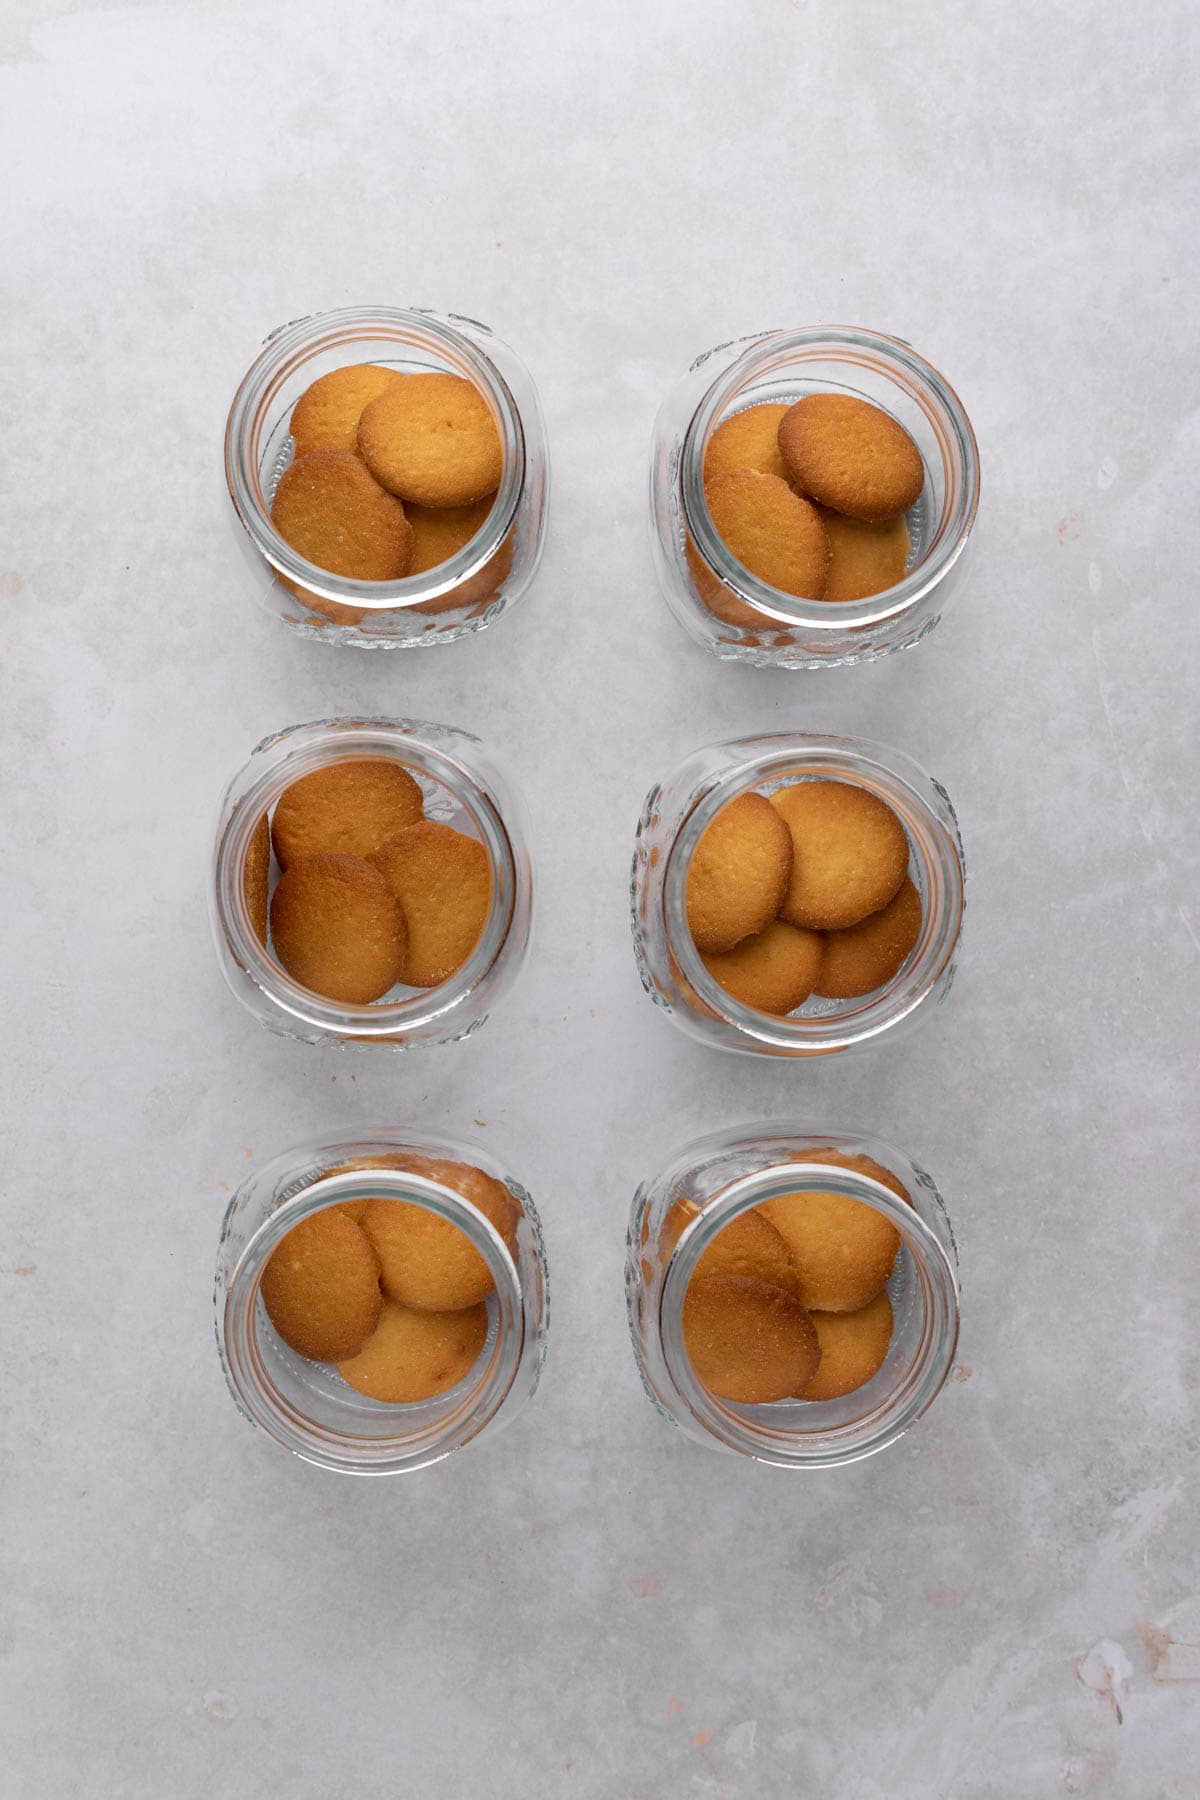
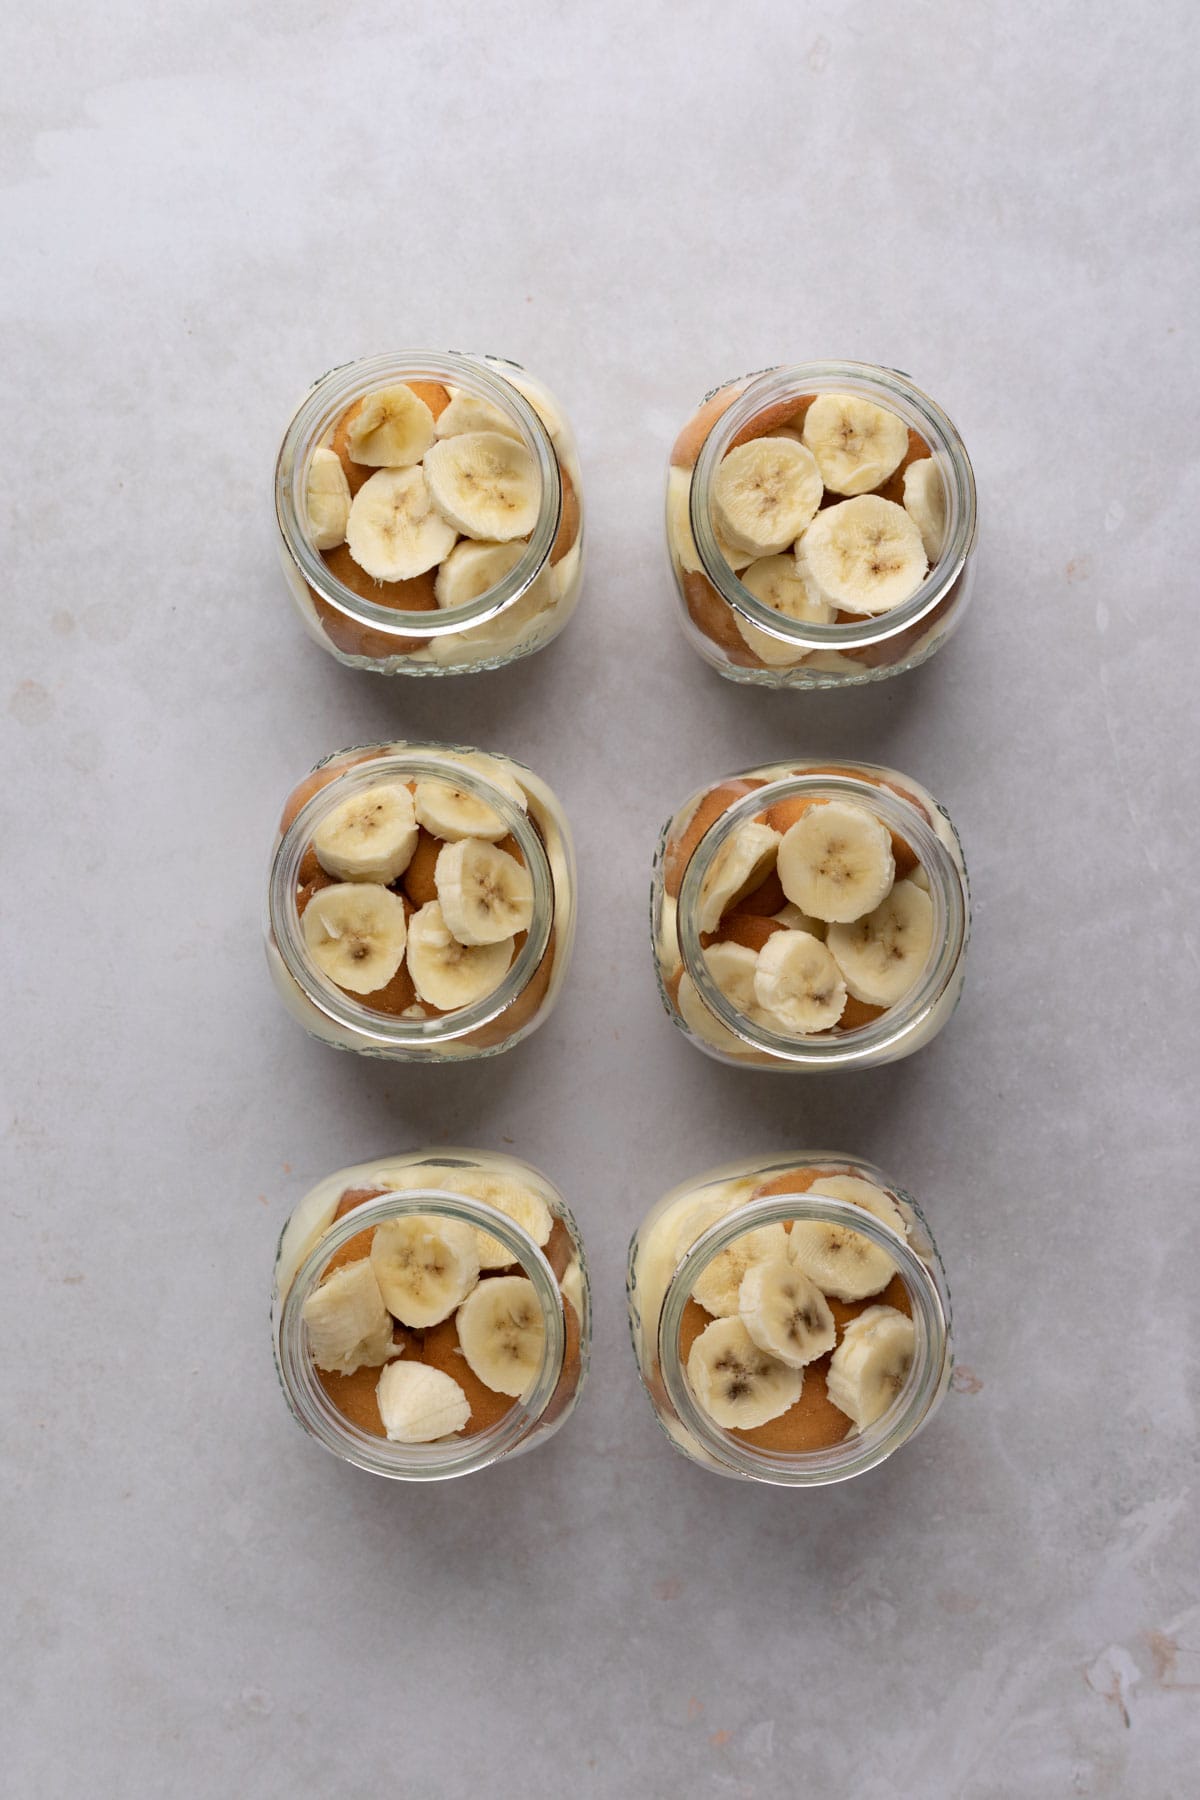
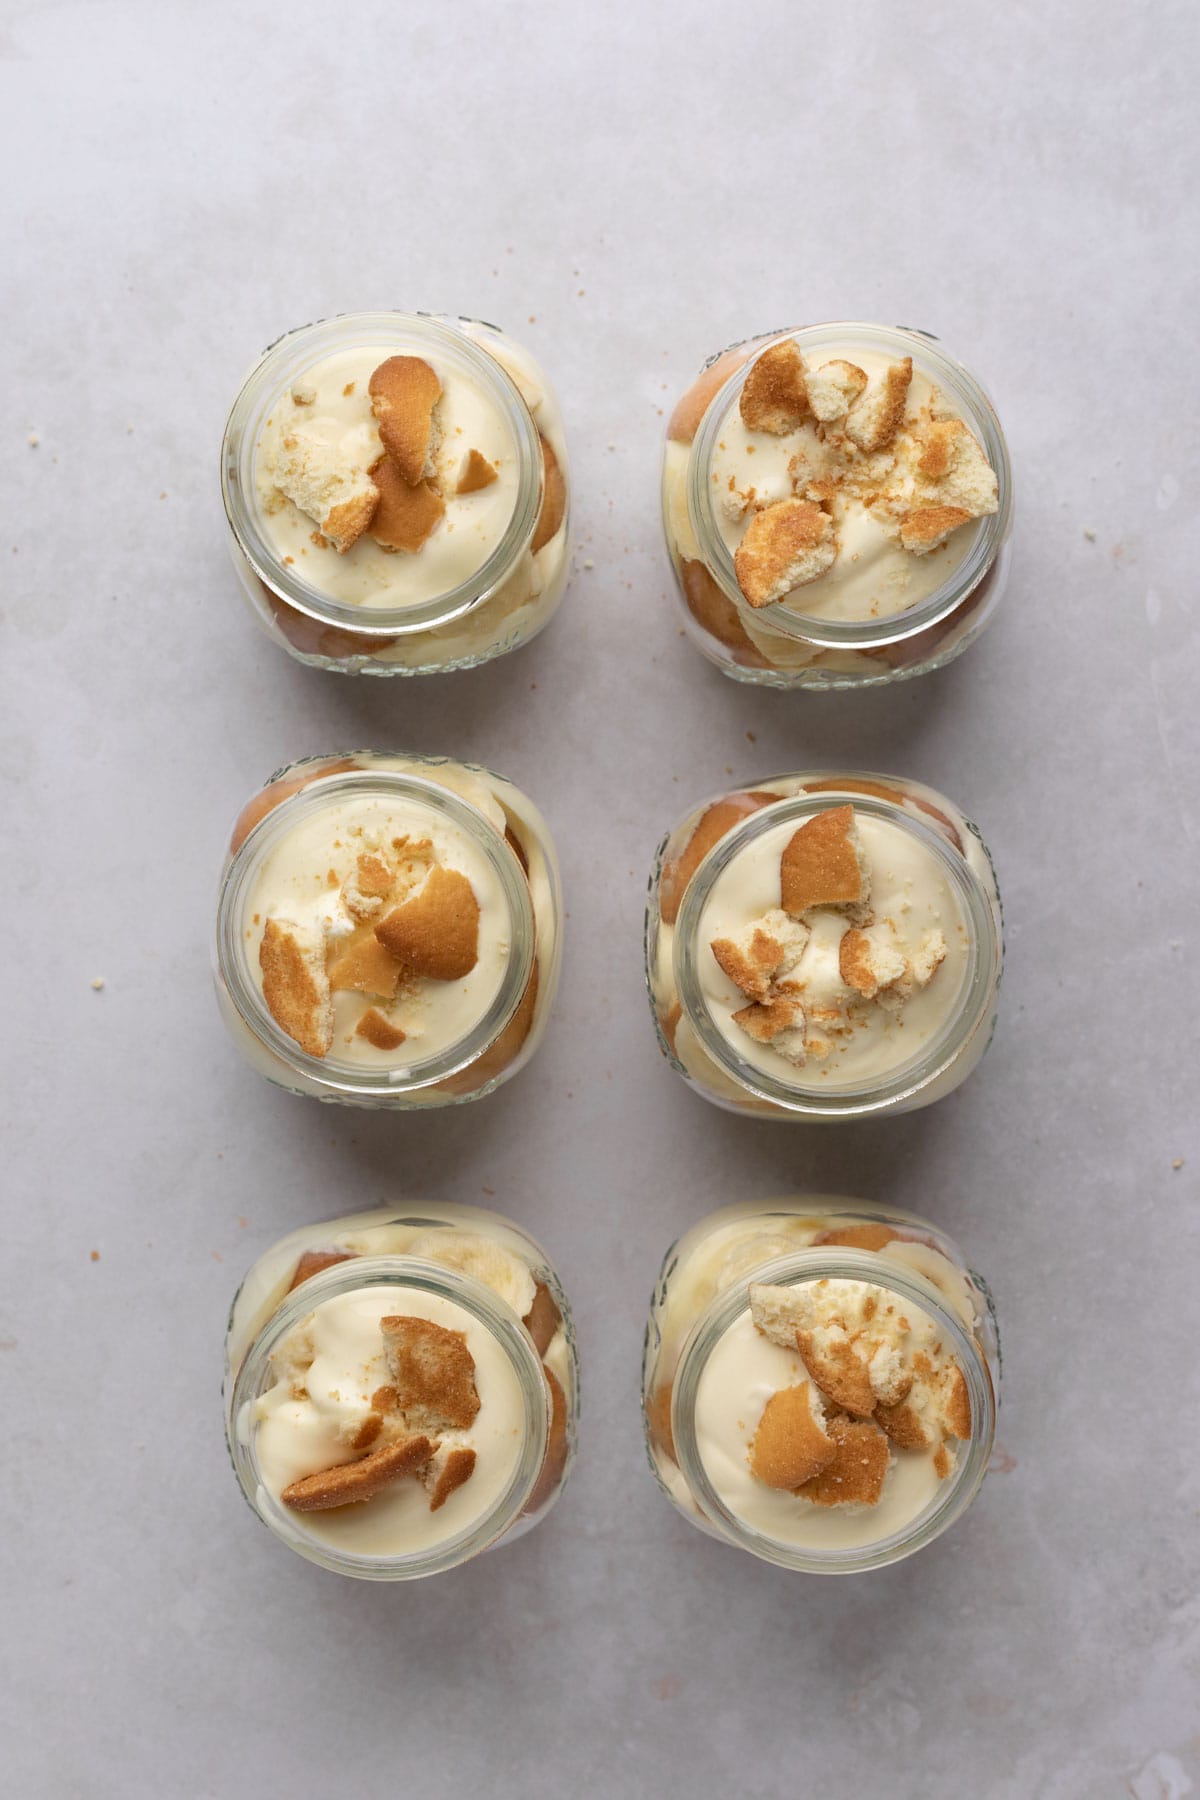
Assemble dessert. Layer vanilla wafers, sliced bananas, and filling, repeating layers until mason jars are filled. Refrigerate for a couple of hours before serving.
Recipe Tips & Tricks
- Prep the vanilla pudding. Mix the condensed milk, water, and pudding mix the night before for a quick and easy prep.
- Use a chilled bowl. It’s crucial to use cold cream to make whipped cream. Using a chilled bowl and beaters will speed up the process and produce a more stable whipped cream.
- Fold the light batter into the heavier one. This is a general rule of thumb, and in this case, fold the whipped cream into the pudding.
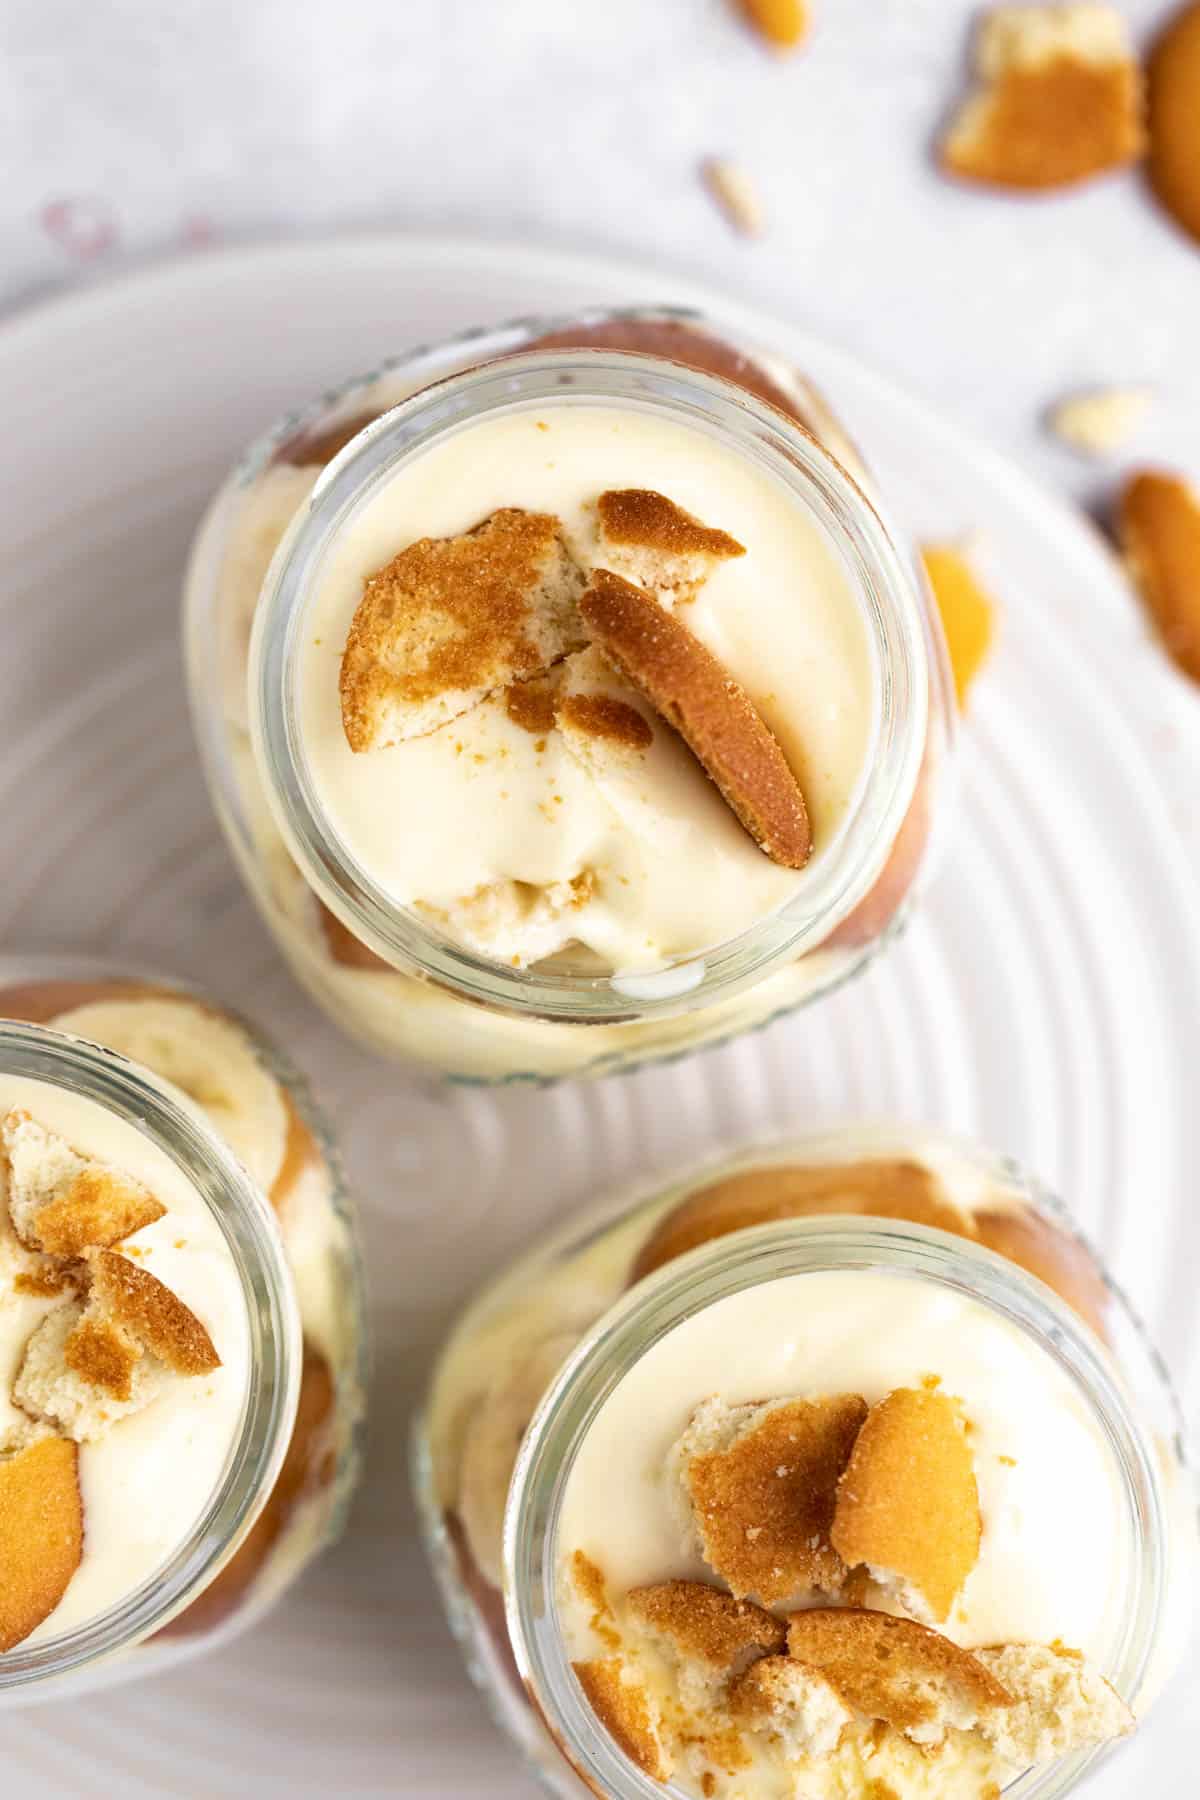
- Garnish with bananas and extra cookies. I love slicing extra bananas for a garnish and adding crushed vanilla wafers. Make sure to garnish just before serving to prevent the bananas from browning.
Easy Recipe Variations
If you want some ideas for variation, you can swap out flavors and change up the cookies. You can even make one large dessert with the same recipe. Here are some ideas:
- Make a trifle. Layer the ingredients in a large trifle bowl or a casserole dish for a beautiful presentation.
- Select your favorite cookies. Replace the vanilla wafers with golden Oreos or graham crackers for a fun and delicious twist.
- Layer with strawberry filling. Bananas and berries pair well together, and the filling from these strawberry cupcakes would make a delicious addition.
- Try another pudding flavor. The options are endless. Chocolate, strawberry, and coconut creme are just a few of the many flavors that would be delicious in these banana pudding jars.
Storage
Refrigerate the banana pudding in mason jars for at least 2-3 hours before serving. Doing this will allow the cookies to soften and the flavors to develop. Store the leftovers in the fridge for up to 1-2 days. Any longer, and the bananas will become mushy and brown.
Note: I do not recommend freezing this dessert. The sliced bananas will not hold up well, and the filling will lose some of its smooth and creamy consistency.
Recipe FAQ
You can brush the banana slices with lemon juice or dip them in club soda. Using barely ripe bananas will also help prevent the bananas from turning brown too quickly.
You’ll want to let the pudding set for at least 2 hours. Reducing the time can cause the filling to be watery.
If you don’t beat your cream until stiff peaks form, your filling mix will be loose and not set up properly.
Yes, you can mix the condensed milk, water, and pudding up to 3 days before. Store tightly covered in the fridge.
More No-Bake Recipes You'll Love
- Strawberry Cheesecake Mousse
- Coconut Panna Cotta
- Cherry Cheesecake Parfait
- Chocolate Almond Cheesecake Mousse
I hope you love this Banana Pudding in a Mason Jar as much as we do and that they become a family favorite! Please leave a comment below, I love reading your feedback! And if you’d like to make this recipe later, don’t forget to pin it on Pinterest! Happy Baking!
Print
Banana Pudding in a Mason Jar
- Total Time: 4 hours 20 minutes
- Yield: 8 jars 1x
Description
Super easy Banana Pudding in a Mason Jar comes together in just 20 minutes. Layers of vanilla whipped filling, sliced fresh bananas, and vanilla wafers create these beautiful and fun single-serve dessert jars.
Ingredients
- 1 (14-ounce) can sweetened condensed milk
- 360 g (1 ½ cups) cold water
- 1 (3.4 ounce) box instant vanilla pudding mix
- 480 (2 cups) cold heavy cream
- 1 (11-ounce) box vanilla wafers
- 3 large ripe bananas, peeled and sliced into ¼-inch rounds
Instructions
- In a large bowl, beat the sweetened condensed milk and water together until combined. Add the pudding mix and beat for 2 minutes. Cover and chill in the refrigerator for at least 2 hours or overnight.
- In a large mixing bowl, use a handheld or stand mixer fitted with the whisk attachment to whip the heavy cream until stiff peaks form.
- Gently fold the whipped cream into the pudding until evenly combined. Fill a disposable pastry bag with the pudding mixture.
- To assemble the dessert, arrange a few cookies at the bottom of each jar. Top with a layer of banana slices. Next, layer the pudding mixture. Repeat layers until the jars are filled.
- Refrigerate for 2-3 hours before serving to allow the cookies to soften.
Notes
Storage: Store the leftovers in the refrigerator for up to 1-2 days.
Freezing: I do not recommend freezing this dessert. The sliced bananas will not hold up well, and the filling will lose some its smooth and creamy consistency.
- Prep Time: 20 minutes
- Chill Time: 4 hours
- Category: Custards & Parfaits
- Method: No-bake

Barbara
My new Go To dessert recipe. Super easy and delicious. I took it to a potluck and everyone loved it.
Maria Pagiotas
I'm so happy you enjoyed this recipe Barbara! Thank you for sharing 🙂
Kristen
The BEST! This was a huge hit with our family. Will definitely be making this again.