
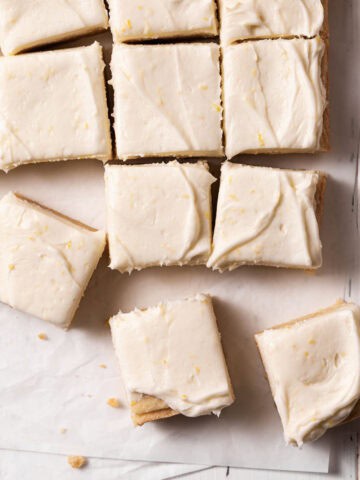
Buttery oat crumble transforms into both the crust and topping for these Easy Plum Bars. This recipe comes together in just under 15 minutes and makes a delicious snack or dessert for any summer gathering.

Save This Recipe! 💌
As a busy mom of three, I love making easy, tasty homemade fruit desserts for the occasional treat. With a short list of simple ingredients and quick prep time, these easy plum bars meet the criteria.
Fresh seasonal plums are the star of the show and are paired with an irresistible buttery oat crumble crust and topping. Warm baked fruit combined with a crispy topping is the perfect duo. Whether it's a peach cherry crisp, cherry apple cobbler, or blackberry bars, the texture of softened fruit with a crunchy topping work well together.
If you are hosting a summer gathering or craving a sweet weeknight treat these plum bars are the perfect addition to your menu (and they’re ready in just 1 hour!). And if you have any leftovers, serve them the next morning with a cup of hot coffee.
Let’s get baking!
Why You'll Love this Recipe
- One buttery crumble two ways. These plum bars use one delicious buttery oat crumble for both the crust and topping (just like these raspberry bars). How easy is that! You can even make it ahead of time and freeze it as a last minute dessert.
- Quick and easy prep. These plum oatmeal bars only take 15 minutes to prepare using a food processor, bowl, and rubber spatula (we love minimal cleanup!).
- Simple ingredients. All you need is 8 basic ingredients to make these bars. You most likely have these staple ingredients stocked in your pantry.
Ingredients You'll Need


- Oats. Adds a slightly chewy texture and a nutty flavor to the crisp topping. Use old-fashioned oats for the ideal texture. Using quick oats will produce a softer texture.
- All-purpose flour. The key ingredient in the crisp topping. It helps hold everything together and gives the topping a crumbly texture.
- Light brown sugar. Adds sweetness to the topping and filling. Because of its higher moisture content than granulated sugar, brown sugar helps prevent the topping from drying out. The molasses in the brown sugar also helps with the browning of the crisp topping. If you prefer, use dark brown sugar.
- Cinnamon. Adds flavor to the crisp topping. Add more or less according to your preference.
- Salt. Helps bring out the flavor of the other ingredients in the topping and filling.
- Butter. Adds moisture and a delicious rich flavor to the topping. When mixed with the rest of the ingredients, butter brings everything together. Cold butter slows the melting process during baking, which helps keep a crumbly and crisp texture while the filling bakes.
- Plums. Fresh seasonal plums make the best plum bars. Select firm ones with a bit of give to them and smell sweet and fruity. Plums will soften over time, but their flavor will not get sweeter, so select ripe ones!
- Cornstarch. Acts as a thickening agent for the plum filling. I prefer cornstarch to flour because it produces a clear filling compared to flour, which can become cloudy. Ensure the plums are bubbling for the cornstarch to thicken the filling properly.
- Vanilla. Adds flavor to the plum filling. Use pure vanilla extract when possible for the best flavor.
Step-By-Step Instructions
Preheat the oven to 350°F/177°C. Line a 9x9-inch square baking pan with parchment paper.
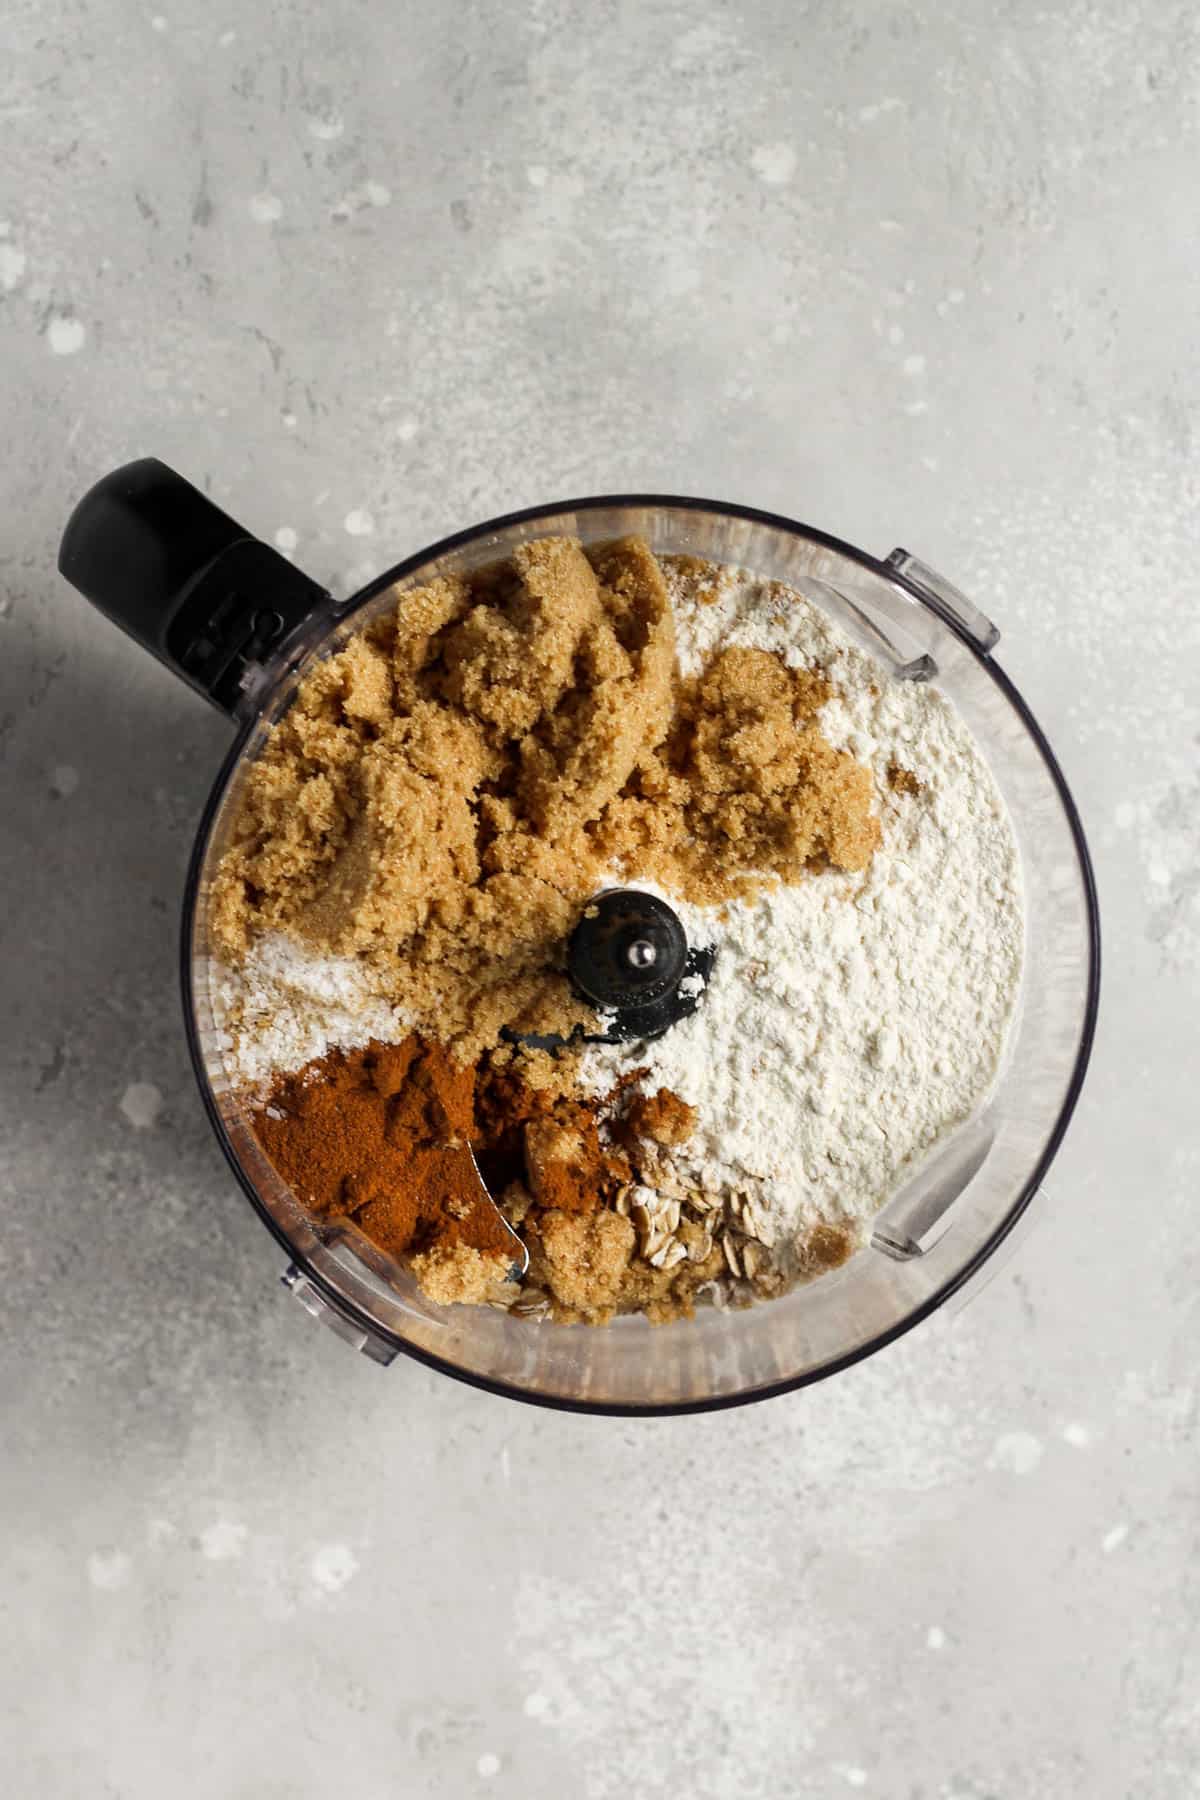
Pulse the crust ingredients. Add the oats, flour, brown sugar, cinnamon, and salt to a food processor and pulse to mix.
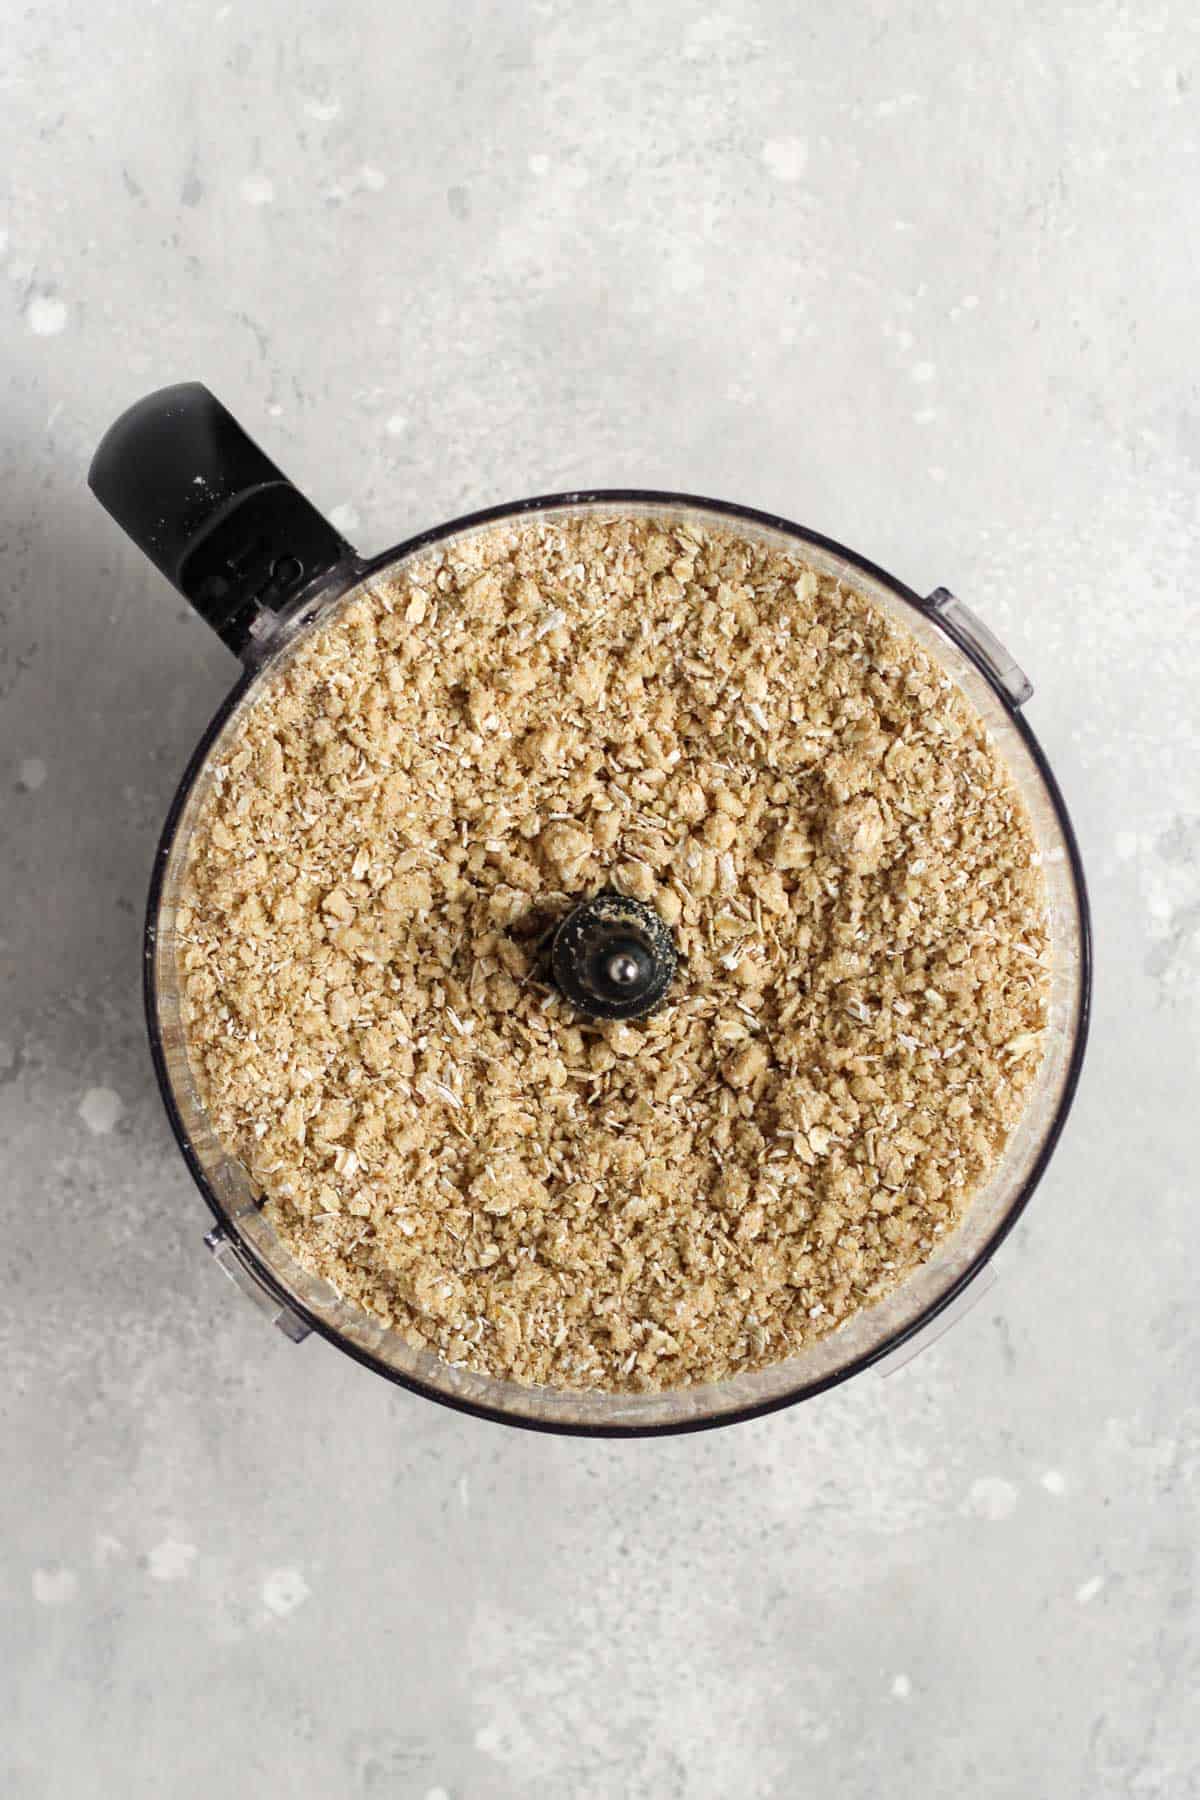
Add butter. Pulse the butter with the dry ingredients until a crumbly mixture.

Form crust. Press half of the crumble mixture into the baking pan and bake until lightly golden brown.

Make filling. Mix the plums, sugar, cornstarch, vanilla, and salt and spread onto the warm crust.
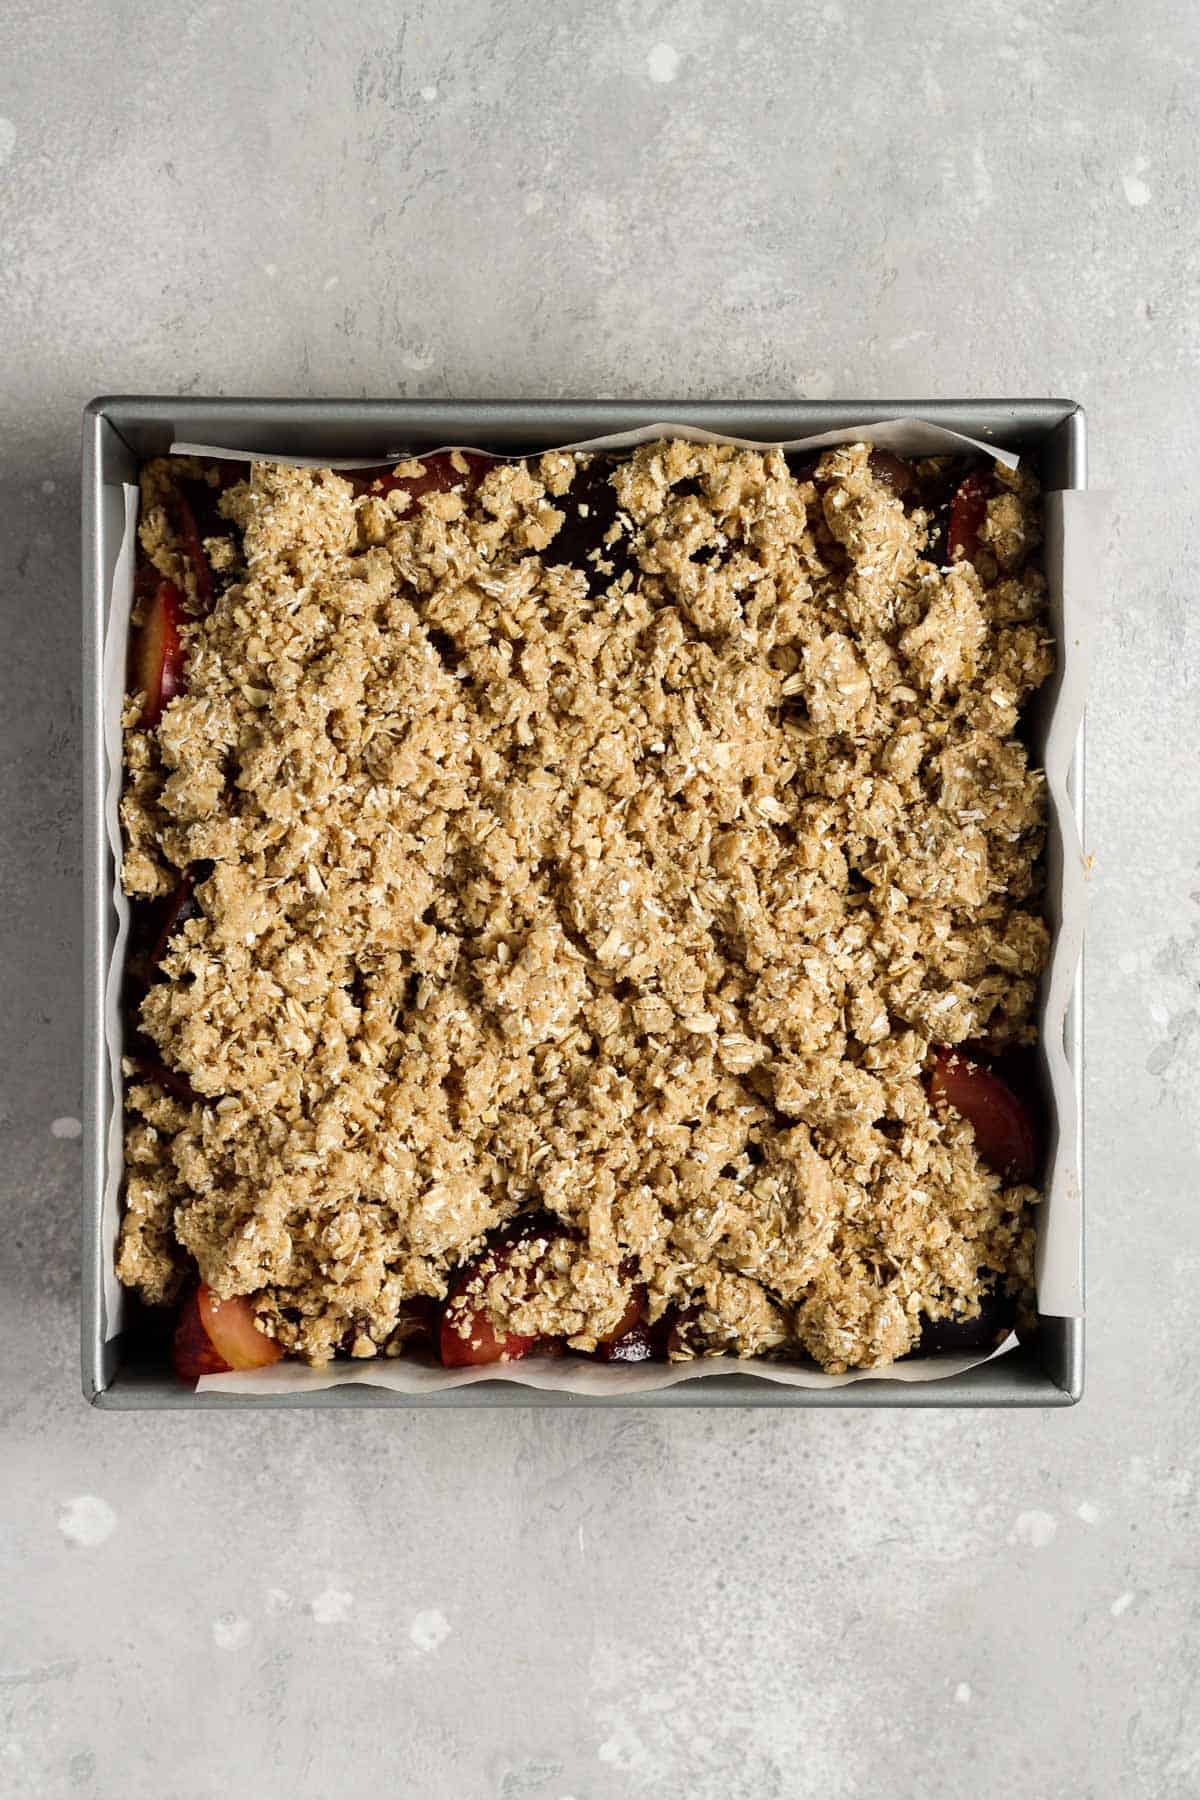
Add topping. Sprinkle the topping over the plums and bake until the filling is bubbling and the topping is golden brown.
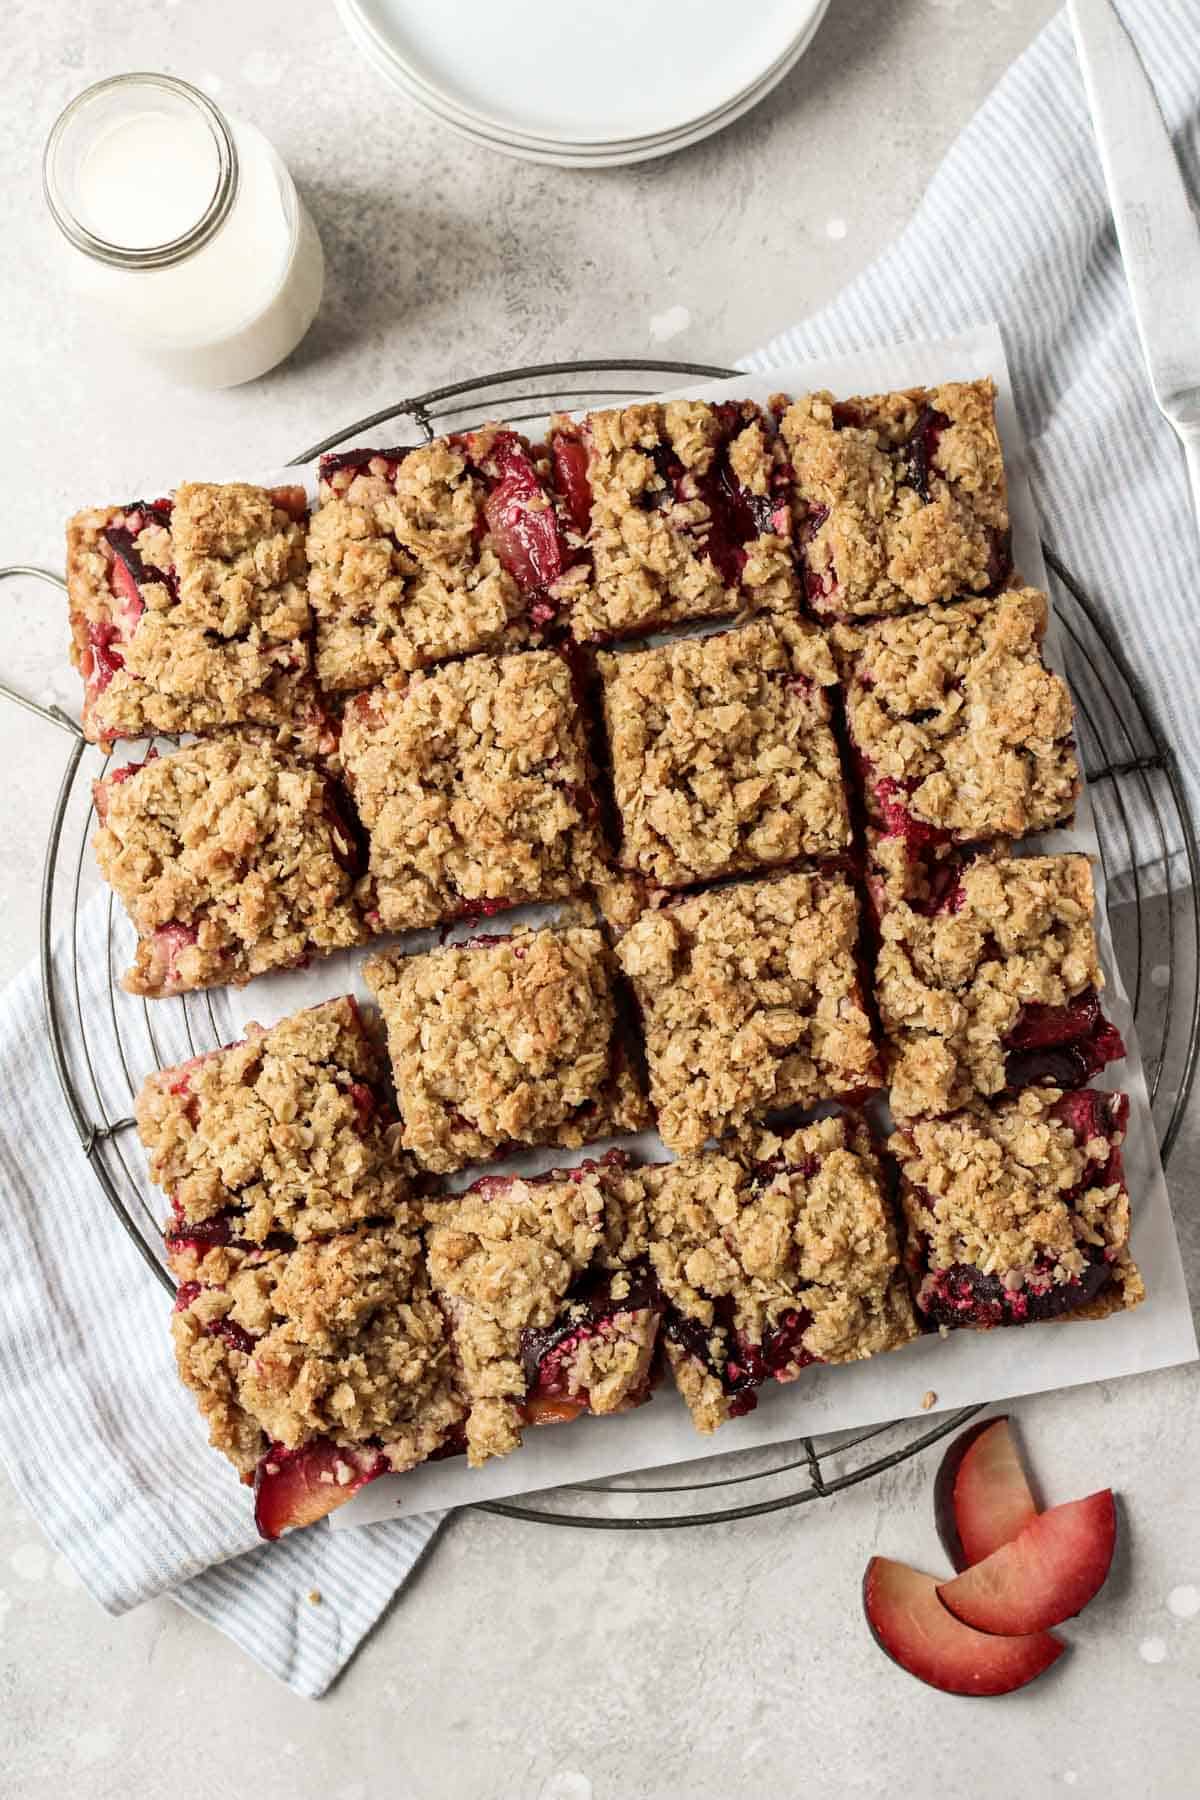
Tip: Before slicing into bars, refrigerate the baked dessert so the butter and filling firm up for easy slicing.
Recipe Tips & Tricks
As a trained pastry chef, I’ve learned these essential tips can help you make the best crumble bars.
- Select seasonal fruit. Fresh, seasonal plums yield the best flavor. You can always freeze sliced plums to use in the winter when you’re craving a summer dessert bar.
- Taste the filling. Before adding the filling to the baking dish, taste for sweetness and adjust according to your preference. Early in the season plums are not as sweet and may need additional sugar.
- Evenly distribute the filling. Spread the plum filling in an even layer and sprinkle the crumble topping evenly over the fruit to ensure even baking.
- Completely cool before storing. Allow the filling to come to room temperature before slicing into bars.
Recipe Variations
- Alternate fruit options. Use your favorite stone fruit or a combination of stone fruit for the filling. Peaches make for a delicious summer crisp but they also work well in these oat crumble bars.
- Add nuts. The addition of nuts in rhubarb pear crisp topping adds the perfect crunchy texture. Similarly, you can add up to ½ cup of your favorite chopped nuts into this crumble crust and topping.
- Add spices. I love adding spices to fruit filling pies and crisps. Cinnamon, nutmeg, or cardamom would pair nicely with the plums.
Equipment You'll Need
Take out the following baking equipment and read the recipe from start to finish.
- Digital kitchen scale or measuring cups. Using a scale will give you the most accurate measurements.
- Measuring spoons.
- 9x9-inch baking dish. You can use a glass, metal, or ceramic baking dish. If using glass, add extra baking time because it takes longer for the glass to heat up.
- Parchment paper. I prefer to line the pan so that the parchment paper hangs off the edges (this makes it easy to lift the bars right out of the pan!).
- Food processor.
- Medium bowl.
- Rubber spatula.
How to Serve
Here are some ideas for serving these bars.
- Room temperature. The most popular way to serve these bars is at room temperature. If you store these bars in the refrigerator, set them out for about 30 minutes to come to room temperature.
- Cold. These bars are also delicious cold. If you prefer a firm texture, this is how to serve them.
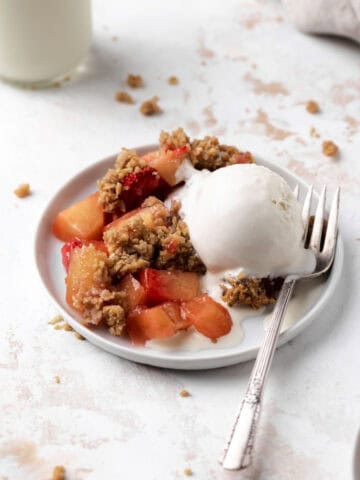
- Warm. Warm these bars in the microwave for 10 seconds and serve with a scoop of vanilla ice cream.

Storage Tips
These easy plum bars are delicious served fresh while the topping is crispy. The topping will soften over time, but here’s how to store these bars:
- In the refrigerator. Store covered in an airtight container in the refrigerator for up to 4 or 5 days.
- In the freezer. Place the leftover fruit bars into a freezer-safe container and freeze for up to 3 months. Thaw in the refrigerator overnight before serving.
- Make ahead. Make the oat crumble ahead of time. Store in an airtight container in the refrigerator for up to 3 days, or store in a freezer-safe bag and freeze for up to 3 months. Thaw overnight in the fridge before using.
FAQ
It's not necessary to remove the skin. I find it's easier to leave it on.
Use plums that are firm and not overripe or too juicy. Also measure the butter correctly. Too much butter can result in a soggy topping.
If the plums are overripe, soft and too juicy, your filling will become mushy. Also if you slice your plums thinner than ¼-inch they can become mushy.
Yes, you can substitute the filling with 1 (15 ounce) can of sliced whole plums. Taste and adjust with sugar or spices as desired.
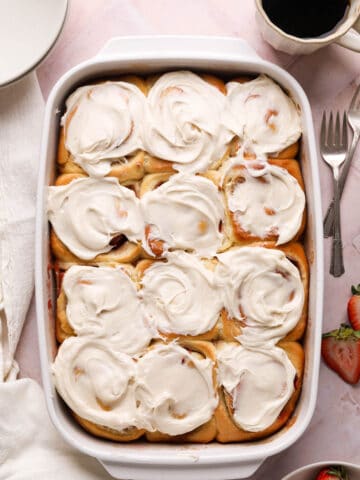
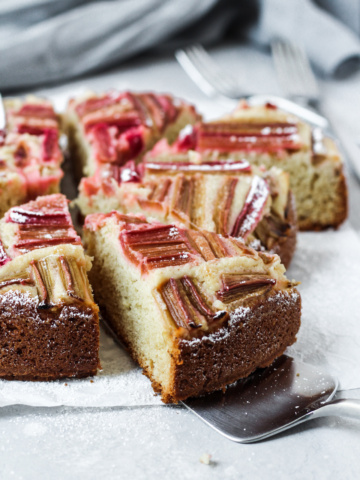
More Summer Fruit Desserts You'll Love

Please leave a starred rating and comment below if you make these Easy Plum Bars. I love reading your feedback! And if you’d like to make this recipe later, don’t forget to pin it on Pinterest! Happy Baking!
Print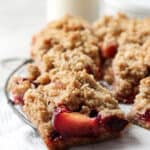
Plum Bars
- Total Time: 1 hour
- Yield: 16 bars 1x
Description
Buttery oat crumble transforms into both the crust and topping for these Easy Plum Bars. This recipe comes together in just under 15 minutes and makes a delicious snack or dessert for any summer gathering.
Ingredients
Crust and Topping
- 225 g (2 ¼ cups) old-fashioned oats
- 175 g (1 ¼ cup) all-purpose flour
- 220 g (1 cup) light brown sugar
- 1 teaspoon ground cinnamon
- ½ teaspoon salt
- 226 g (1 cup) cold unsalted butter, diced
Filling
- 790 g (1 ¾ lbs) plums, sliced about ¼-inch
- 55 g (¼ cup) light brown sugar
- 1 tablespoon cornstarch
- 1 teaspoon pure vanilla extract
- pinch of salt
Instructions
Crust and Topping
- Preheat the oven to 350°F/177°C. Line a 9×9-inch baking pan with parchment paper so that it hangs over the sides.
- In a food processor bowl, pulse together the oats, flour, brown sugar, cinnamon, and salt a few times to mix. Add the butter and pulse together until a crumbly mixture forms. The mixture should hold together when you squeeze it.
- Press ½ of the dough into the bottom of the prepared baking pan. Bake for 10-12 minutes or until lightly golden brown.
Filling
- Meanwhile, in a medium bowl, add the plums, sugar, cornstarch, vanilla, and salt. Gently stir to combine. Spoon the mixture into an even layer onto the warm crust. Sprinkle the remaining oat crumble over the plums. Transfer to the oven and bake for 30-40 minutes or until the crumble is light golden brown.
- Allow the bars to cool completely before cutting.
Notes
Storage: Store covered in an airtight container in the refrigerator for up to 4 or 5 days.
Make-ahead: You can make the crust and topping up to 3 days in advance and store it in the refrigerator. Alternatively, you can store it in a freezer-safe container or bag in the freezer for up to 3 months.
- Prep Time: 15 minutes
- Cook Time: 45 minutes
- Category: Brownies & Bar
- Method: Baking


Katherine says
Can you use frozen plums & if so should you thaw them first or use them from frozen state?
Maria Pagiotas says
Hi Katherine! You could substitute with frozen plus. I recommend using them while still frozen (do not thaw). You'll need to add some extra time, about 10 minutes to account for substitution 🙂
Katherine says
Thank you so much, appreciated.
Lindsey says
I had a bunch of peaches nearing the end of their life and made these bars, subbing peaches for plums. They were so easy to make, and I love how there's enough of the crumble mix to make a substantial crust AND cover the top! So many recipes leave you with too little crumble topping, but not this recipe, it's perfect! I'll definitely make these again! Thanks, Maria!!!
Maria Pagiotas says
Hi Lindsey! I'm so happy you loved these bars! We definitely love our crust, so I'm happy you enjoyed it as well! Thank you for sharing!
Cindy says
We had so many plums and I came across your recipe when searching what to make with them. These plum bars are delicious!! They're so easy to make. We're planning to go peach picking and I will use this recipe to make with some of the peaches.
Maria Pagiotas says
Hi Cindy! I love that you enjoyed these bars! You'll have to let me know how you like them with the peaches. Happy Baking! 🙂
Joanna says
These are delicious summer bars! I love how easy it was to make the topping and the crust with the same mixture. Will definitely be making these again!
Maria Pagiotas says
Hi Joanna! So happy you enjoyed these plum bars! We love making them in the summer! Happy baking!
Jessie says
Just made these using canned plums because I was trying to find a good recipe to use them up. These bars are delicious! I used 1-15oz can of whole purple plums and added a little cinnamon and nutmeg to the filling. So delicious and so easy! I’m excited to try with fresh plums once they’re in season, but until then, canned works great.
Maria says
Hi Jessie! So happy you enjoyed this recipe! Thank you for sharing. What a great tip for making these bars in the off-season:)
Alex says
A delicious sweet treat, these bars come together easily and are perfect for the whole family to enjoy.
Maria says
Thank you, Alex! So happy that you like these seasonal bars!