This post may contain affiliate links, please read my full disclosure policy.
This simple Peach Blackberry Crisp pairs seasonal fruit with a buttery oat crumble for a dessert that even a beginner baker will feel like a pro. You don’t need special tools to make this easy crisp that’s perfect for sharing with friends. You’ll have dessert ready in just under 1 hour.
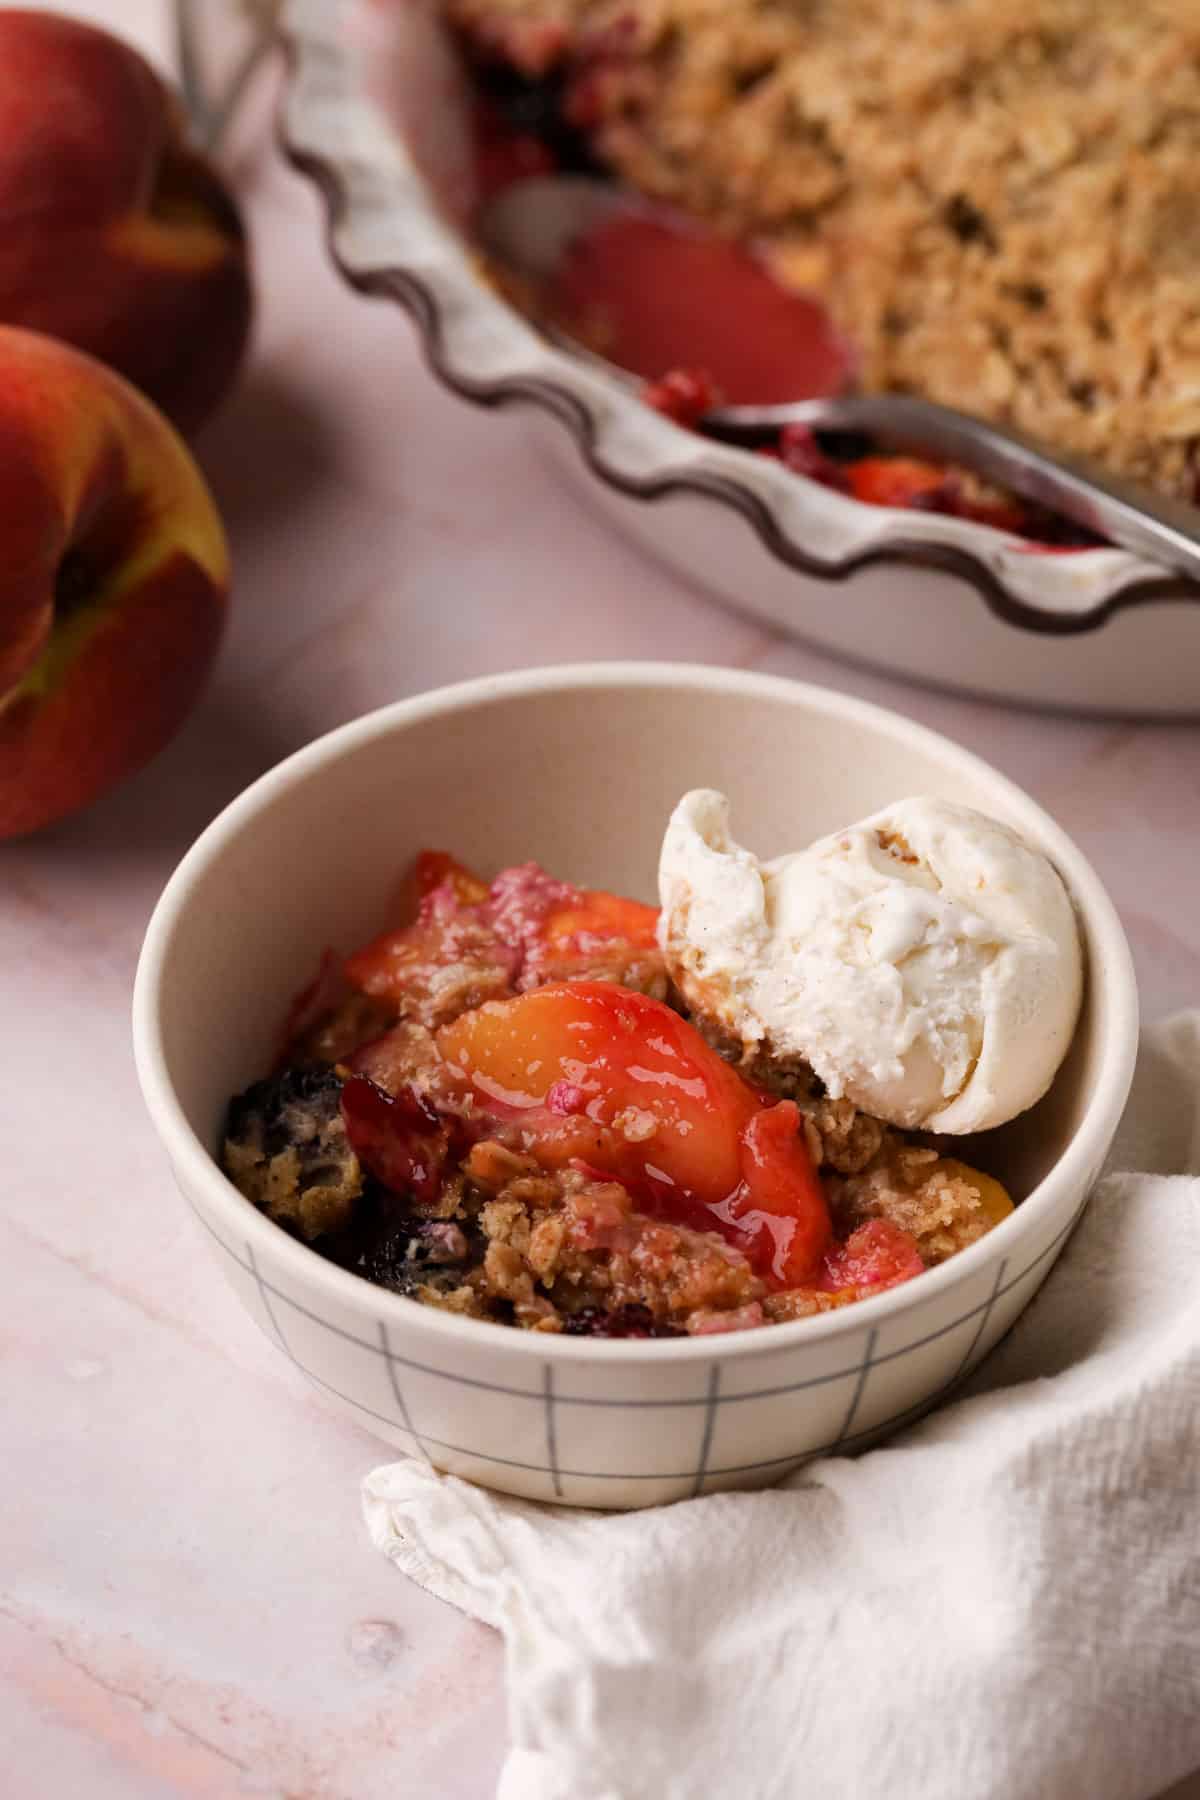
During the summer, spending the day in a hot kitchen doesn’t sound enticing. I like to keep it simple with my easy peach blackberry crisp. It combines fresh peaches and blackberries with a buttery oat crumble topping with basic tools and prep time.
As a busy mom, I would rather spend the day at the pool and still have an easy but impressive dessert ready in under 1 hour, whether serving it to my family or entertaining a group of friends.
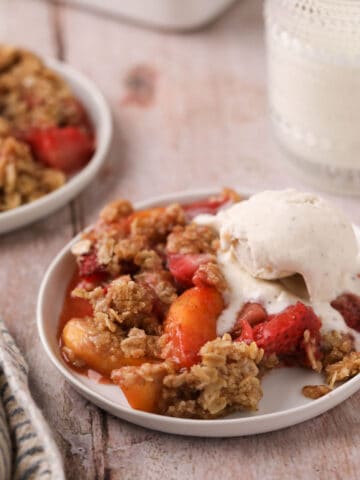
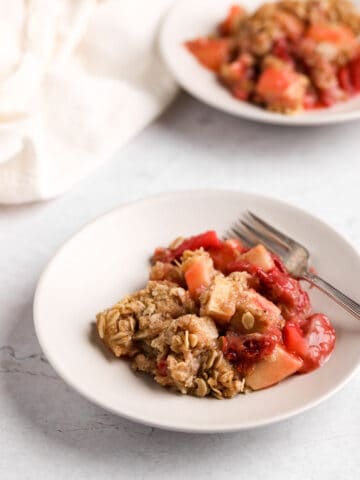
Depending on the fruit you have, you can easily switch up the flavors of crisp recipes. Some favorites include strawberry peach, cherry apple, and strawberry apple. It’s a stress-free recipe that you won’t want to miss!
Why You'll Love This Recipe
- Sweet and tart. Fresh, sweet peaches pair well with blackberries that have a hint of tartness. It’s a lovely combination during summer.
- Quick and easy dessert. All you need is 15 minutes to prepare this crisp. No baking experience is needed, just mix and bake!
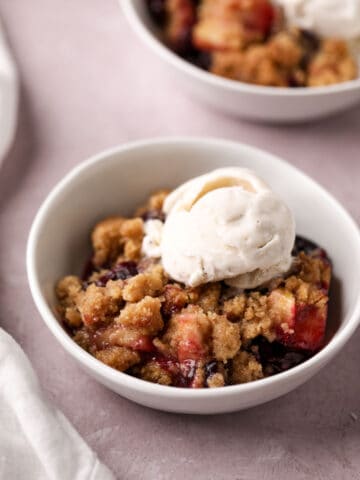
- Delicious served warm. You know when you bake a dessert and have to be patient for it to cool to enjoy? Well, not necessary with this recipe. Enjoy peach blackberry crisp warm from the oven with a scoop of ice cream.
Ingredients You'll Need
Ingredients for the Crisp Topping
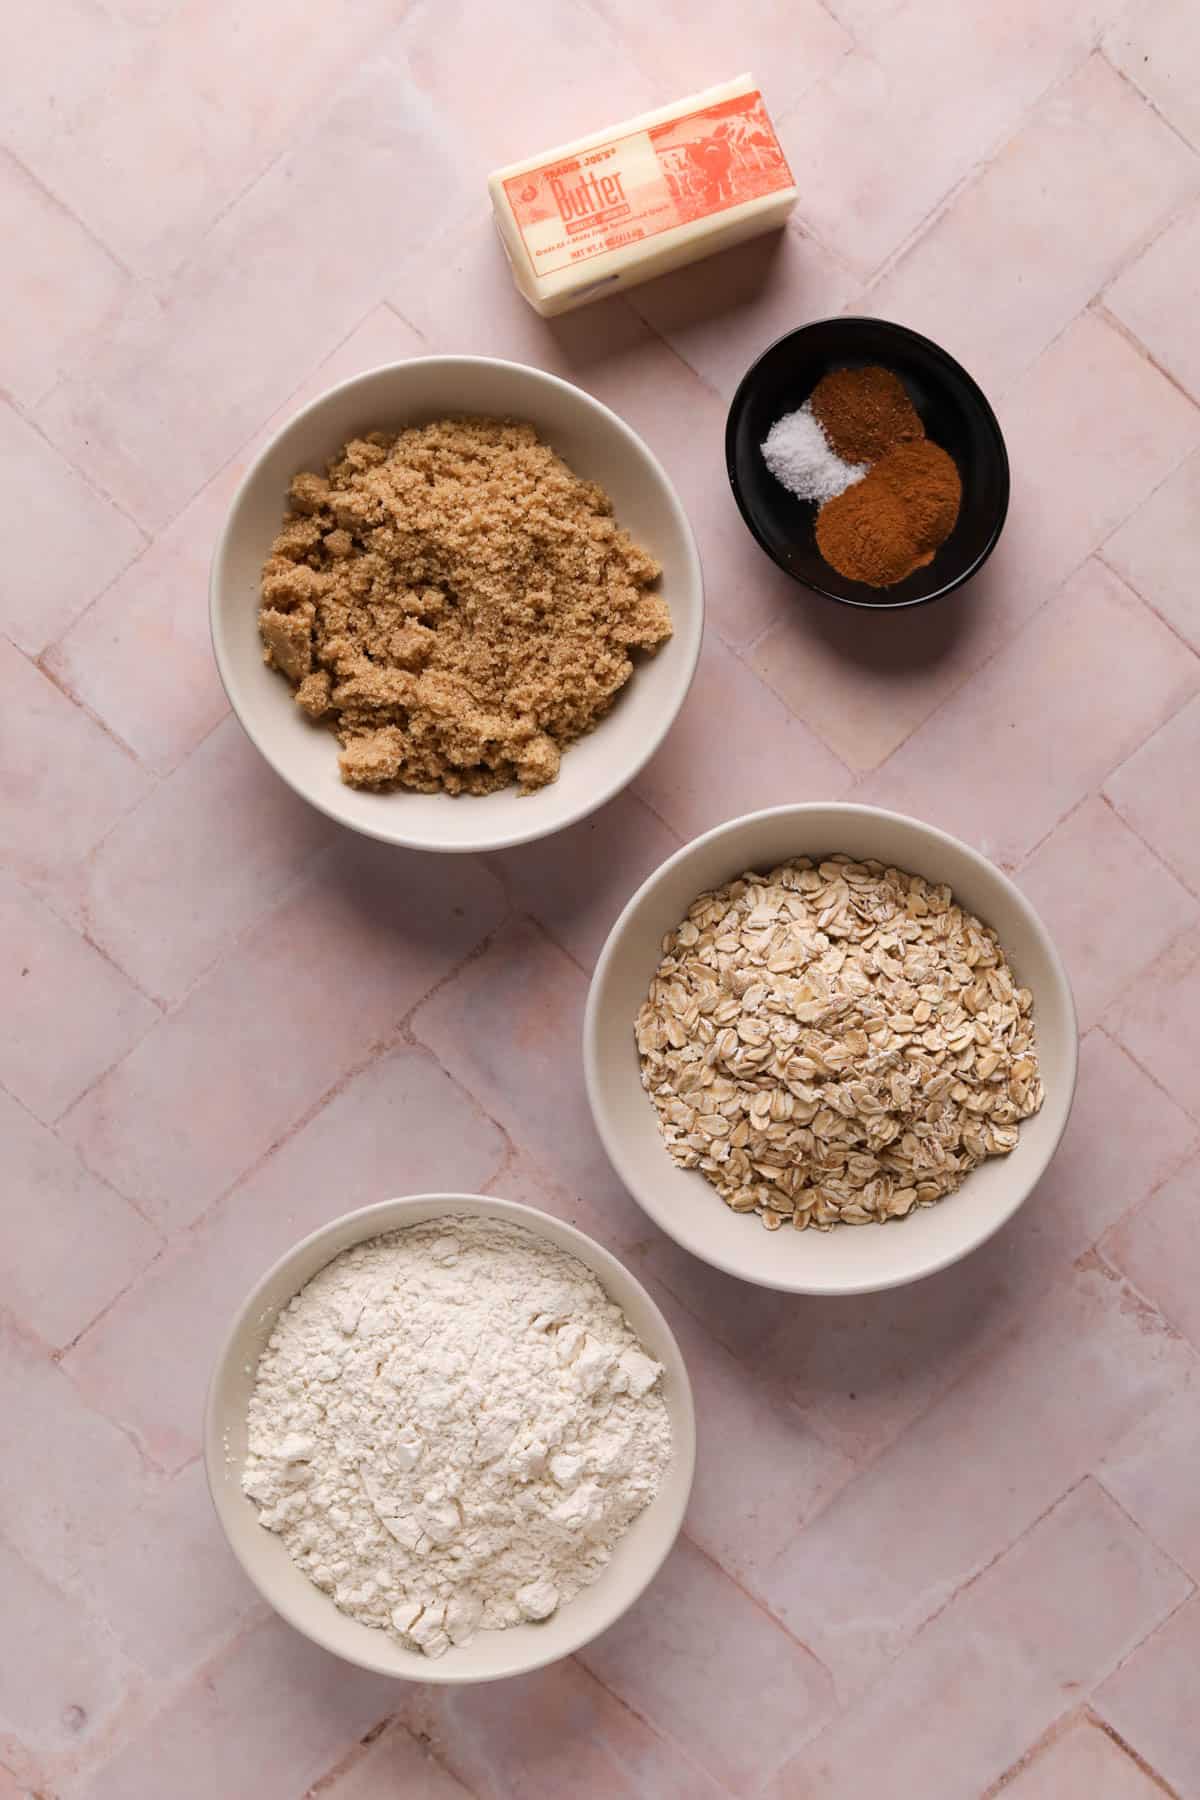
- All-purpose flour. The key ingredient that holds everything together and gives crisp its crumbly texture.
- Brown sugar. Adds sweetness, and its higher moisture content compared to granulated sugar helps prevent the topping from drying out. You can also use dark brown sugar.
- Oats. Adds a slightly chewy texture and nutty flavor. Old-fashioned oats provide the ideal texture, whereas quick oats produce a softener texture.
- Cinnamon and nutmeg. Adds a warm spiced flavor. Feel free to add more or less according to your preference.
- Salt. A pinch added to the topping enhances the flavor of the other ingredients.
- Butter. Adds moisture and a delicious rich flavor to the topping. When mixed with the rest of the ingredients, butter brings everything together. Cold butter slows the melting process during baking, which helps keep a crisp texture while the filling bakes.
Ingredients for the Peach Blackberry Filling
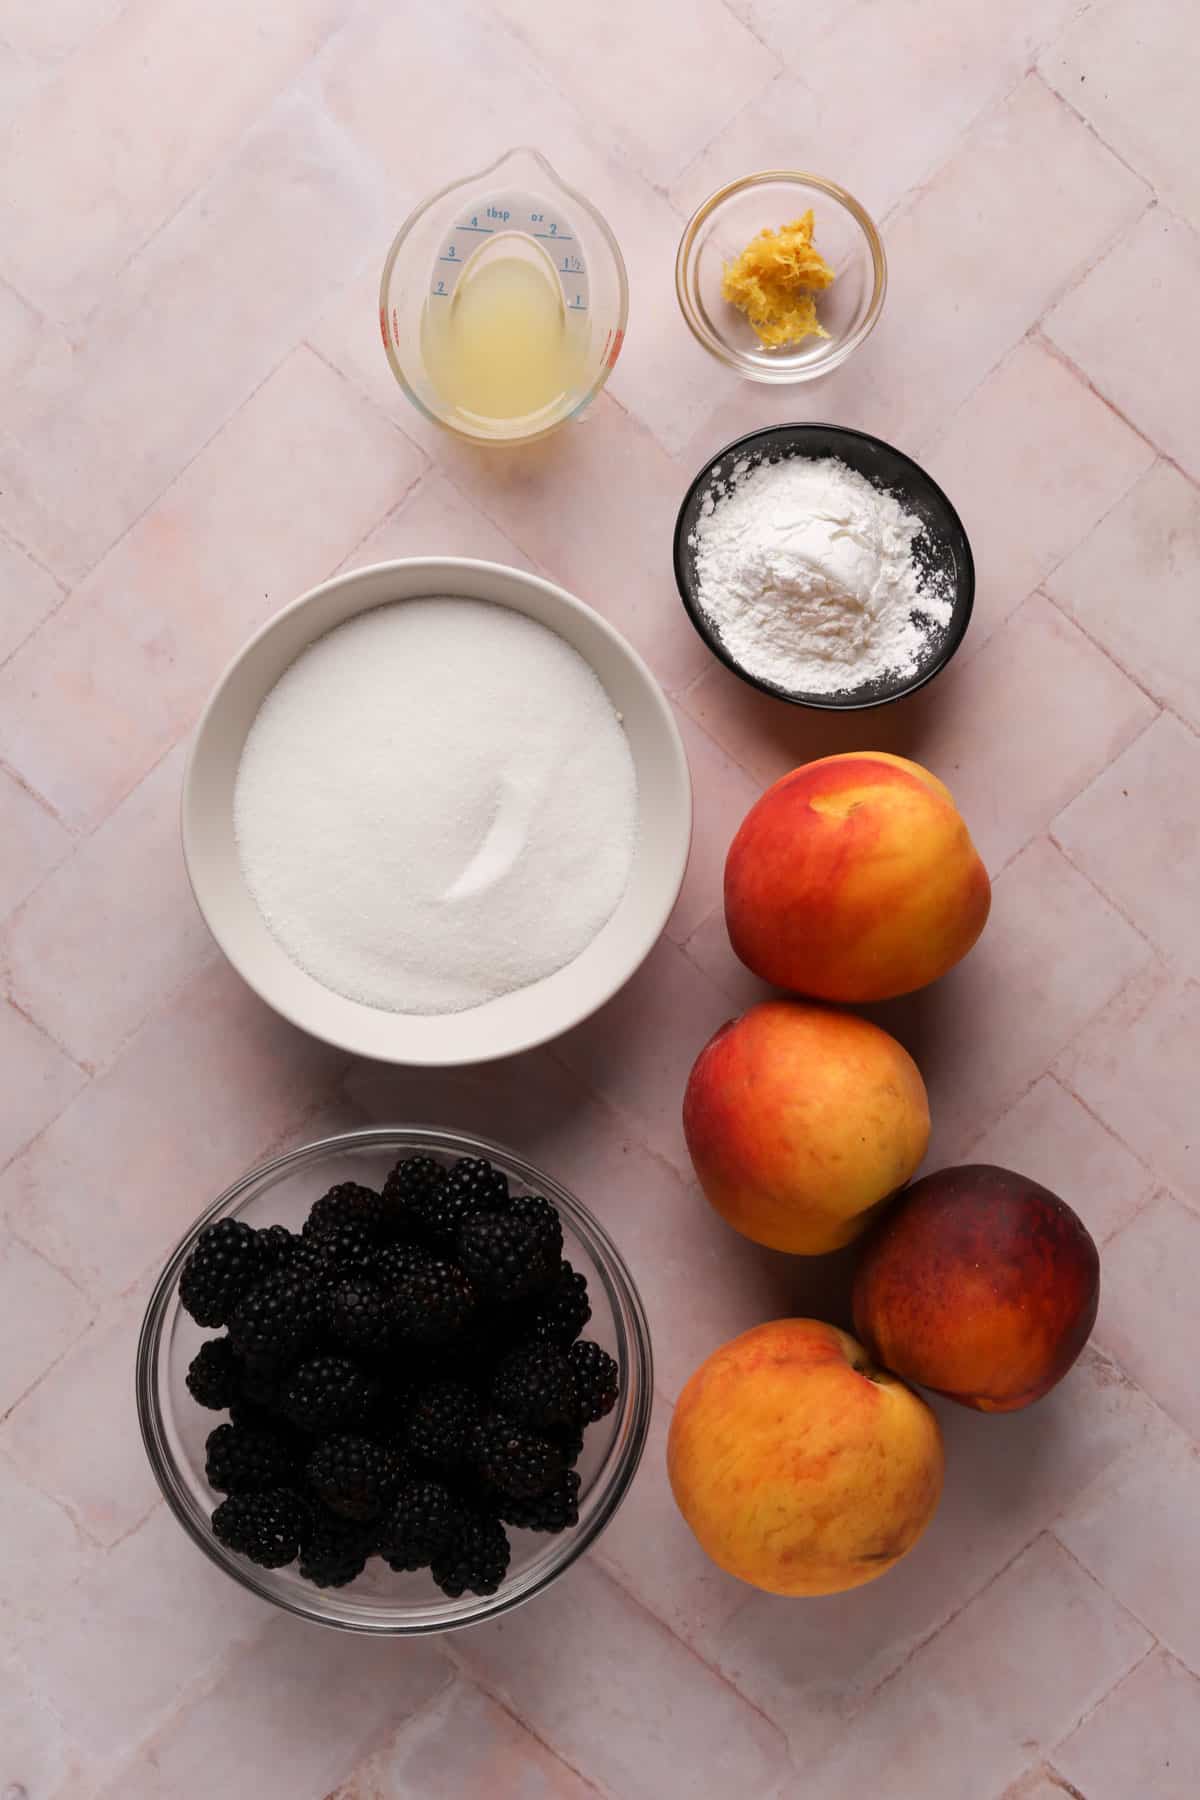
- Peaches. Fresh seasonal peaches work best for this recipe (no need to peel them!). Select peaches that have some give when gently squeezed and have a sweet aroma. Ensure they are not overripe or mushy, or they can create a soggy crisp. If fresh peaches are unavailable, use frozen ones but completely thaw and strain excess liquid.
- Blackberries. Select plump blackberries that are dark in color (not reddish) and firm. Blackberries will not ripen after they are picked, so make sure to carefully choose your fruit.
- Granulated sugar. Adds sweetness to the fruit filling and helps to draw out the moisture from the peaches and blackberries for a delicious syrup-like consistency.
- Lemon juice and zest. Adds flavor to the filling. The juice balances out the sweetness.
- All-purpose flour. Acts as a thickening agent. Ensure your filling is bubbling for it to thicken properly.
Recipe Substitutions
- Stone-fruit. If you have plums, nectarines, or apricots, substitute them for the peaches. I love using a combination of fruit.
- Cornstarch. You can use cornstarch as the thickener for the fruit filling. Sometimes the flour can make the filling cloudy. It’s a personal preference. Substitute 3 tablespoons of cornstarch for the ¼ cup of flour.
- Berries. You can also mix and match the berries. I love the flavor of mixed berries (like in this berry pie). Whatever you have on hand will work!
Equipment & Tools
- Digital kitchen scale or measuring cups. Using a scale will give you the most accurate measurements.
- Measuring spoons.
- Food processor. If you don’t have a food processor, you can use a pastry cutter or your fingers to work the butter into the dry ingredients for the topping.
- Large bowl. To combine your filling ingredients.
- Rubber spatula. To mix your filling ingredients.
- 9-inch pie plate or 3-quart baking dish. An 8x11 baking dish will work. You can bake crisps in a glass, metal, or ceramic baking dish. If using glass, add extra baking time because it takes longer for the glass to heat.
Step-By-Step Instructions
Before you begin, read the directions on the recipe card from start to finish. Preheat the oven to 350°F/177°C and set aside a deep pie dish or 3-quart baking dish.
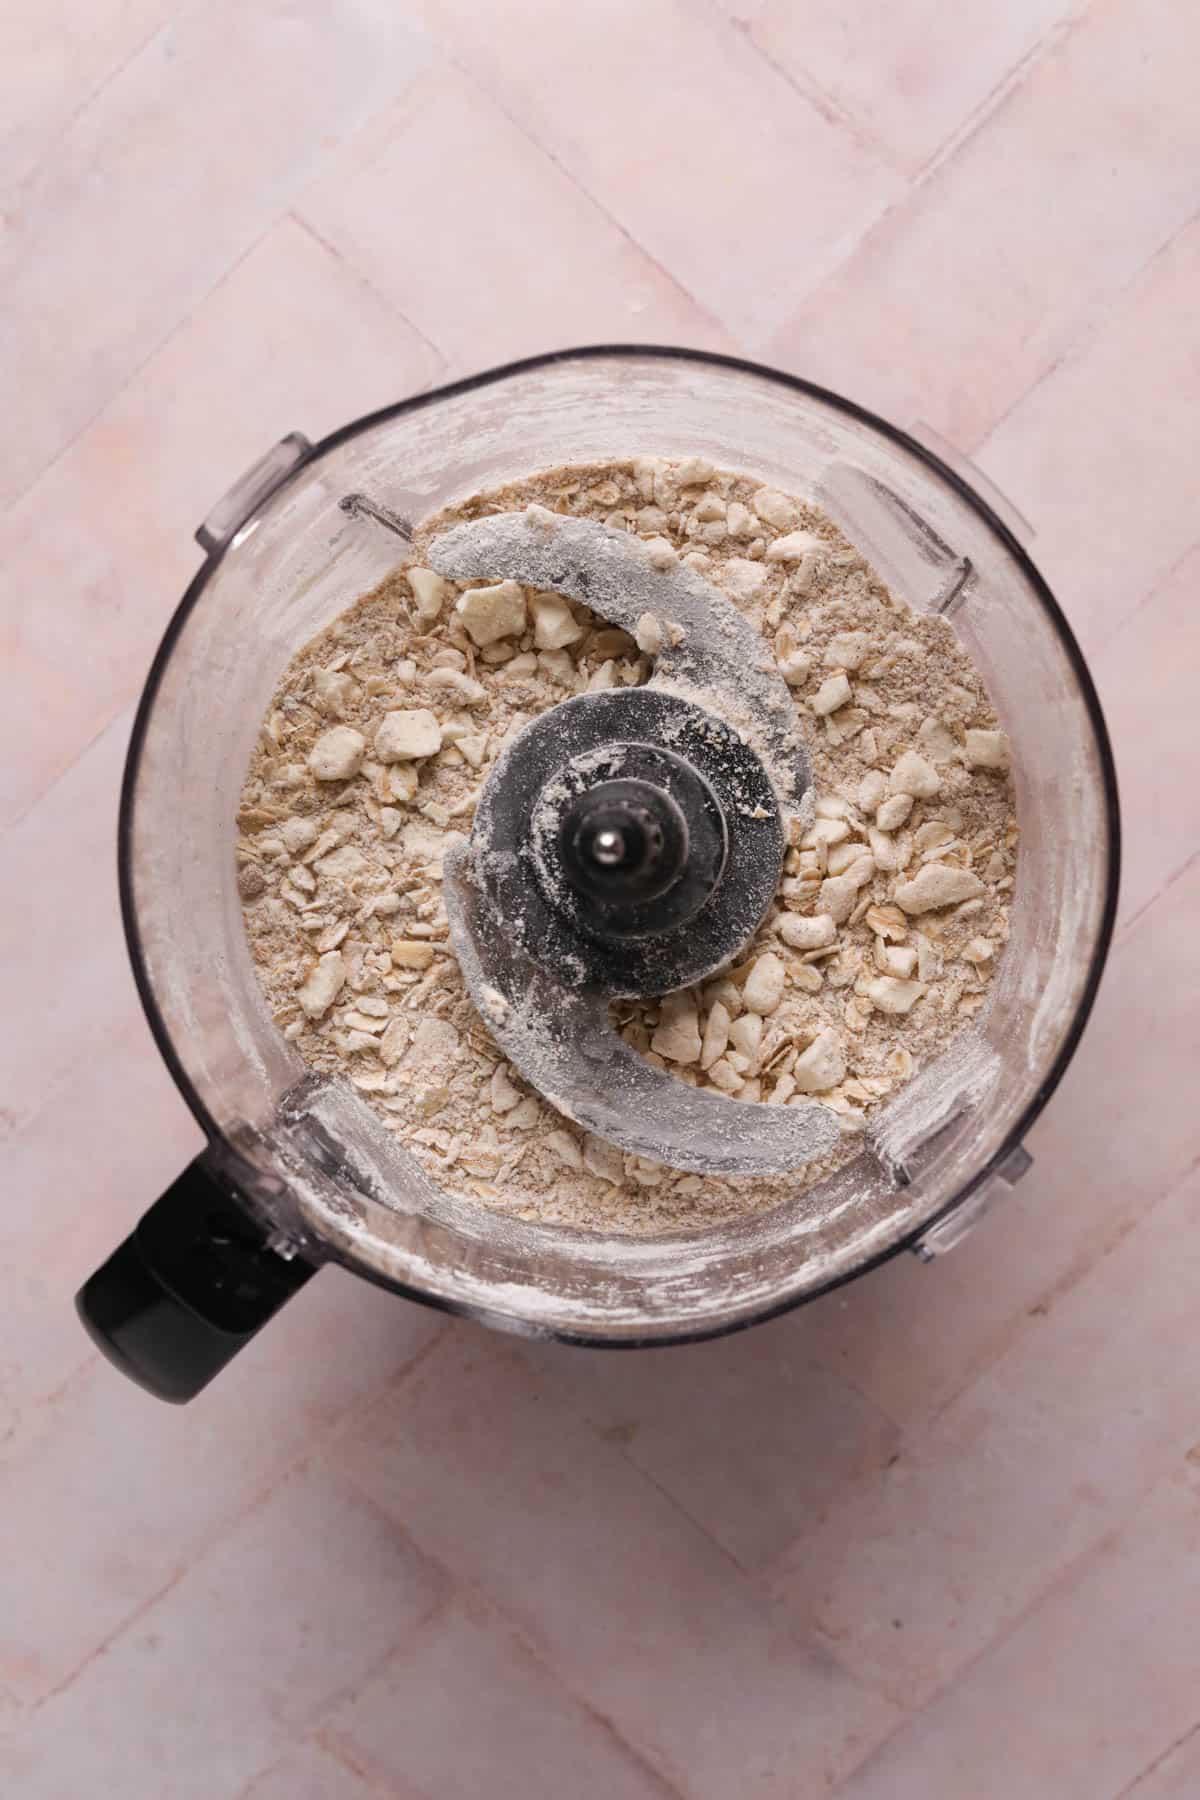
Combine dry ingredients. Pulse the flour, brown sugar, oats, cinnamon, and nutmeg in a food processor 2-3 times to combine. Add butter and pulse until a coarse meal.
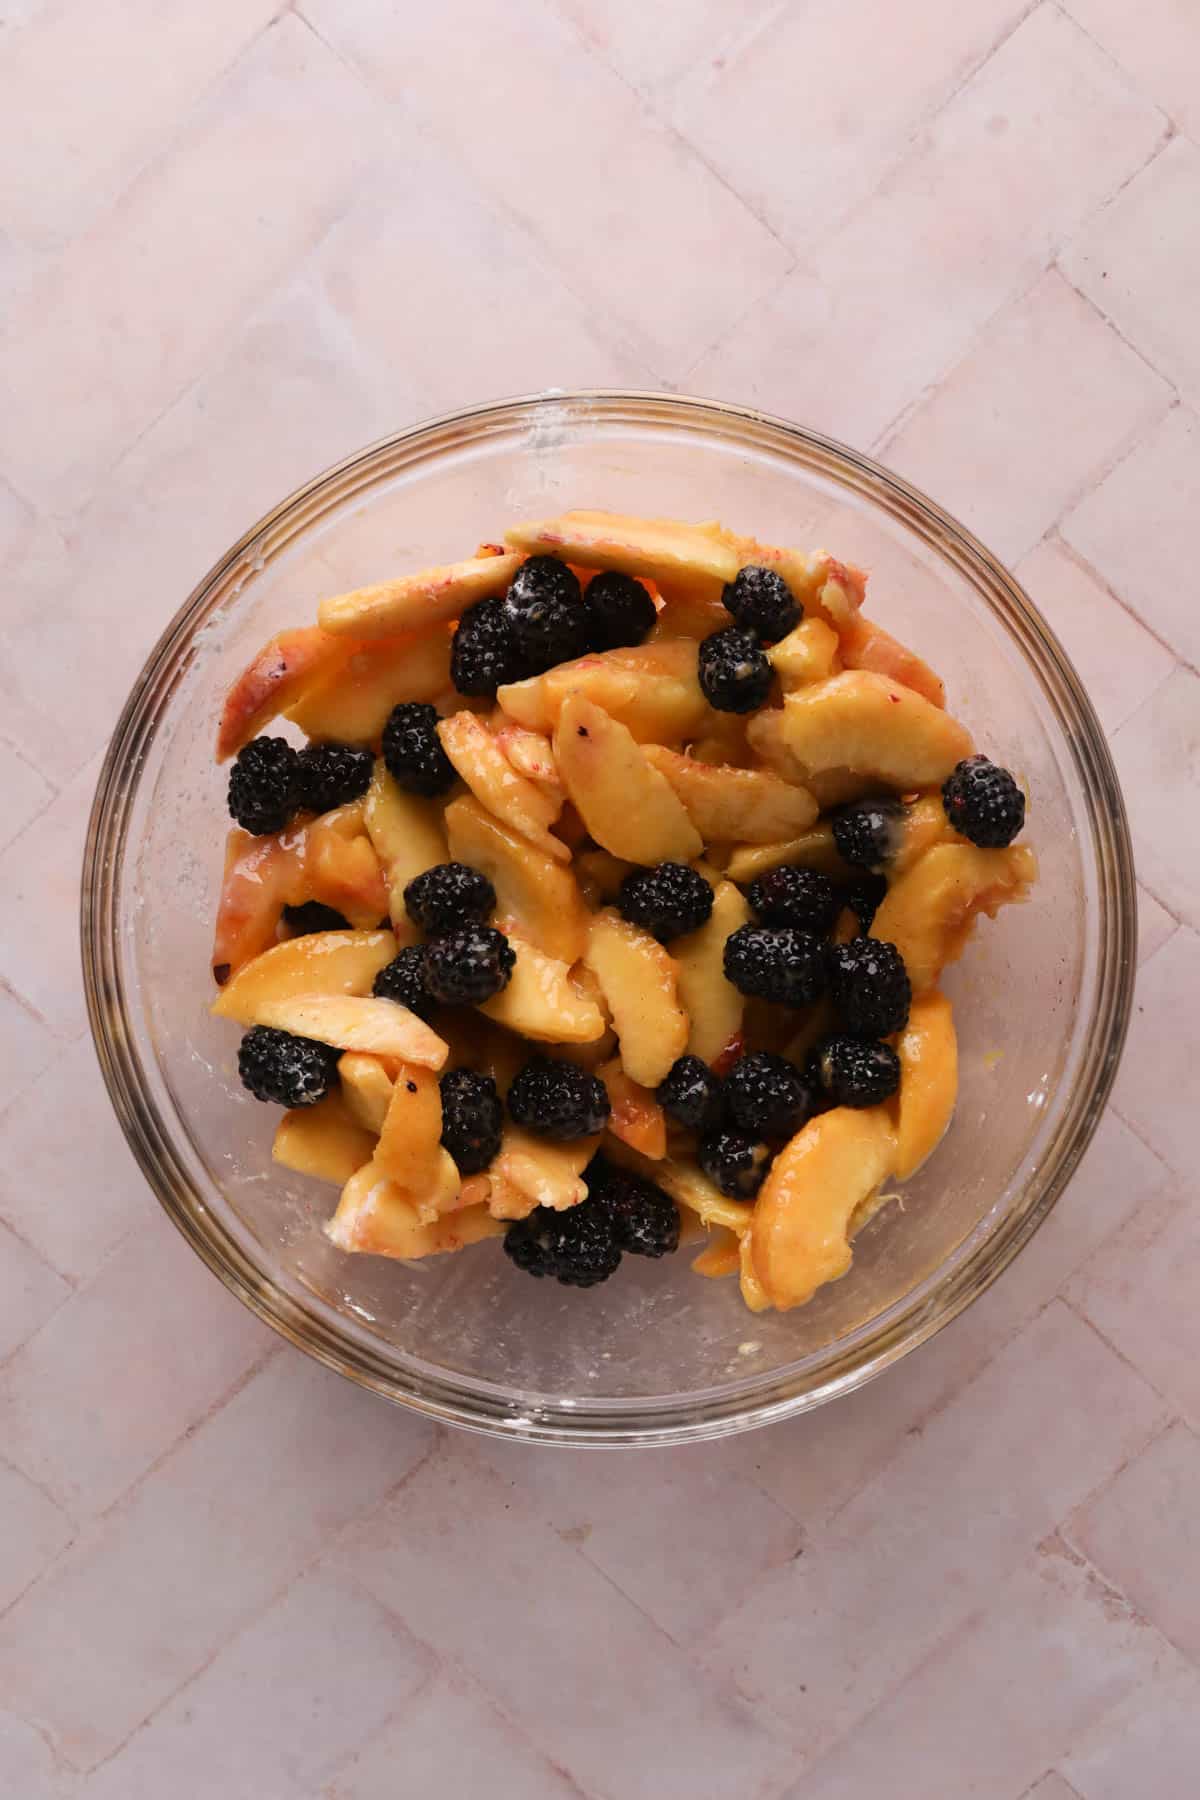
Combine fruit and flavorings. Mix the peaches, blackberries, sugar, zest, lemon juice, and flour in a large bowl.
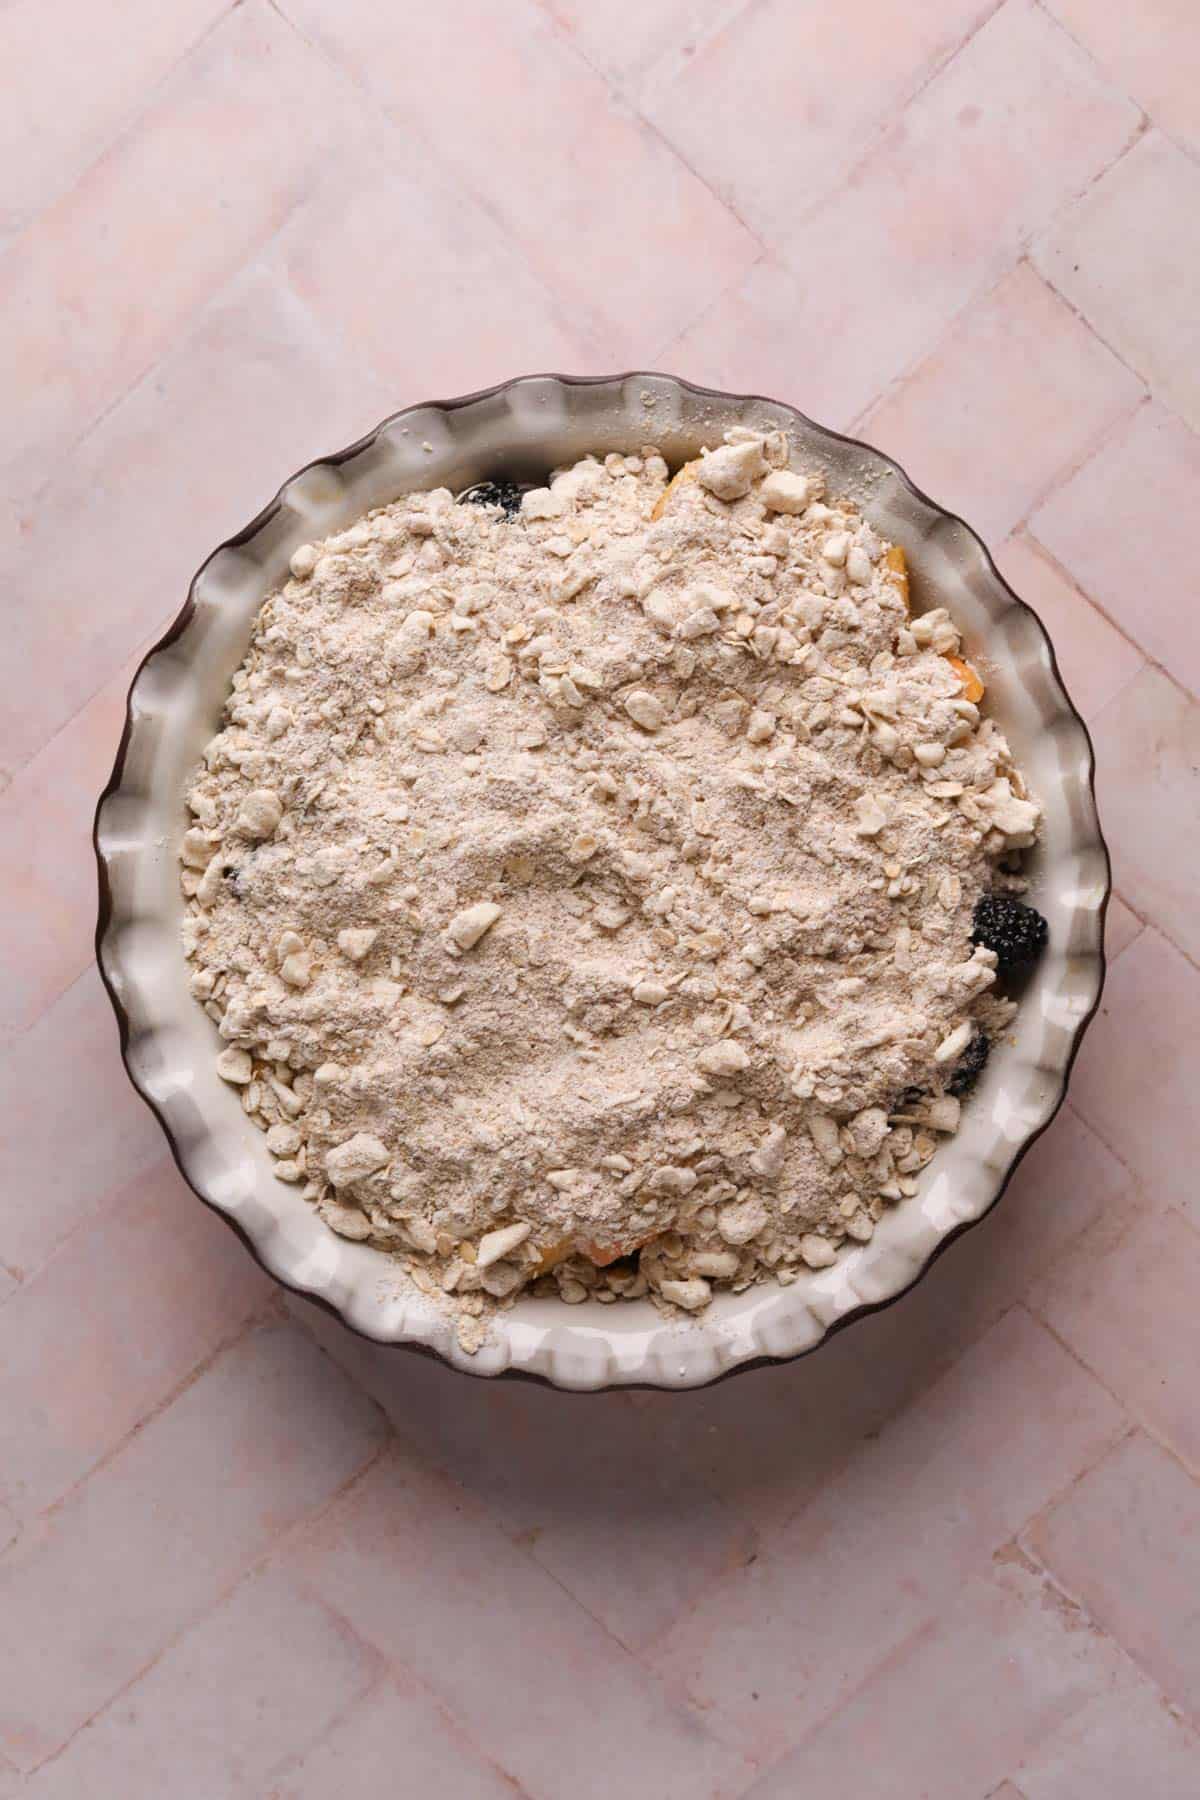
Transfer to a baking dish. Spread the filling evenly in your baking dish and sprinkle with the topping. Bake until the fruit is bubbling and the topping is golden brown.
Note: Keep the crisp topping in the refrigerator or freezer while preparing the filling to keep the butter cold! The colder the butter, the better for a crispy topping.
Recipes Tips & Tricks
As a trained pastry chef, I love elaborate desserts. But during the summer, I love making easy crisps that require minimal effort. You can use these tips to make this peach blackberry dessert foolproof.
- Use seasonal fruit. Fresh seasonal peaches and berries are packed with flavor and perfect for preparing a crisp. During the off-season, I recommend using frozen fruit that’s thawed and drained of liquid.
- Taste the filling. Before adding the fill to the baking dish, taste for sweetness and adjust with more sugar if needed. Some fruit is sweeter than others, depending on a variety of factors.
- Evenly distribute the filling. Spread the filling into an even layer and sprinkle the crumble topping in an even layer so the crisp can be cooked all the way through.
Recipe Variations
- Chopped nuts. Mix your favorite nuts into the toppings (up to ½ cup). Sliced almonds add a lovely texture like in rhubarb crumble.
- Make individual desserts. Like peach cherry crisps, divide the filling between eight 6-ounce ramekins and sprinkle each with the crumble topping.
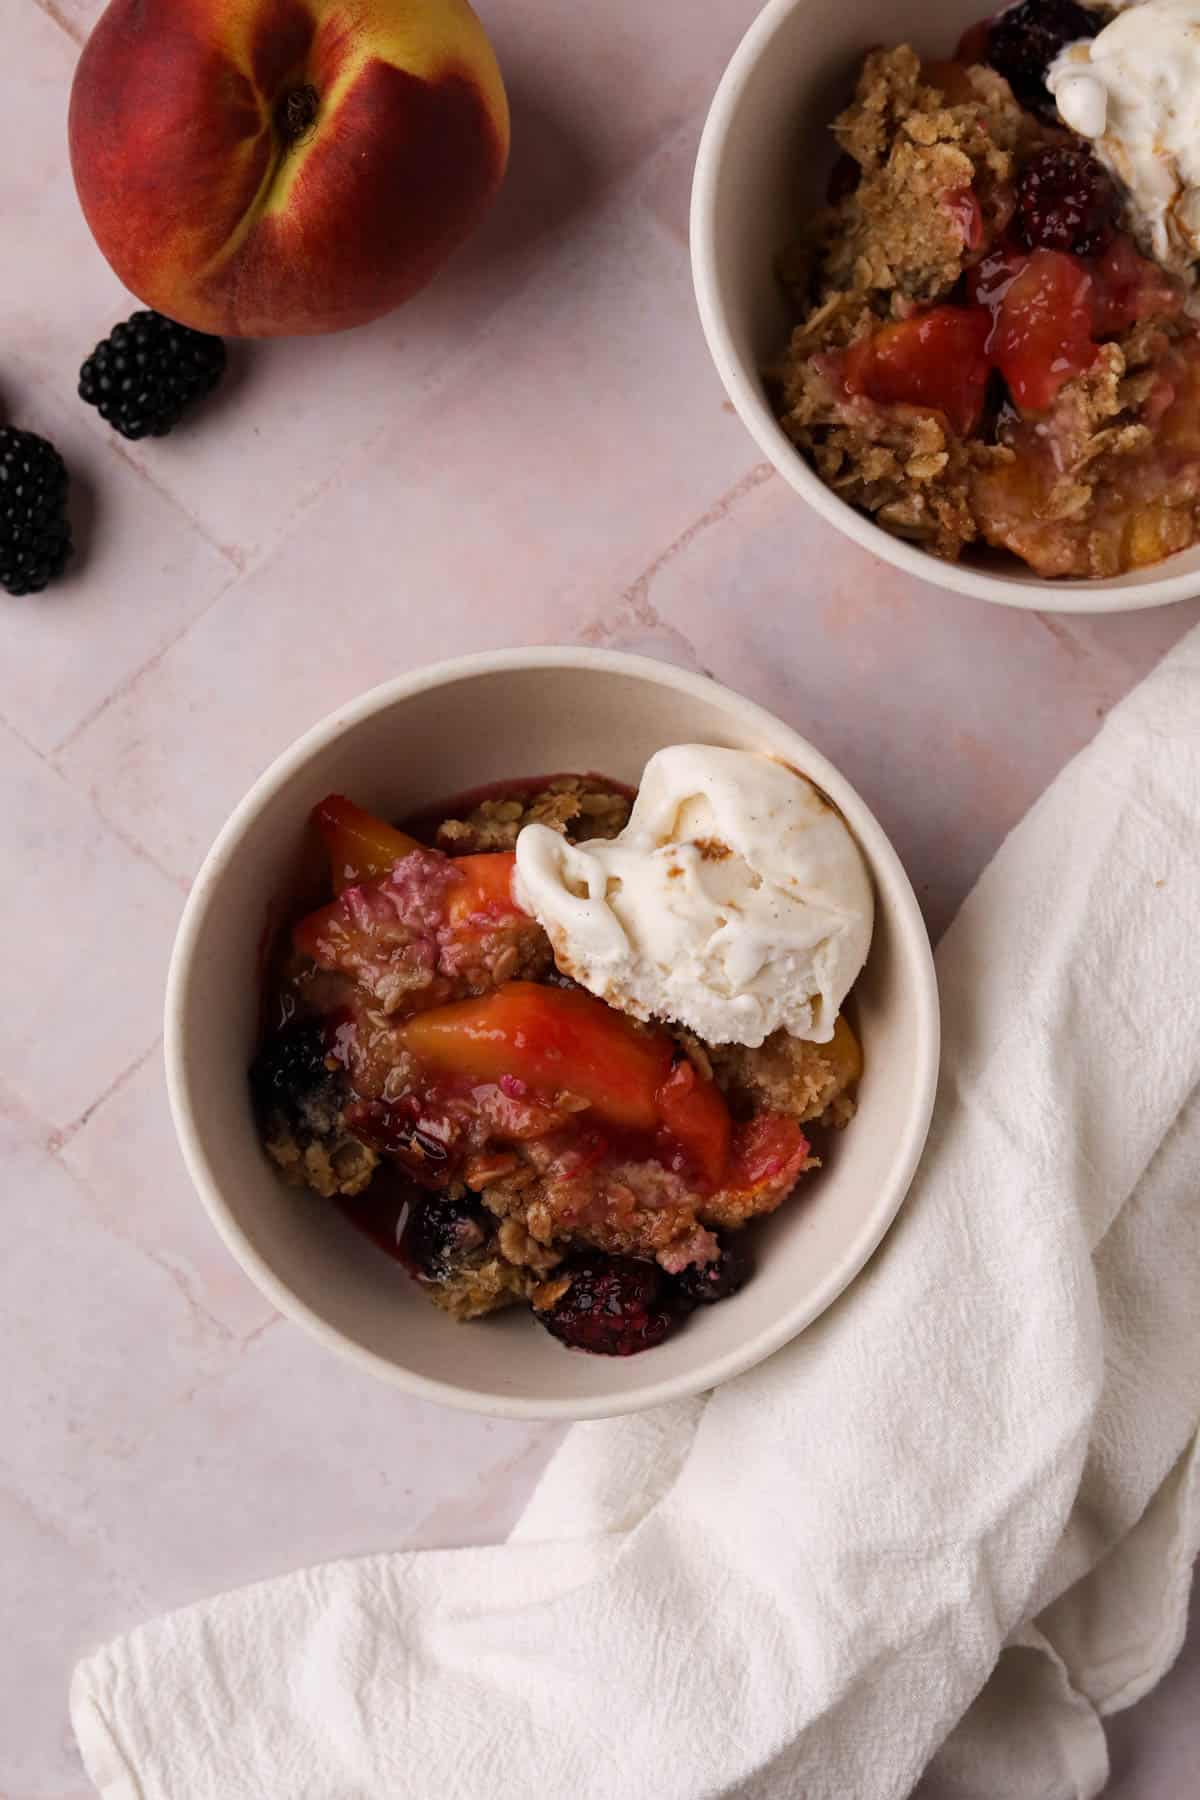
- Top with ice cream. You can’t go wrong with warm crisp served à la mode with vanilla ice cream.
- Make it gluten-free. Replace the all-purpose flour in the topping with almond flour, and replace the flour in the filling with 3 tablespoons of cornstarch.
Storage & Freezing Tips
- In the refrigerator. Store leftover blackberry peach crumble in the fridge for up to 3 days.
- In the freezer. Place the leftovers into a freezer-safe container and freeze for up to 3 months. Thaw in the refrigerator overnight before serving.
- Make ahead. Make the crisp topping ahead of time. Store in an airtight container in the refrigerator for up to 3 days, or store in a freezer-safe bag and freeze for up to 3 months. Add the topping to the filling and bake without thawing.
Reheat: Re-warm the peach blackberry crisp in a preheated 350°F/177°C oven to warm it and ensure the topping is crispy and not soggy. Bake until the peach filling is warmed through and bubbly.
Frequently Asked Questions
Add peaches to boiling water and cook for up to 5 minutes until fork tender. You don’t want them to become too soft.
You can substitute fresh peaches with canned sliced peaches in 100% juice. Drain the liquid and lightly rinse the peaches under cold water.
You do not have to cover the crisp while baking. If the topping begins to brown too quickly, you can cover it with aluminum foil to prevent it from burning.
Yes, make this crisp as directed. Before baking it, cover it tightly with plastic wrap and aluminum foil and store it in the freezer for up to 3 months. Remove the plastic wrap and bake frozen covered with foil in a preheated 350°F/177°C for 20 minutes. Remove the foil and bake for an additional 40-45 minutes.
Please leave a starred rating and comment below if you make this Easy Peach Blackberry Crisp. I love reading your feedback! And if you’d like to make this recipe later, don’t forget to pin it on Pinterest! Happy Baking!
Print
Easy Peach Blackberry Crisp
- Total Time: 55 minutes
- Yield: 6-8 servings 1x
Description
This simple Peach Blackberry Crisp Pairs seasonal fruit with a buttery oat crumble for a dessert that even a beginner baker will feel like a pro. You don't need special tools to make this easy crisp that's perfect for sharing with friends. You'll have dessert ready in just under 1 hour.
Ingredients
Crisp Topping
- 140 g (1 cup) all-purpose flour
- 110 g (1/2 cup) packed light brown sugar
- 90 g (3/4 cup) old-fashioned oats
- 1 teaspoon cinnamon
- 1/4 teaspoon nutmeg
- 1/4 teaspoon salt
- 140 g (10 tablespoons) cold unsalted butter, cut into tablespoons
Filling
- 750 g (6 cups) firm ripe peaches, peeled and sliced
- 280 g (2 cups) fresh blackberries
- 150 g (2/3 cup) granulated sugar
- 1 teaspoon lemon zest
- 2 tablespoons fresh lemon juice
- 35 g (1/4 cup) all-purpose flour
Instructions
- Preheat the oven to 350°F/177°C. Butter a 3-quart baking dish (8x11-inch) or a deep pie dish and set aside.
Crisp Topping
- Add the flour, brown sugar, oats, cinnamon, nutmeg, and salt to a food processor. Pulse 2-3 times to combine.
- Add the butter and pulse 4-6 times or until the mixture resembles a course meal. Refrigerate while preparing the filling.
Filling
- In a large bowl, mix the peaches, blackberries, sugar, lemon zest, lemon juice, and flour.
- Pour the filling into the prepared baking dish and spread it into an even layer. Evenly sprinkle the topping over the filling.
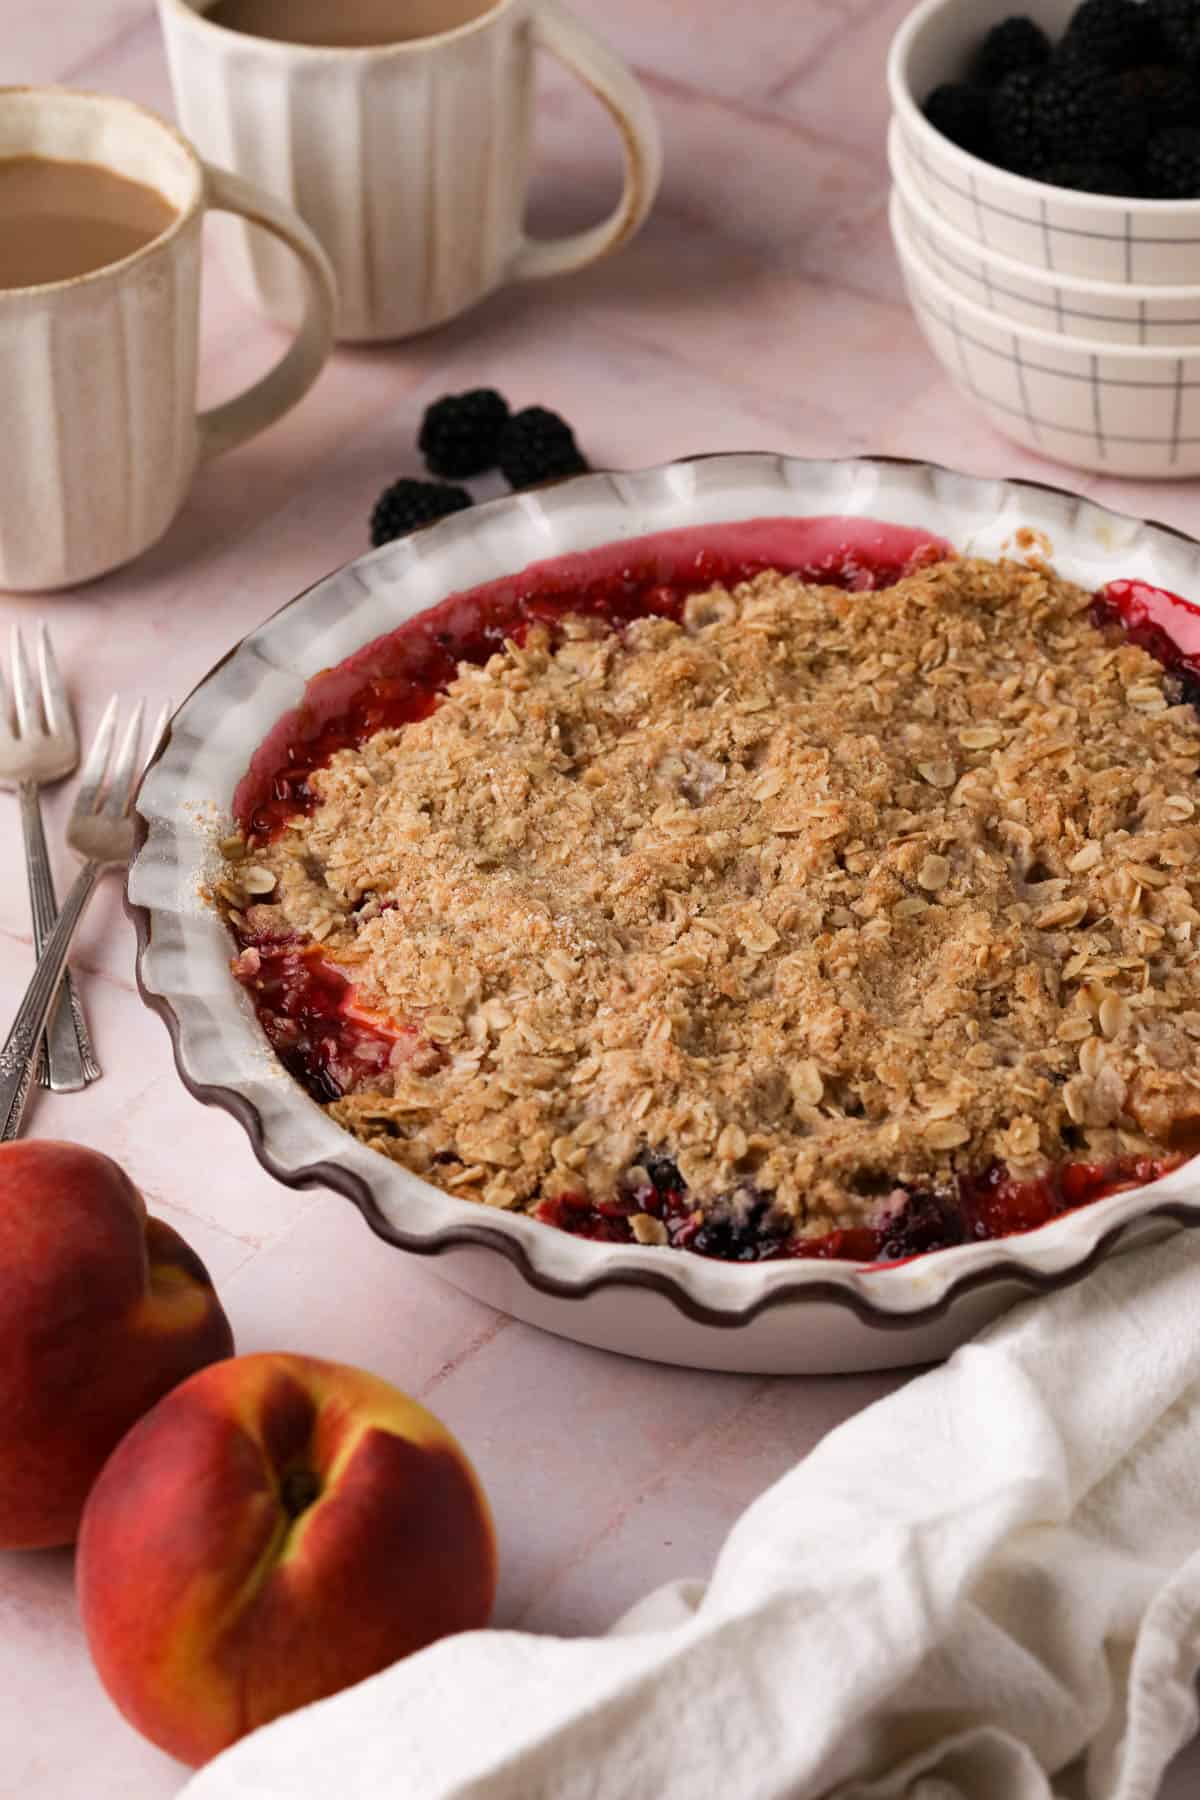
- Bake for 40-45 minutes or until the fruit is bubbling and the topping is golden brown.
Notes
Storage: Store leftover peach blackberry crisp in the refrigerator for up to 3 days.
Freeze: Place the leftover into a freezer-safe container and freeze up to 3 months. Thaw in the refrigerator overnight before serving.
Make ahead: Make the crisp topping and store in an airtight container in the refrigerator for up to 3 days or in a freezer-safe bag in the freezer up to 3 months. Add the topping to the filling and bake without thawing.
- Prep Time: 15 minutes
- Cook Time: 40 minutes
- Category: Pies & Crisps
- Method: Baking

Karly
You can never go wrong with a crisp! I will definitely be making this soon.
Maria
Hi Karly! Hope you enjoy making this crisp! I absolutely agree, a crisp is a wonderful go to dessert. You can make this as one large crisp or bake in individual ramekins!