
This Maple Crème Brûlée combines a creamy, rich-flavored custard with a caramelized topping for an impressive dessert that’s surprisingly easy to make. It only requires 15 minutes of prep time and 5 simple ingredients.
Save This Recipe! 💌
This recipe takes a classic French dessert and gives it a cozy fall twist. My husband and I always order crème brûlée on date nights, and it’s one of those desserts that never disappoints. But here’s the best part: it’s actually simple to make at home.
As a mom, I love creating those “wow, you made this?” moments without spending my entire evening in the kitchen. The maple syrup adds warmth and depth to the silky custard, making it just as perfect for a Tuesday night treat as it is for a holiday dinner.
And of course, nothing beats that tap tap before your spoon cracks through the caramelized sugar topping.
If you love custard recipes just as much as I do, you’ll want to try my campfire s’more crème brûlée or this espresso-infused crème brûlée.
Why This Recipe Works
- A foolproof water bath method - A simple technique to give you a smooth and creamy texture every time.
- Real ingredients - The simplicity of the ingredients gives you restaurant-quality results.
- Make-ahead friendly - Perfect for stress-free entertaining since these custards need to chill first.
Ingredient Notes
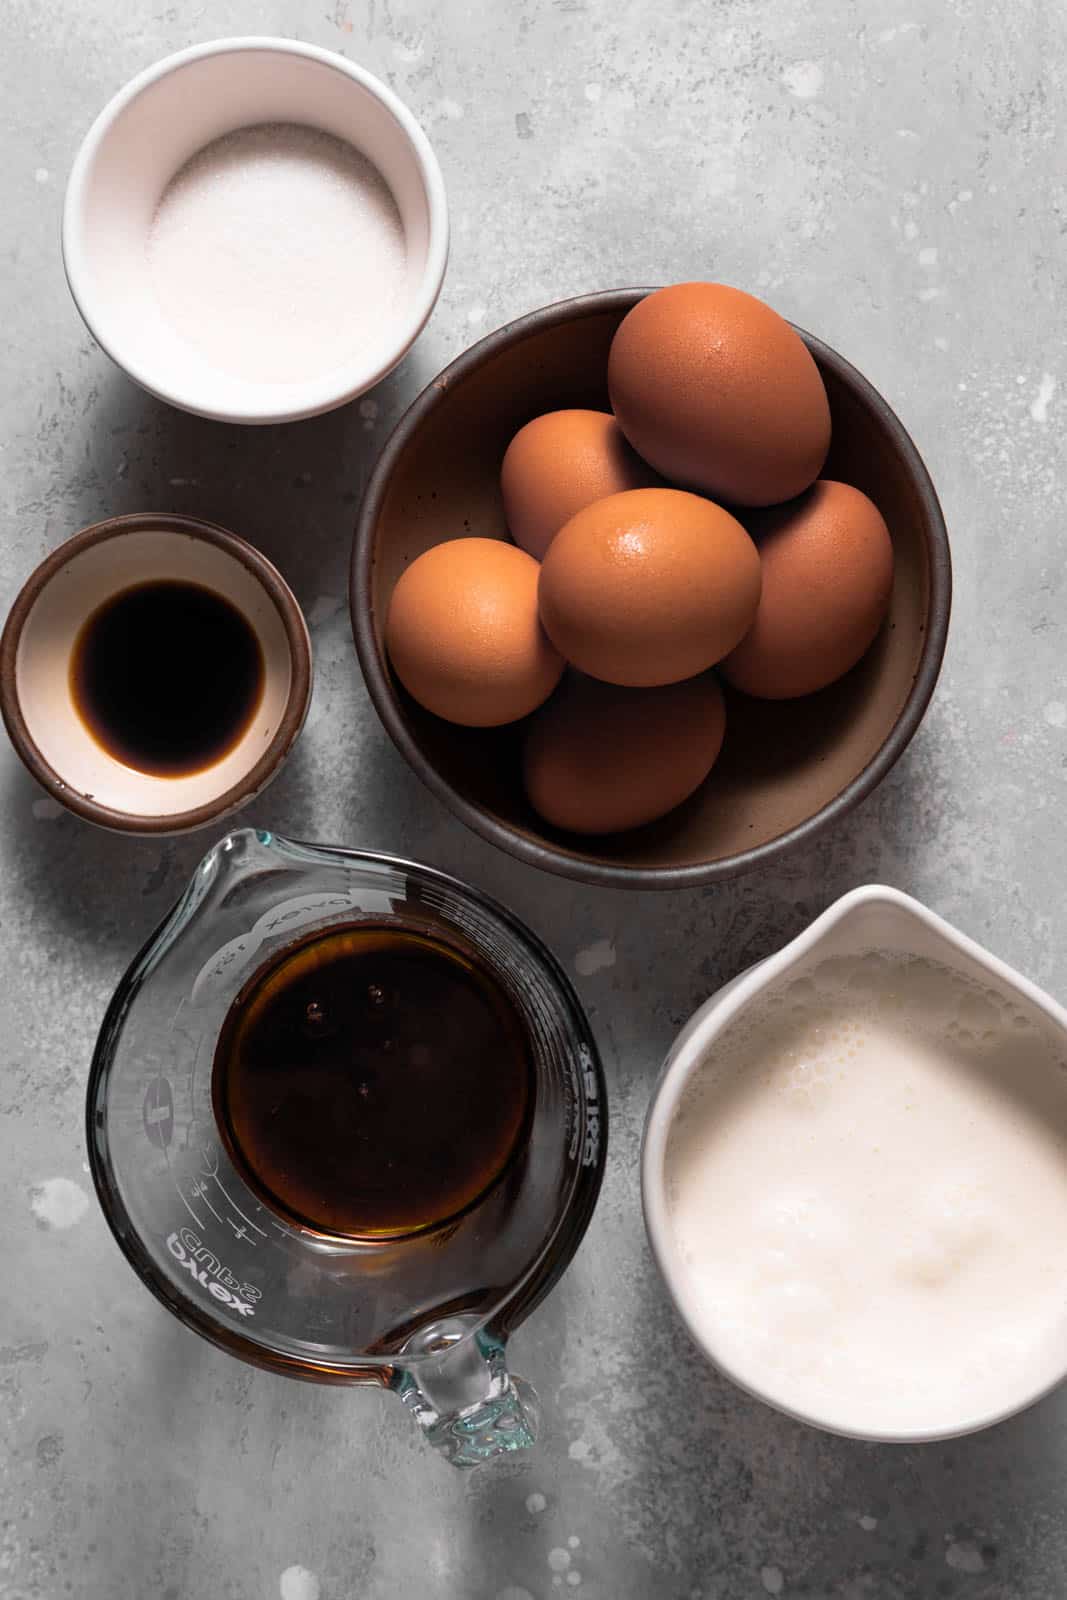
- Heavy cream - I don’t recommend swapping with half and half. You won’t have as luscious a texture, and you risk having a thinner consistency.
- Maple syrup - The star of the show. Use pure maple syrup for the best flavor.
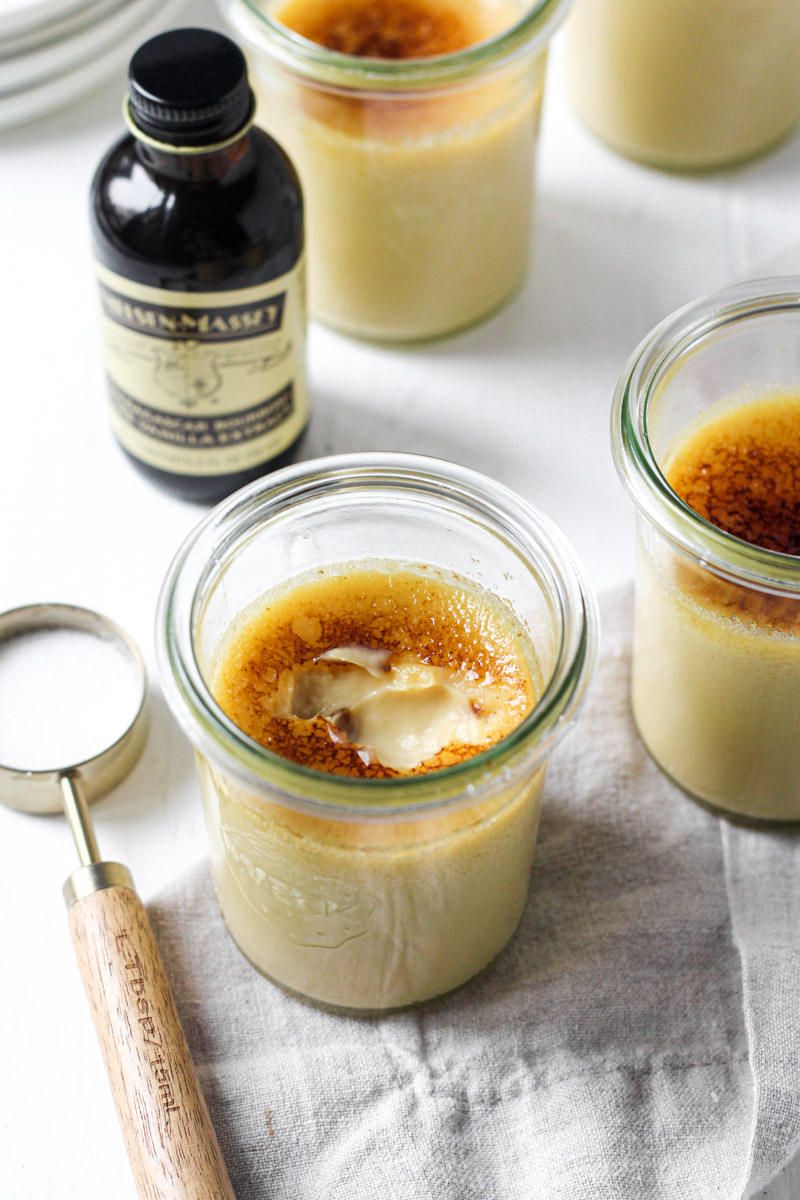
- Vanilla - I recommend a good-quality vanilla. You can swap it out with 1 tablespoon vanilla bean paste or a whole vanilla bean.
- Egg yolks - You’ll need 6 large egg yolks, but use 4 extra-large yolks if that’s what you have on hand.
Please see the recipe card for the complete list of ingredients and measurements.
How to Temper Eggs for Maple Crème Brûlée
Tempering eggs might sound intimidating, but it’s actually a simple technique that will keep your custard creamy and smooth. Here’s how to do it:
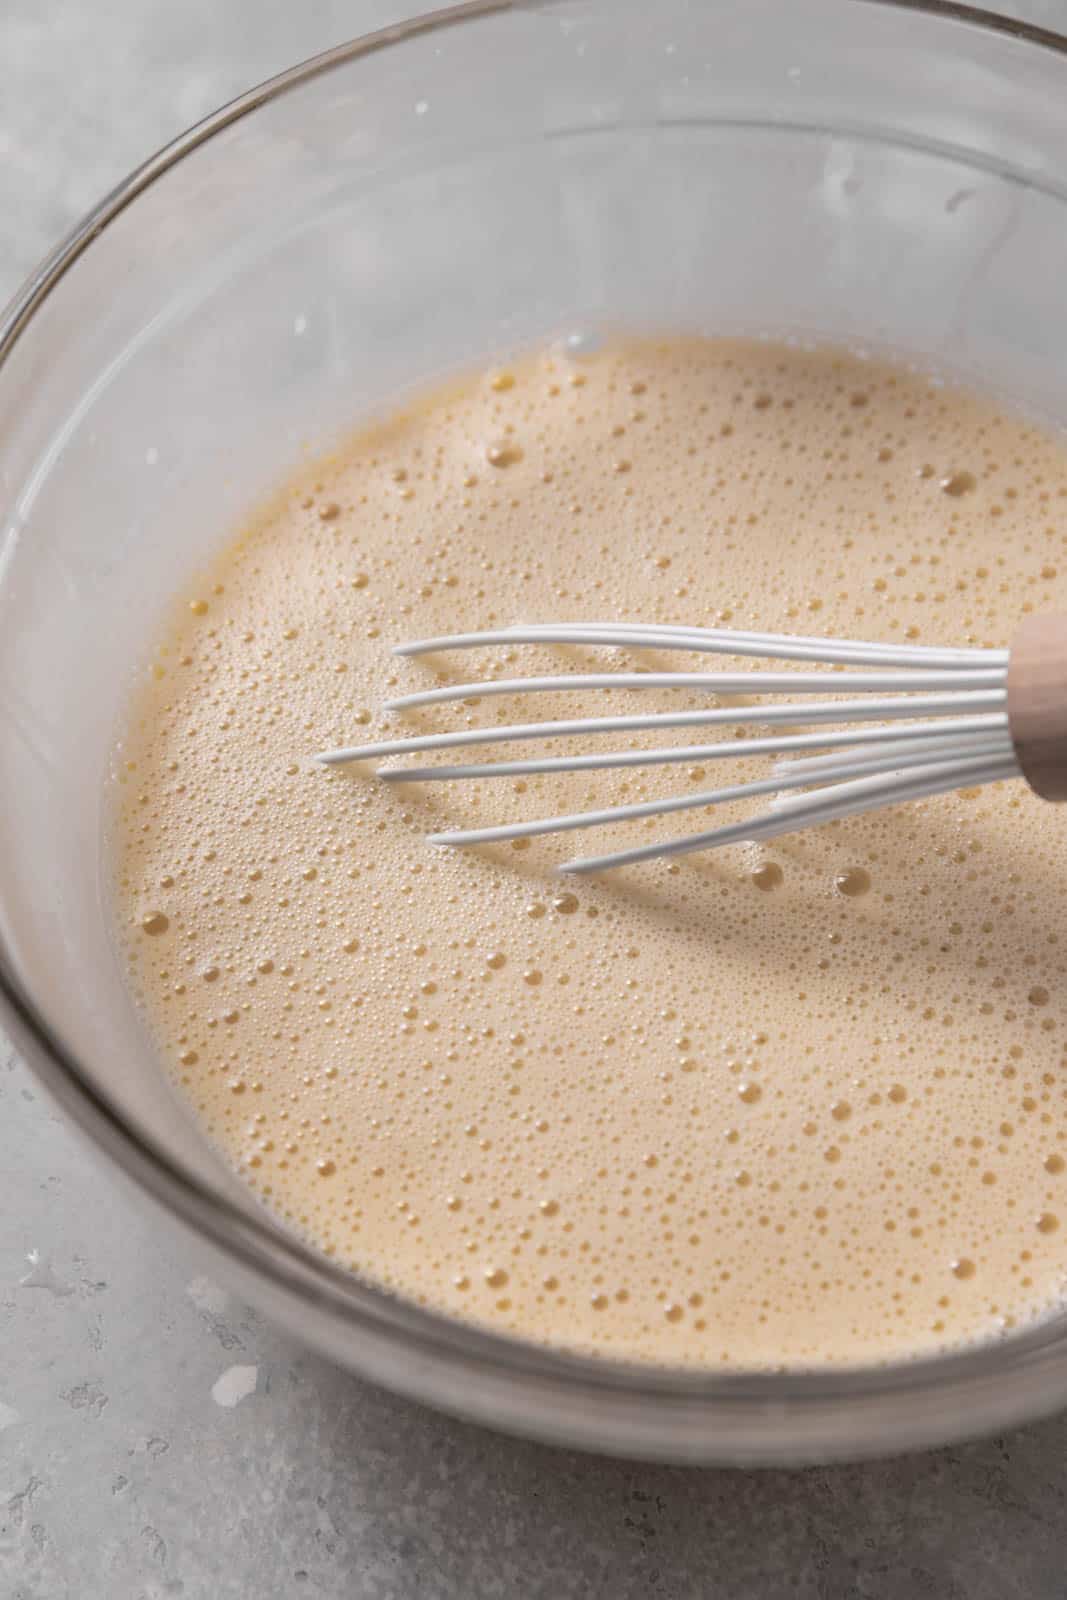
- Whisk the yolks. Start by whisking the egg yolks with some sugar until they are smooth and slightly lighter in color.
- Add warm cream slowly. While continuously whisking, gradually drizzle in the hot cream mixture, about half of the mix. This slowly raises the temperature of the eggs without cooking them.
- Incorporate fully. Now that the eggs will feel warm to the touch, you can pour in the remaining cream in a steady stream.
How to Make This Recipe
- Place 6 ramekins or small baking containers into a large baking dish or roasting pan.
- Warm the cream to a simmer over medium heat, add the vanilla and maple syrup, and turn off the heat.
- Whisk the sugar with the egg yolks in a medium bowl until the mixture is smooth.
- Slowly pour ½ of the warm cream into the yolks while whisking constantly.
- Add the remaining cream mixture, whisking until completely smooth, and strain through a fine sieve.
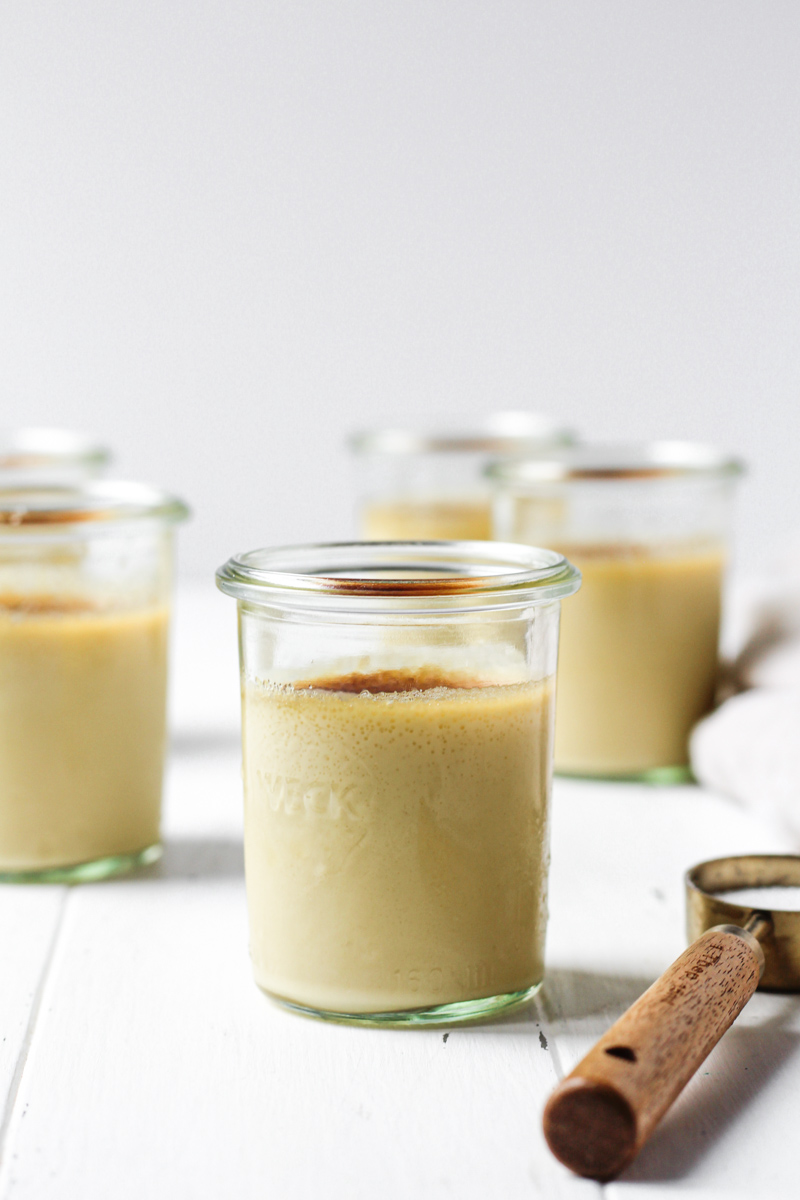
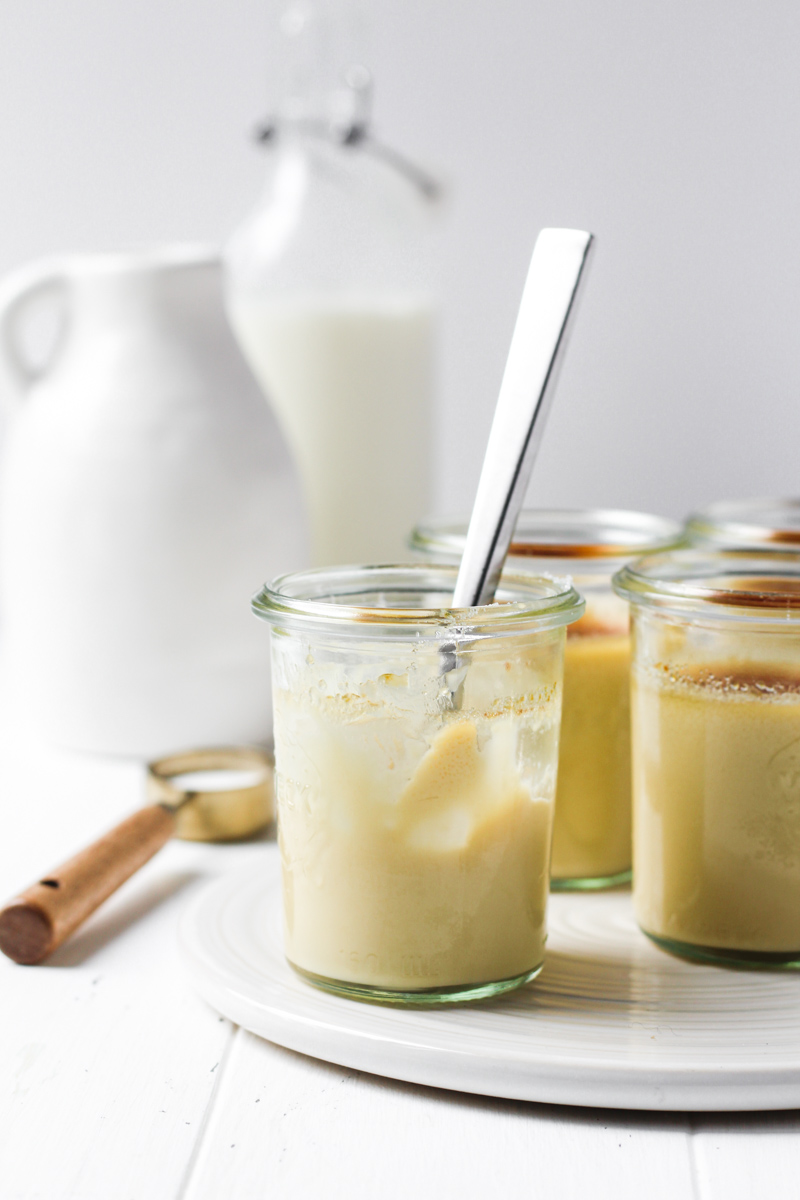
- Divide the custard evenly between your baking containers.
- Pour hot water around your baking dishes so that it’s halfway up the sides.
- Bake for about 30-35 minutes until the centers are just slightly jiggly. Cool and chill for at least 4 hours.
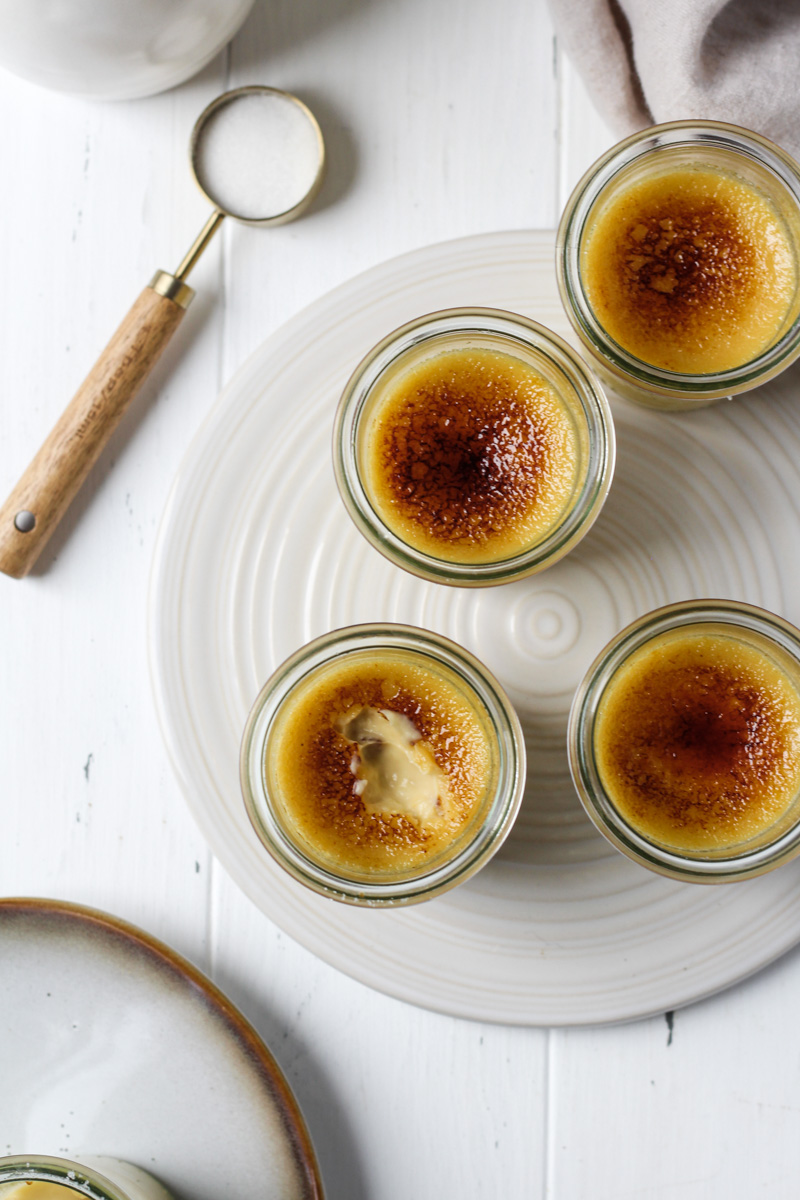
- Sprinkle with granulated sugar, shake off excess, and lightly torch to caramelize.
Tips for Success
- Use room temperature egg yolks. This helps them whisk more smoothly with the cream and prevents the custard from curdling.
- Strain the mixture. I wouldn’t skip this step. Pouring the custard through a fine mesh sieve ensures the final texture is perfectly silky without any lumps.
- Don’t overbake. The edges should be set, but the centers should still have a slight jiggle (similar to Jell-O). They will firm up as they chill in the fridge.
- Cool completely. Before chilling in the fridge, you’ll want to remove your maple crème brûlée from the hot water and cool to room temperature.
Storage Instructions
Once baked and cooled, cover each ramekin with plastic wrap and store in the refrigerator for up to 3 days.
For best results, keep the custards chilled until you’re ready to serve. If you brûlée the tops in advance, the caramel will soften in the fridge and lose its signature crackly texture.
FAQs
Absolutely! Use your oven’s broiler. Place your maple crème brûlée on a baking sheet and broil for 1-2 minutes until caramelized. Keep a close eye to prevent them from burning.
It’s normal to have bubbles. You can skim them off or pop them with your kitchen torch before baking for a perfectly smooth top.
Make sure the custard surface is dry (you can gently pat it with a paper towel) and use granulated sugar. For even caramelization, you’ll want to move the torch in small circles.
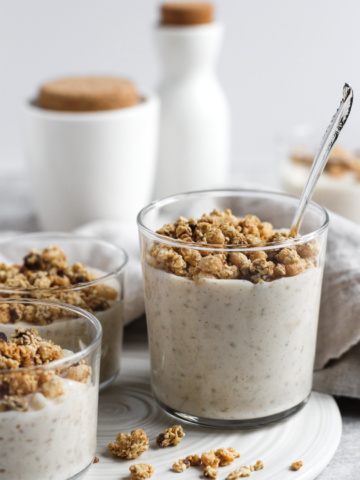
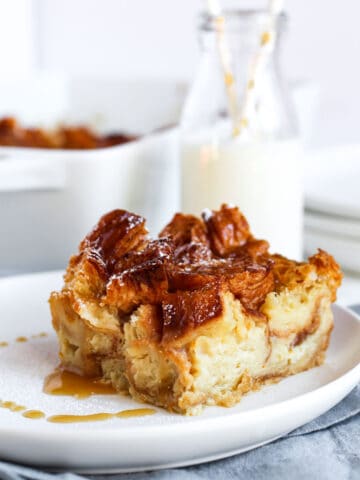
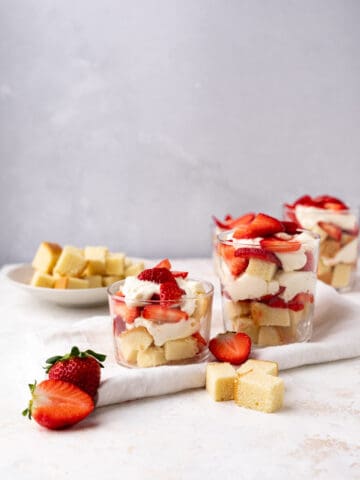
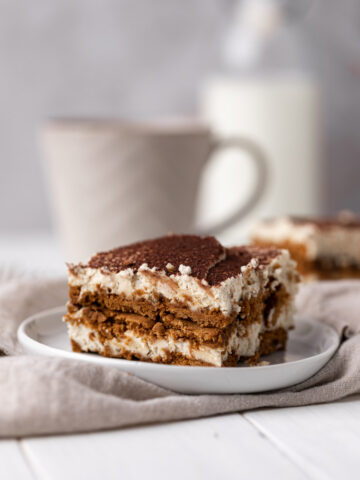
More Recipes You'll Love

❤️ Made This Recipe & Love It? ❤️
I hope you enjoy this recipe and that it becomes a family favorite! I would love for you to leave me a review and star rating below to let me know how you liked it! And please tag me on social @thesweetoccasion!

Maple Crème Brûlée
- Total Time: 2 hours 45 minutes
- Yield: 6 individual desserts 1x
Description
This Maple Crème Brûlée combined a creamy, rich-flavored custard with a caramelized topping for an impressive dessert that's surprisingly easy to make. It only requires 15 minutes of prep time and 5 simple ingredients.
Ingredients
- 480 g (2 cups) heavy cream
- 1 tablespoon pure vanilla extract
- 6 large egg yolks, at room temperature
- 110 g (⅓ cup) maple syrup
- 3 tablespoons granulated sugar, plus more for topping
- Boiling water
Instructions
- Preheat the oven to 325°F/163°C.
- Place 6 ramekins in a deep metal baking pan.
- In a medium saucepan, heat the heavy cream over medium heat until it simmers, stirring occasionally. Remove from heat and whisk in the vanilla. Set aside.
- In a medium bowl, whisk together the yolks, maple syrup, and sugar.
- Carefully ladle about half of the cream mixture into the egg mixture while constantly whisking to prevent the eggs from cooking. Pour in the egg mixture into the remaining hot cream mixture and whisk together.
- Pour the mixture through a fine sieve into a pitcher or a 4-cup measuring cup. Divide the custard evenly between the ramekins. Fill the metal pan with boiling water about halfway up the sides of your baking dishes.
- Bake for 30-35 minutes, or until the edges of the custard are set and the centers are barely set (slightly jiggly).
- Transfer the baking containers to a wire rack and let them cool to room temperature. Refrigerate covered for at least 2 hours or up to 3 days.
- To serve, remove from the fridge and sprinkle the tops with a thin layer of granulated sugar. Shake off any excess sugar. Carefully caramelize sugar with a kitchen torch.
Notes
Make-Ahead: You can prepare the custard mixture up to 1 day before baking. Pour the mixture into a bowl, cover it tightly, and refrigerate. You can also bake the custard up to 3 days in advance. Add the sugar and caramelize just before serving.
Heavy Cream: For a lighter texture, you can substitute 2 cups half-and-half for the heavy cream.
Vanilla: You can substitute the pure vanilla extract with the scraped seeds from 1 vanilla bean. For added flavor, add the scraped vanilla bean pod to the heavy cream and remove once the mixture comes to a simmer.
- Prep Time: 15 minutes
- Chill Time: 2 hours
- Cook Time: 30 minutes
- Category: Custard
Jeana Slade says
This was absolutely fabulous!! I followed your instructions to the letter. It was easy to make and the results were mind blowing!! Using the vanilla bean in the cream was genius and a technique I will always use. It really made a huge difference vs using just vanilla extract. This will be my go to desert when I want to wow my guests!
Maria says
Hi Jeana! I'm so happy you loved this dessert! Thank you for your feedback! I'm really glad you tried using the vanilla bean in the cream. It's a great way to use up all the flavor from the bean 🙂
Alex says
Absolutely, incredibly delicious - the most wonderful creamy texture and love the crisp, golden sugar topping!
Maria says
Thank you so much, Alex! So easy to make yet the perfect dessert to impress family and friends 🙂