
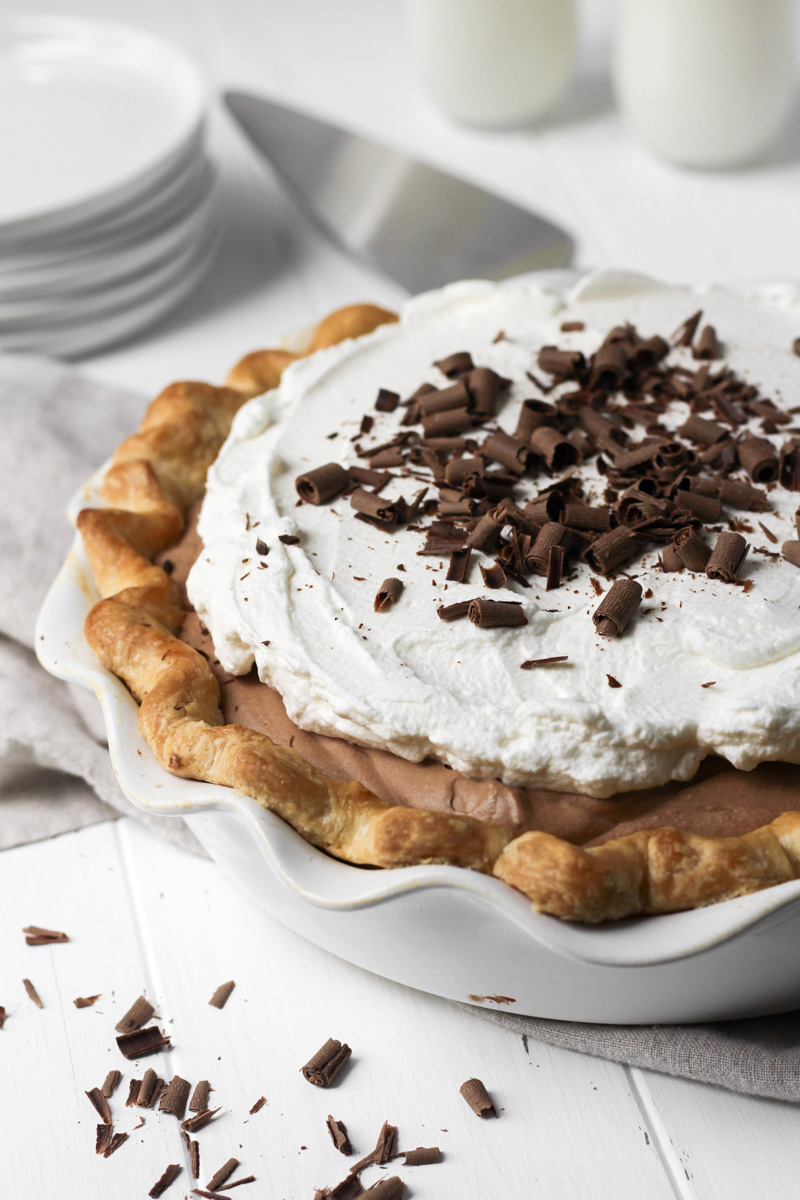
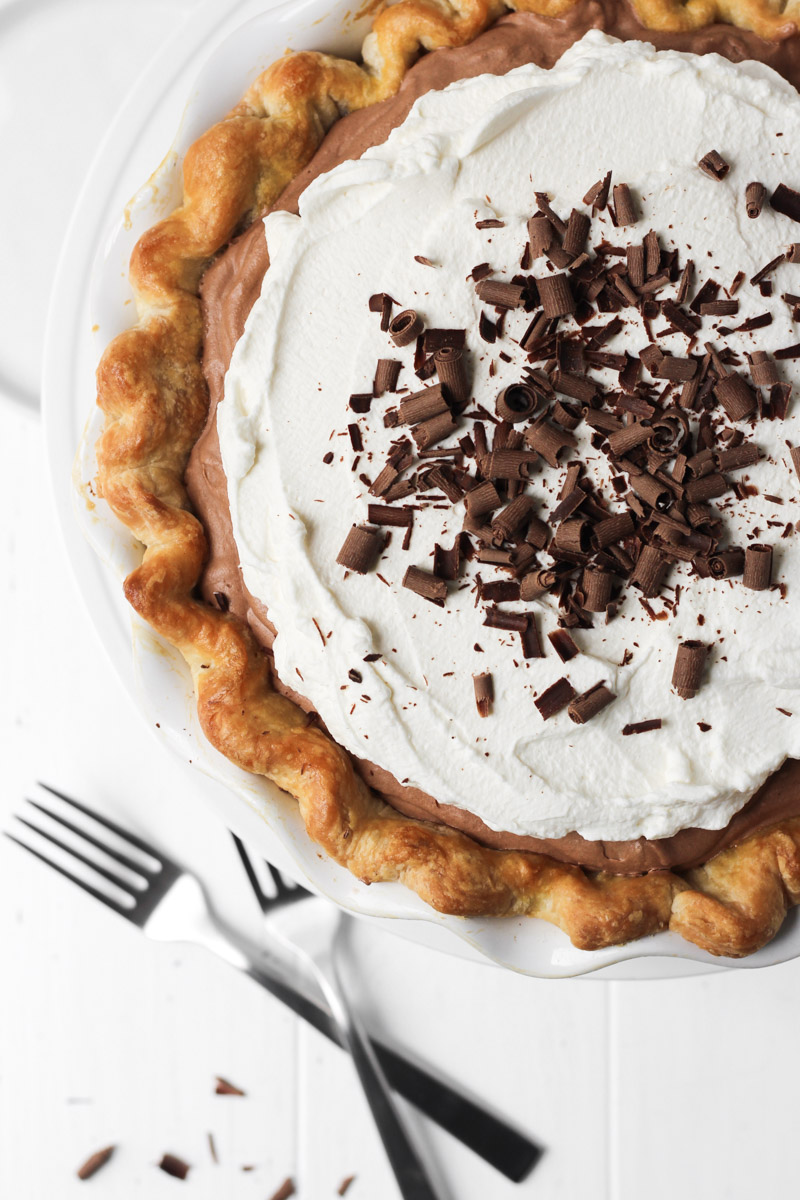
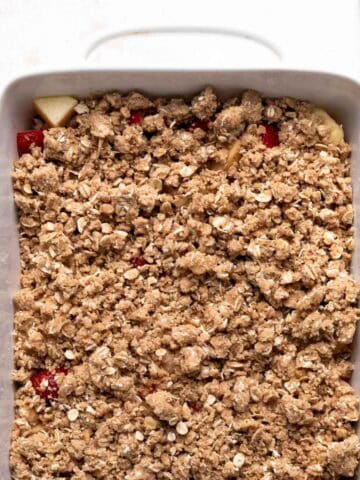
French Silk Pie is a chocolate lover's dream. It's a smooth and decadent chocolate mousse filling set in a flaky pie crust and topped with homemade whipped cream.
Save This Recipe! 💌
If you love pie and you love chocolate, then this is the recipe to make. It combines a buttery and flaky pie crust with a decadent chocolate mousse filling. And if that isn't enough, it's topped with homemade whipped cream and a sprinkling of chocolate shavings.
Before making this pie, I had never tried French silk pie. And what a shame, because I missed out enjoying its rich silky flavor. Typically, I love chocolate desserts, but only in small amounts because I find that they can be too rich for me. Although this pie is decadent, the lightness of the mousse filling makes it irresistible and leaves you with the perfect satisfaction.
Before you begin
Take out the following baking equipment.
Digital kitchen scale
Rolling pin
9-inch pie dish
Scissors
Parchment paper
Pie weights, dried beans, or rice
Fork
Pastry brush
Small bowl
2 medium heatproof bowls
Small saucepan
Whisk
Stand mixer fitted with the paddle attachment
Silicone spatula
Medium bowl
Whisk attachment
Offset spatula
Plastic wrap
Allow your butter to come to room temperature.
Read the recipe through from start to finish.
Understanding ingredients
For this recipe, ditch the chocolate chips and instead use pure chocolate baking bars. Selecting the correct chocolate is key to having a filling that sets properly. Chocolate chips have fillers and additives that interfere with this. I always prefer using semi-sweet chocolate baking bars, but bittersweet chocolate also works well.
Cooking your sugar and eggs over a double boiler ensures that your eggs are gently cooked and safe to eat in this French silk pie. Some recipes skip this step and use raw eggs. I find that this extra step is simple and gives you peace of mind.
Homemade whipped cream is simple to make using three ingredients: heavy cream, sugar, and vanilla. I always recommend using powdered sugar as it ensures that you will not have any granules in your whipped cream. If you prefer, you can use half the powdered sugar and substitute with granulated sugar.
How to blind bake a pie crust
French silk pie has a mousse filling that doesn't require baking. Therefore, you should bake your crust ahead of time, aka blind baking, before adding your filling.
Mix your pie dough. Make your pie dough up to 3 days in advance, allowing it to chill for at least 2 hours before rolling out. My favorite recipe to use is my all-butter pie crust.
Shape the dough. Roll your dough out to about ⅛-1/4-inch thickness to fit a 9-inch pie plate. Shape your edges to your desired design (I prefer a fluted edge, but you can also use a fork to crimp the crust).
Refrigerate the crust. Place the shaped pie crust into the refrigerator to chill to help prevent shrinkage during baking. Refrigerate for at least 30 minutes.
Fill with pie weights. Once the dough has chilled, line the crust with parchment paper and fill with pie weights. If you don't have pie weights, you can use dried beans or rice. Don't skip this step as it will help keep the shape of your crust.
Bake with pie weights. Place your crust with the pie weights into a preheated oven and bake for 15 minutes. Doing this allows the crust to set.
Bake without pie weights. Remove the pie weights and parchment paper from your crust. Brush the edges with egg wash and return the crust to the oven for an additional 12-15 minutes or until the edges are golden brown. Baking the crust without the weights allows for even browning.
Cool your pie crust. Allow the pie crust to cool completely before adding the filling. You can even make the crust up to 3 days in advance and keep covered in the refrigerator until ready to use.

The four components of the chocolate pie filling
At first glance, French Silk Pie may seem complicated to make because of all the components it requires. However, with a bit of preparation, it's easier than you think and well worth the effort. I highly recommend reading through the recipe twice before beginning so that you can understand each step and the order of its components.
Melted Chocolate. To melt your chocolate, you can use a medium heatproof bowl set over a small saucepan filled with an inch of boiling water. Add your chocolate and stir until melted. Alternatively, you can melt the chocolate in the microwave in 20 seconds increments, stirring after each increment until smooth.
Eggs and Sugar. To gently cook the eggs, whisk together the eggs and sugar in a medium heatproof bowl set over a small saucepan filled with an inch of simmering water. Whisk constantly until the egg mixture reaches 160°F/71°C, about 10 minutes. It's important to whisk the eggs so that they do not cook and curdle your mixture. Allow the mixture to cool slightly before stirring in the melted chocolate and vanilla.
Creamed Butter. Make sure your butter is at room temperature. Beat it in a stand mixer or a bowl with a handheld mixer until its light and creamy. The butter is the base component in making your mousse filling.
Whipped Cream. Whip heavy cream and powdered sugar until stiff peaks form.

Tips and takeaways
- Instead of a pie crust, you can substitute a graham cracker crust for this chocolate pie. You can use the crust from my Banoffee Pie with either traditional graham cracker crumbs or chocolate cookie crumbs.
- To ensure a perfectly smooth chocolate filling, make sure your egg-chocolate mixture cools down before adding it to the butter. If the mixture is too warm, it could cause your filling to curdle.
- If you are using a stand mixer and only have one bowl for it, I would recommend whipping the cream ahead of time and keeping it cold in the refrigerator. Otherwise, I would use a handheld mixer to whip the cream so that you do not have to clean your stand mixer bowl between steps.
- If you'd like to garnish this pie with chocolate shavings, it's quite simple. Use a vegetable peeler to shave a chocolate bar over your prepared pie. You can also garnish with mini chocolate chips, sprinkles, or just leave it plain.
If you love chocolate, then try these other recipes...
Make sure to tag me @thesweetoccasion on Instagram and leave me a review below if you make this French Chocolate Silk Pie. I'd love to see your creations and read your feedback. And if you would like to make this recipe later, be sure to pin this recipe using the button on any of these images. Let's make every occasion a sweet occasion!
Print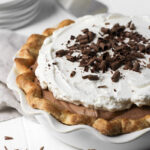
French Silk Pie
- Total Time: 7 hours 20 minutes
- Yield: One 9-inch pie 1x
Description
French Silk Pie is a chocolate lover's dream. It's a smooth and decadent chocolate mousse filling set in a flaky pie crust and topped with homemade whipped cream.
Ingredients
For the crust
- ½ recipe of all-butter pie crust
For the filling
- 275 g (1 ¼ cups) granulated sugar
- 200 g (4 large) eggs
- 226 g (8 oz) bittersweet or semi-sweet baking chocolate bars, finely chopped
- 7 g (2 teaspoons) pure vanilla extract
- 226 g (1 cup) unsalted butter, at room temperature
- 240 g (1 cup) cold heavy cream
- 8 g (1 tablespoon) powdered sugar
For the topping
- 240 g (1 cup) cold heavy cream
- 16 g (2 tablespoons) powdered sugar
- 3.5 g (1 teaspoon) pure vanilla extract
- Chocolate shavings, if desired
Instructions
For the crust
- On a floured work surface, roll out the disc of chilled dough to fit a 9-inch pie dish. Rotate the dough 90° after every few rolls. You should have an approximately 12-inch circle in diameter of dough. Carefully transfer the dough into your pie dish. Using kitchen shears, trim the excess dough around the edges, leaving just enough to fold under the edge of the dough for a thick crust. Using your fingers, flute the edges of the crust. Refrigerate your crust in the dish for at least 30 minutes.
- Preheat oven to 400°F/204°C. Line the inside of the crust with a piece of parchment paper and add pie weights*. Spread the weights evenly within the pie dish.
- Bake the pie crust for 15 minutes. Take the crust out of the oven. Remove the pie weights, prick the bottom of the crust with a fork, and brush the edges with egg wash. Return the crust to the oven and continue baking for an additional 12-15 minutes or until golden brown.
- Allow the pie crust to come to room temperature.
For the filling
- In a medium heatproof bowl, add your chocolate. Place over a small saucepan filled with an inch of boiling water and stir until melted. Set aside.
- In another medium heatproof bowl, whisk together the sugar and the eggs. Set over a small saucepan filled with an inch of simmering water. Whisk constantly until the egg mixture reaches 160°F/71°C, about 10 minutes. Remove from the heat, allow to cool slightly, and then stir in the melted chocolate and vanilla until smooth. Set aside to cool until just warm, stirring occasionally.
- Using a hand mixer or stand mixer fitted with the paddle attachment beat the butter on medium-high speed until light and creamy, about 2 minutes. Slowly add in the cooled chocolate mixture and then increase speed to high and beat for about 5 minutes or until light and fluffy. Occasionally, scrape down the bottom and sides of the bowl to ensure everything is evenly mixed.
- In a clean bowl using a hand mixer or stand mixer fitted with the whisk attachment, beat the cream and powdered sugar on medium-high until stiff peaks form. Carefully fold this whipped cream into the chocolate mixture.
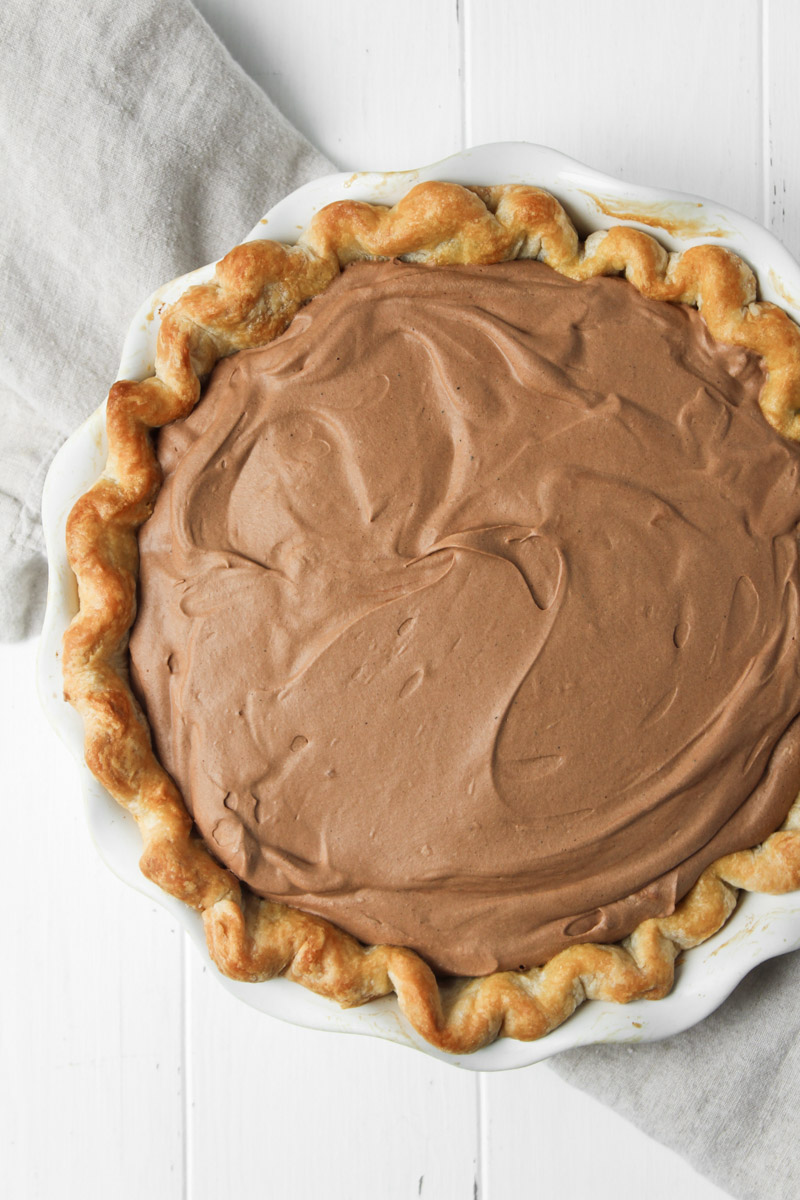
- Pour the chocolate mixture into your prepared pie crust. Using an offset spatula spread the filling evenly. Cover with plastic wrap and chill in the refrigerator for at least 4 hours or overnight to thicken.
For the topping
- In a large bowl using a hand-held mixer or stand mixer with the whisk attachment, whisk the heavy cream, powdered sugar, and vanilla on medium-low speed until mixture becomes frothy. Increase speed to medium-high and continue whisking until medium peaks form about 3 minutes. Careful not to over mix or else it will become thick and lumpy.
- Spread the whipped cream over the chilled chocolate filling. Sprinkle with chocolate shavings, if desired. Serve immediately.
Notes
- *Pie Weights: To blind bake your pie, you can use pie weights, dried beans or rice.
- Make-Ahead: The pie dough can be made in advance and stored in the refrigerator for up to 3 days or up to 3 months in the freezer. Alternatively, you can bake the crust up to 3 days ahead of time. Allow your baked crust to come to room temperature, cover, and refrigerator until ready to use. If making the pie in advance, you may refrigerate it up to 2 days in advance. Add the whipped cream just before serving.
- Prep Time: 40 minutes
- Cook Time: 40 minutes
- Category: Pies


Leave a Reply