This post may contain affiliate links, please read my full disclosure policy.
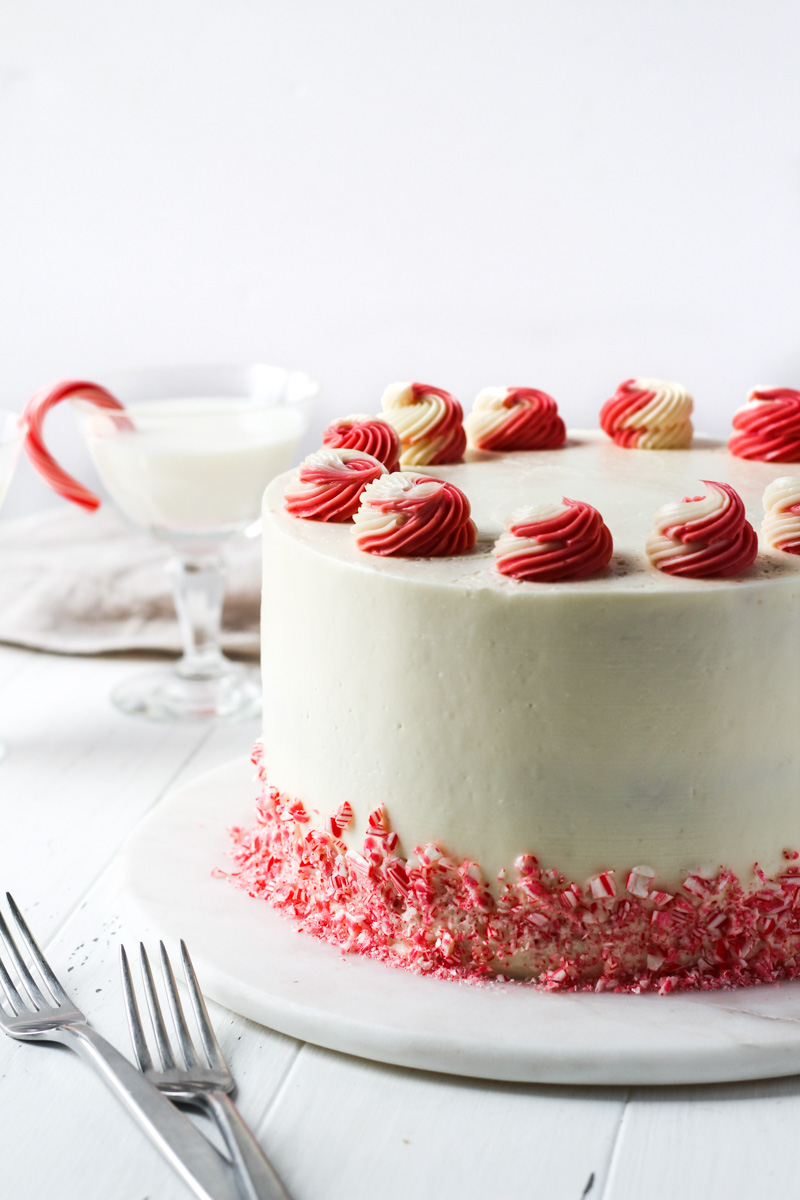
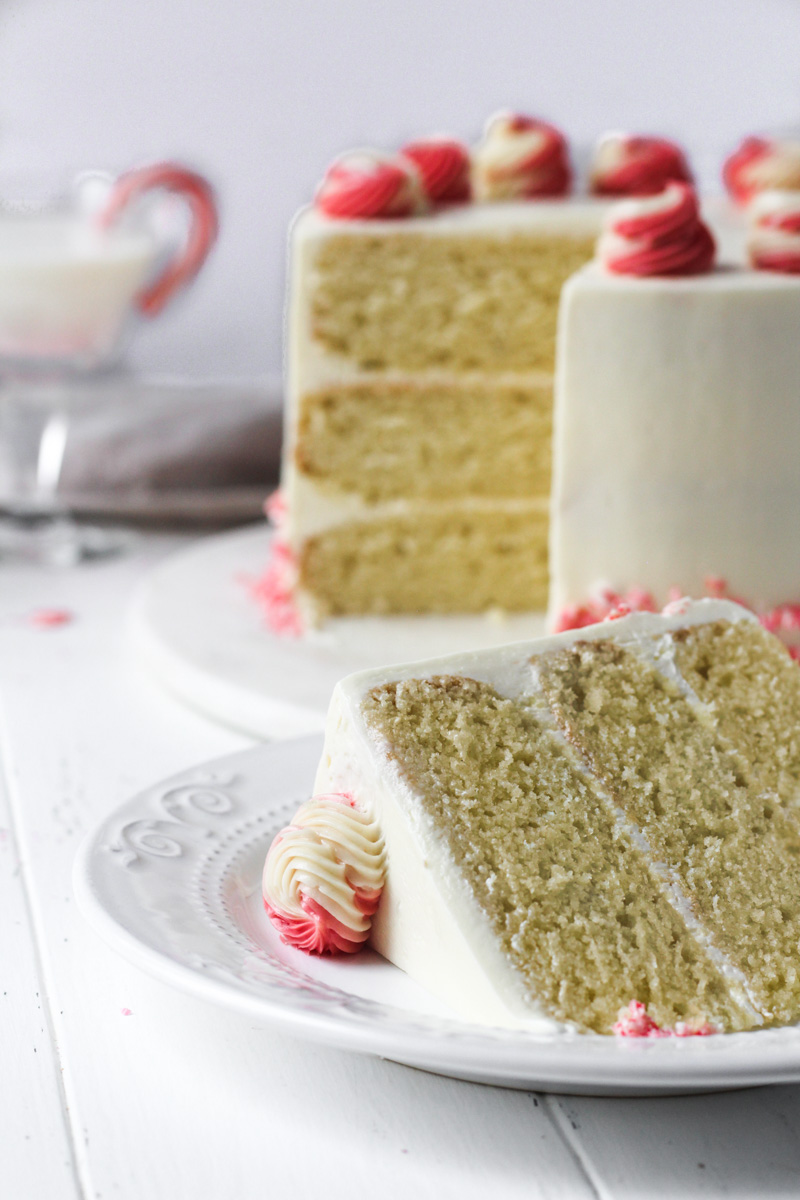
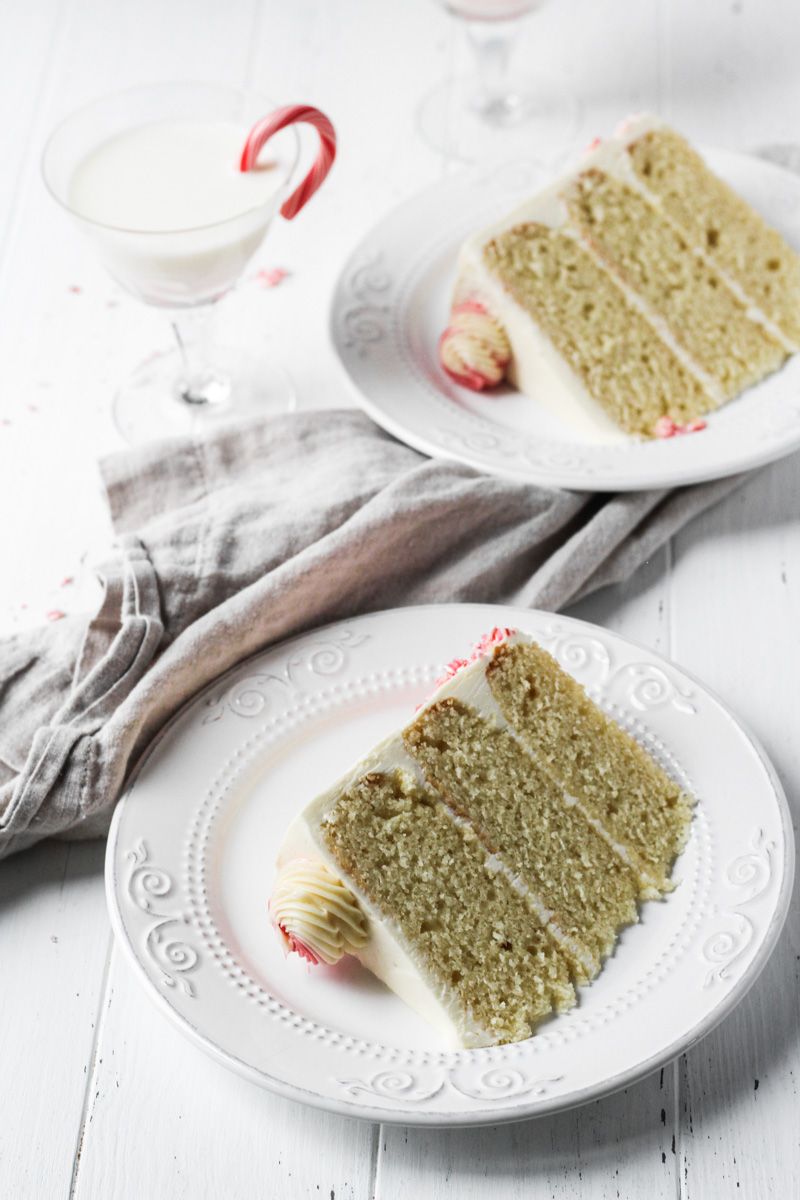
Peppermint Cake is a delicious white cake flavored with peppermint and topped with a white chocolate peppermint buttercream. Decorate with crushed candy canes for an extra fun holiday cake.
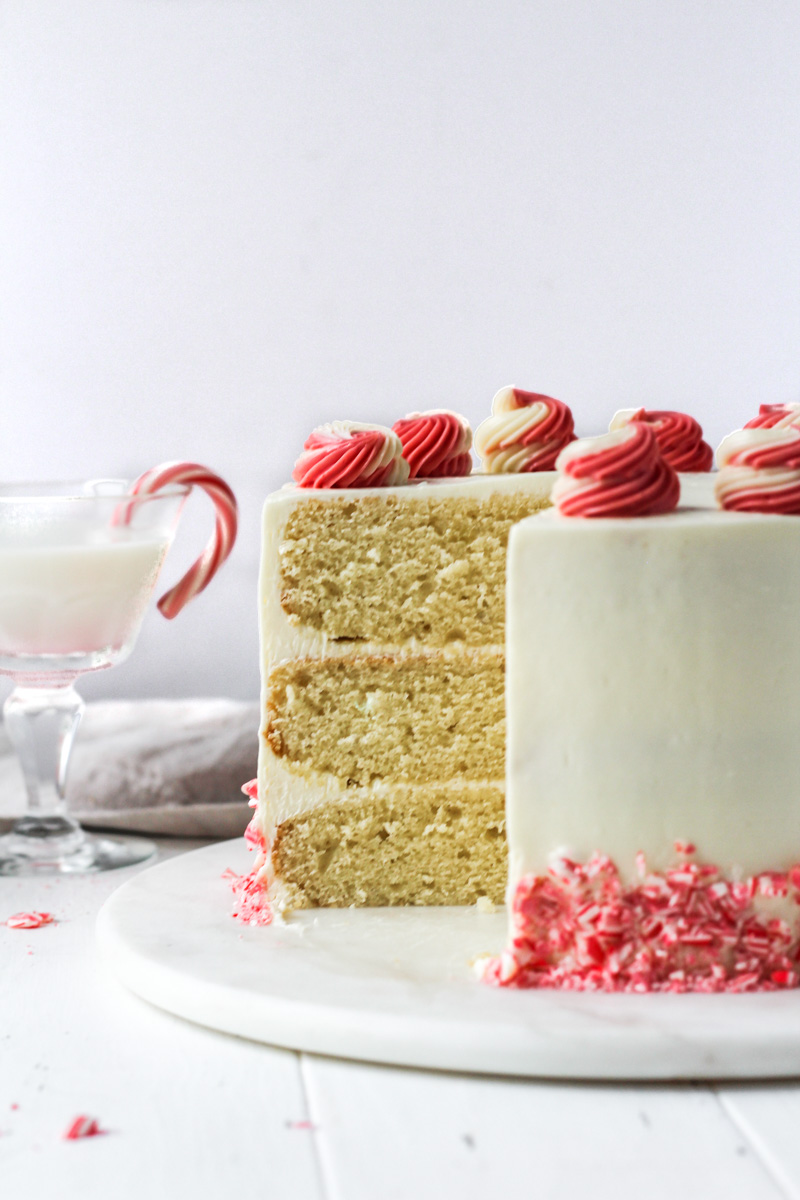
Light and airy peppermint cake filled and topped with a delicious white chocolate peppermint swiss meringue buttercream is a fun and festive holiday treat. It represents winter's flavors and can be decorated for the holiday season for a beautiful, joyful treat that your family and friends will love.
Why the recipe works
- It has a delicious peppermint flavor that's not overpowering.
- Made with a silky, smooth swiss meringue buttercream.
- A beautiful winter-inspired cake.
- The cake layers and buttercream can be made ahead of time.
Before you begin
Take out the following baking equipment.
Digital kitchen scale
Three 8-inch round cake pans
Parchment paper
Medium bowl
Whisk
3 small bowls
Stand mixer fitted with the paddle attachment
Whisk attachment
Silicone spatula
Wire cooling rack
Small saucepan
Allow all your ingredients to come to room temperature.
Read the recipe through from start to finish.
Understanding ingredients
Sour cream has a higher fat content than milk and therefore adds moisture, acidity and tanginess to the cake for a more complex flavor, and another layer of richness. You can substitute with whole milk, however, the benefits of using the sour cream result in a more delicious cake.
Peppermint extract can leave an overpowering flavor if used in large quantities. Be sure to use a pure extract instead of an artificial one for the best flavor possible.
For the peppermint swiss meringue buttercream, use a good quality white chocolate with a higher percentage of cocoa butter, at least 25%. Avoid using chocolate chips or candy melts. The better quality chocolate you use, the better the buttercream's taste and texture will be.
How to melt white chocolate
The easiest way to melt chocolate is in the microwave. If using chocolate blocks or baking bars, chop the chocolate into small pieces and put into a microwave-safe bowl. Heat for 30-second bursts and stir between each to help evenly distribute the heat. Continue the process until the chocolate is melted and smooth.
You can also melt the chocolate in a glass bowl set over a small saucepan with simmering water. Using a wooden spoon or whisk, stir the chocolate until it is smooth and glossy.
What type of cake pans should you use?
Using dark-coated cake pans will cause your cakes to bake more quickly, and the outside of your cakes will become darker. This occurs because dark metal pans absorb and distribute heat much more rapidly than light color metal pans. If you are using dark pans, reduce your oven temperature to 325°F/163°C. Ideally, use aluminum cake pans for more even baking.
How to bake the perfect cake layers
Use room temperate ingredients. Bringing all of your ingredients to room temperature (yes, including the eggs and sour cream) will help incorporate the ingredients together more efficiently and thoroughly. Baking is a science, and using cold ingredients can result in a more dense cake instead of a light and tender cake.
Measure accurately. Measuring with a digital kitchen scale will give you the best results because of consistency. If you do not own a scale or prefer to use measuring cups, use the spoon and level method. Using a spoon, spoon flour into your measuring cup, and level with the back of a knife. Do not use your measuring cup to scoop into the flour.
Grease and flour cake pans, plus use parchment paper. Butter and flour the sides of your cake pan (removing any excess flour that does not stick) prevents your cake from sticking to the sides. Additionally, it will help your cake rise more easily instead of fighting the sides of the pan. Cut a round piece of parchment paper to fit the bottom of your cake pan (you can also purchase precut parchment paper rounds for convenience).
Do not open the oven door prematurely. Opening and closing the oven door while your cakes are baking can cause a rapid change in temperature, which will result in your cake sinking instead of rising beautifully. Set your timer for 5 minutes before the suggested time and begin checking your cake for doneness.
Use the bounce-back test to check for doneness. To check if your cakes are fully baked, you can insert a toothpick into the center of the cake. If it comes out mostly clean, then your cake is ready. Another simple method to check for doneness is to use the bounce-back test. Gently press down on the cake. If an indentation is left in the cake, then it needs more time. If it bounces back, then it's fully baked. You will also notice that the sides of the cake begin to pull away from the pan.
How to assemble peppermint cake
- Remove the completely cooled cakes from the pans and peel off the parchment paper. If the layers have a dome, then use a large serrated knife to slice a thin layer off each cake to create a leveled surface.
- Place one layer of cake onto a cake turntable, cake stand, or serving dish. Spread an even layer of buttercream on top. Top with a second layer and repeat another layer of buttercream. Add your final layer of cake.
- Using an icing spatula, spread a very thin and even layer of buttercream on the top and sides of your cake to create a ‘crumb coat.’
- Place your cake in the freezer for 5 minutes or until the buttercream is firm to touch.
- Spread another even layer of buttercream on the top of the cake. Apply the remaining buttercream to the sides of the cake. If using a cake turntable, use a bench scraper or icing smoother to smooth the icing around your cake.
How to store peppermint cake
Buttercream acts as a protective barrier for a cake so you can cover it with a cake cover or an overturned bowl at room temperature for up to three to four days. If the cake has been sliced, cut a piece of parchment paper or wax paper and place against exposed cake crumb to keep the cake from drying out.
Tips and takeaways
- The butter for the buttercream should be at room temperature. It should not be warm, soft, or melting, but rather cool to the touch, malleable, and able to hold its shape without looking oily. If you add butter that's too soft to your meringue, your buttercream will become soupy.
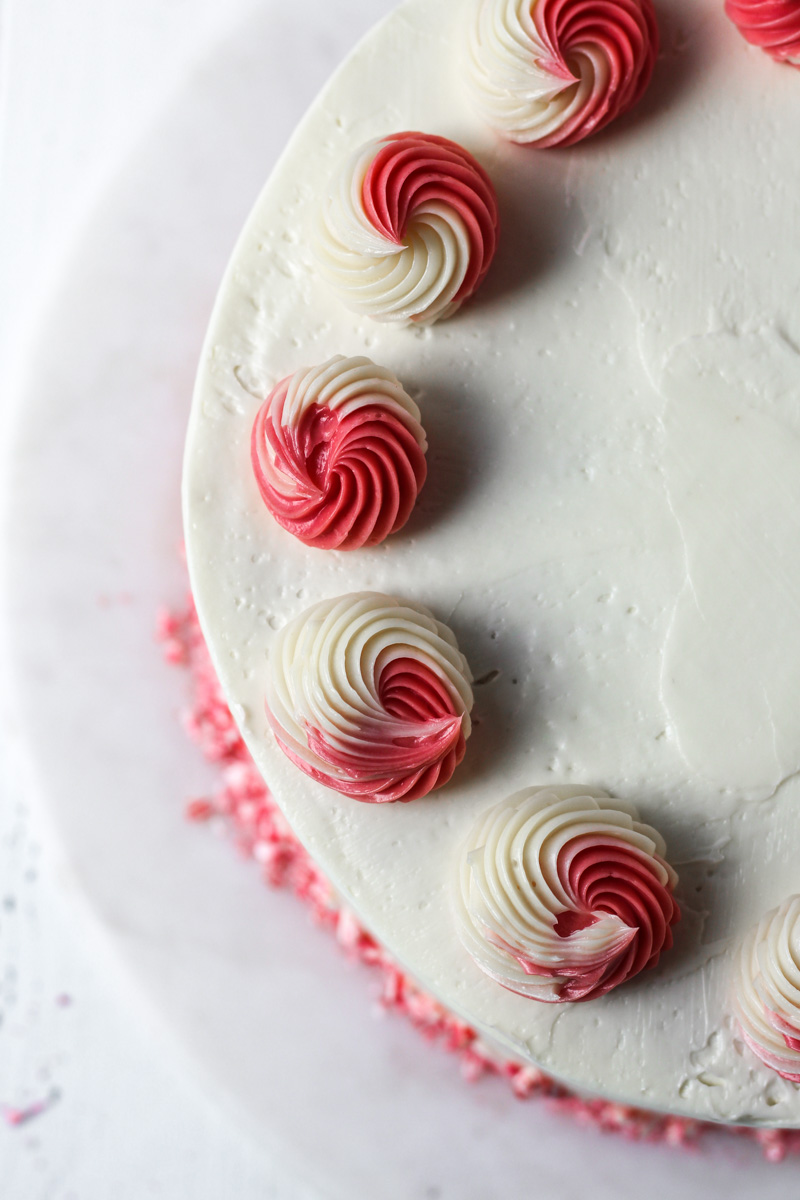
- To color the swiss meringue buttercream, use gel food coloring. Slowly add a bit at a time while mixing the buttercream in a mixer. This will help to incorporate the color into the frosting more easily.
For more winter inspiration, try these other recipes...
- Cranberry White Chocolate Macarons
- Gingerbread Layer Cake
- Cranberry Orange Shortbread Cookies
- Gingerbread Doughnuts with Orange Ginger Glaze
Make sure to tag me @thesweetoccasion on Instagram and leave me a review below if you make this Peppermint Cake. I’d love to see your creations and read your feedback. And if you would like to make this recipe later, be sure to pin this recipe using the button on any of these images. Let’s make every occasion a sweet occasion!
Print
Peppermint Cake
- Total Time: 2 hours (including cooling time)
- Yield: 8-inch cake 1x
Description
Peppermint Cake is a delicious white cake flavored with peppermint and topped with a white chocolate peppermint buttercream. Decorate with crushed candy canes for an extra fun holiday cake.
Ingredients
For the cake
- 460 g (3 1/3 cup) all-purpose flour
- 9.5 g (2 1/2 teaspoons) baking powder
- 2.8 g (1/2 teaspoon) baking soda
- 2.8 g (1/2 teaspoon) salt
- 280 g (2.5 sticks) unsalted butter, at room temperature
- 440 g (2 cups) granulated sugar
- 100 g (2 large) eggs, at room temperature
- 90 g (3 large) egg whites, at room temperature
- 8 g (2 teaspoons) pure vanilla extract
- 4 g (1 teaspoon) peppermint extract
- 240 g (1 cup) sour cream, at room temperature
- 240 g (1 cup) whole milk, at room temperature
For the white chocolate Swiss meringue buttercream
- 120 g (5 large) egg whites
- 330 g (1 1/2 cups) granulated sugar
- 452 g (2 cups) unsalted butter, at room temperature
- 170 g (6 ounces) white chocolate, melted and cooled
- 4 g (1 teaspoon) peppermint extract
Instructions
For the cake
- Preheat oven to 350°F/177°C. Grease and flour three 8-inch round cake pans. Line the bottoms with parchment paper and set aside.
- In a medium bowl, whisk together the flour, baking powder, baking soda, and salt. Set aside.
- In a large bowl using a hand-held mixer or stand mixer fitted with the paddle attachment, beat together the softened butter and sugar on medium speed until smooth and creamy, about 3-4 minutes. Scrape down the sides of the bowl as needed. Beat in the eggs and egg whites, one at a time, until combined. Scrape down the sides of the bowl and beat in the sour cream, vanilla, and peppermint until mixed well. With the mixer on low speed and in three parts, alternately add the dry ingredients and the milk to the batter, beginning and ending with the dry ingredients. Beat until just combined.
- Evenly divide the batter between the prepared cake pans.
- Bake for 30-35 minutes or until a toothpick inserted in the center comes out clean.
- Allow the cakes to cool completely in the pans set on a wire rack before frosting.
For the white chocolate Swiss meringue buttercream
- Put the egg whites and sugar in a mixer bowl and whisk together. Make a double boiler by placing the bowl over a saucepan of simmering water (ensuring the bowl does not touch the water). Whisk constantly until the sugar is completely dissolved and the mixture feels hot to the touch, about 4-5 minutes. You should not feel any sugar granules when rubbing the mixture between your fingertips.
- Transfer the bowl to the stand mixer fitted with the whisk attachment. Whip the mixture on medium-high until the bottom of the bowl no longer feels warm, and the meringue is thick and glossy.
- With the mixer on medium, add the softened butter half a stick at a time. Continue to whip until the mixture is smooth. Mix in the cooled, melted chocolate and the peppermint until completely incorporated. Frost the cooled cake layers.
Notes
Make-ahead: Bake cake up to 1 day in advance. Keep in the baking pans, cover tightly, and store at room temperature. Swiss meringue buttercream can be made up to 1 week in advance and stored in an airtight container in the refrigerator. When ready to use, bring the frosting to room temperature and re-whip with a mixer for 5 minutes.
Freezing: Freeze cake layers frosted or unfrosted for up to 2-3 months. Thaw overnight in the refrigerator and allow to sit for 30 minutes at room temperature before serving. Swiss meringue buttercream can also be stored in the freezer for up to 2-3 months. Thaw overnight in the refrigerator, bring it to room temperature, and re-whip with a mixer for 5 minutes.
Cupcakes: To make cupcakes, fill each cavity of a cupcake pan lined with cupcake liners 2/3 full. Reduce baking time and begin checking at the 15 minutes mark.
- Prep Time: 35 minutes
- Cook Time: 35 minutes
- Category: Cakes

Kate
This looks great! Would it be okay to use yogurt instead of sour cream in the sponge? I have peppermint oil, would it be okay to use it in the frosting? If yes, when do you recommend i add it?
Sorry for all the questions but i really want to try your recipe! 🙂
Maria Pagiotas
Hi Kate! Yes, you can substitute yogurt (ideally Greek yogurt if you have). You could use peppermint oil in the frosting, but because it's stronger than extract you will have to significantly reduce the quantity. I would begin with a few drops and taste as you go until you get your desired flavor. And I would add it at the end after the melted chocolate is mixed into the buttercream. Let me know how the cake turns out 🙂 Happy baking and happy holidays!
Alexandra
This is the perfect cake for a festive celebration - my family LOVED it.
We will be making it again for Christmas Day!
Maria
So happy you loved it and that it was hit with your family! Such a fun cake to make for the holidays!